Sometimes it’s about the process. Gain some wisdom from Alpha Professional Fakrul Jamil Photography as he gives a few tips to get started in your Timelapse Photography.
Sony Alpha 7R IV: https://www.sony.com.my/…/interchangeable…/ilce-7rm4a
Sometimes it’s about the process. Gain some wisdom from Alpha Professional Fakrul Jamil Photography as he gives a few tips to get started in your Timelapse Photography.
Sony Alpha 7R IV: https://www.sony.com.my/…/interchangeable…/ilce-7rm4a
The new 42.4 megapixel camera is going to be landscape photographers best friend in coming years. Why? Because what its capable of!
As a landscape photographer myself, I always hunt for the best light in a day. This means sunrise and sunset is the most beautiful time in a day because its produce gorgeous colours during that time. But the problem is, getting the exposure correctly is always going to be a problem because the sky is always brighter than the foreground if you metering is at dead center. A classic way to counter this problem is by using a Graduated Neutral Density(GND) filter where it helps to balance the exposure nicely with a simple calculation.
But today, technology has made things little bit easier. Sony A7RII packs with a whole lot dynamic range that most of landscape photographer have been craving for.
Just to show some proof about what I am talking about, few weeks back I went out for sunrise hunting at Symphony Lake, KLCC. As the weather starts to get better here in KL, well at least after almost two month of thick haze from neighbouring country. And surprisingly, I was the only photographer at the scene that morning. Nothing bad about it, nothing bad at all. 🙂
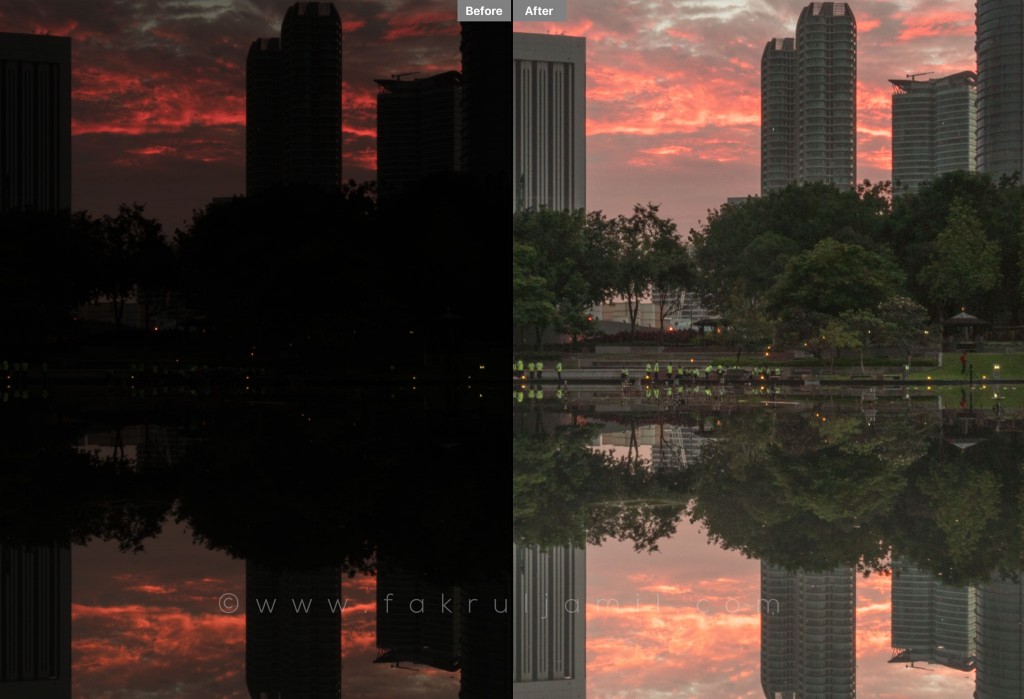
So here’s the first light from that morning. Uncompressed RAW (I’ve updated my camera to the latest firmware which features the new uncompressed RAW file) file open with Adobe Camera Raw. Yes, I does look underexpose because I purposely shoot it that way for this test.
and here is what the camera is capable of. Be ready to amazed! I increased the exposure by 3 stops together with 100% boost on the shadow part. No artifacts or unwanted noise, hot/dead pixels or whatnot seen.

A closer look:
 Ok, that’s it for now. Oh, quick note, those are only RAW files open in Adobe Camera Raw. I have not done any post-processing yet. Let’s hope I have some will to process it though. Lol!
Happy weekend everyone! Besok jom sunrise! 🙂
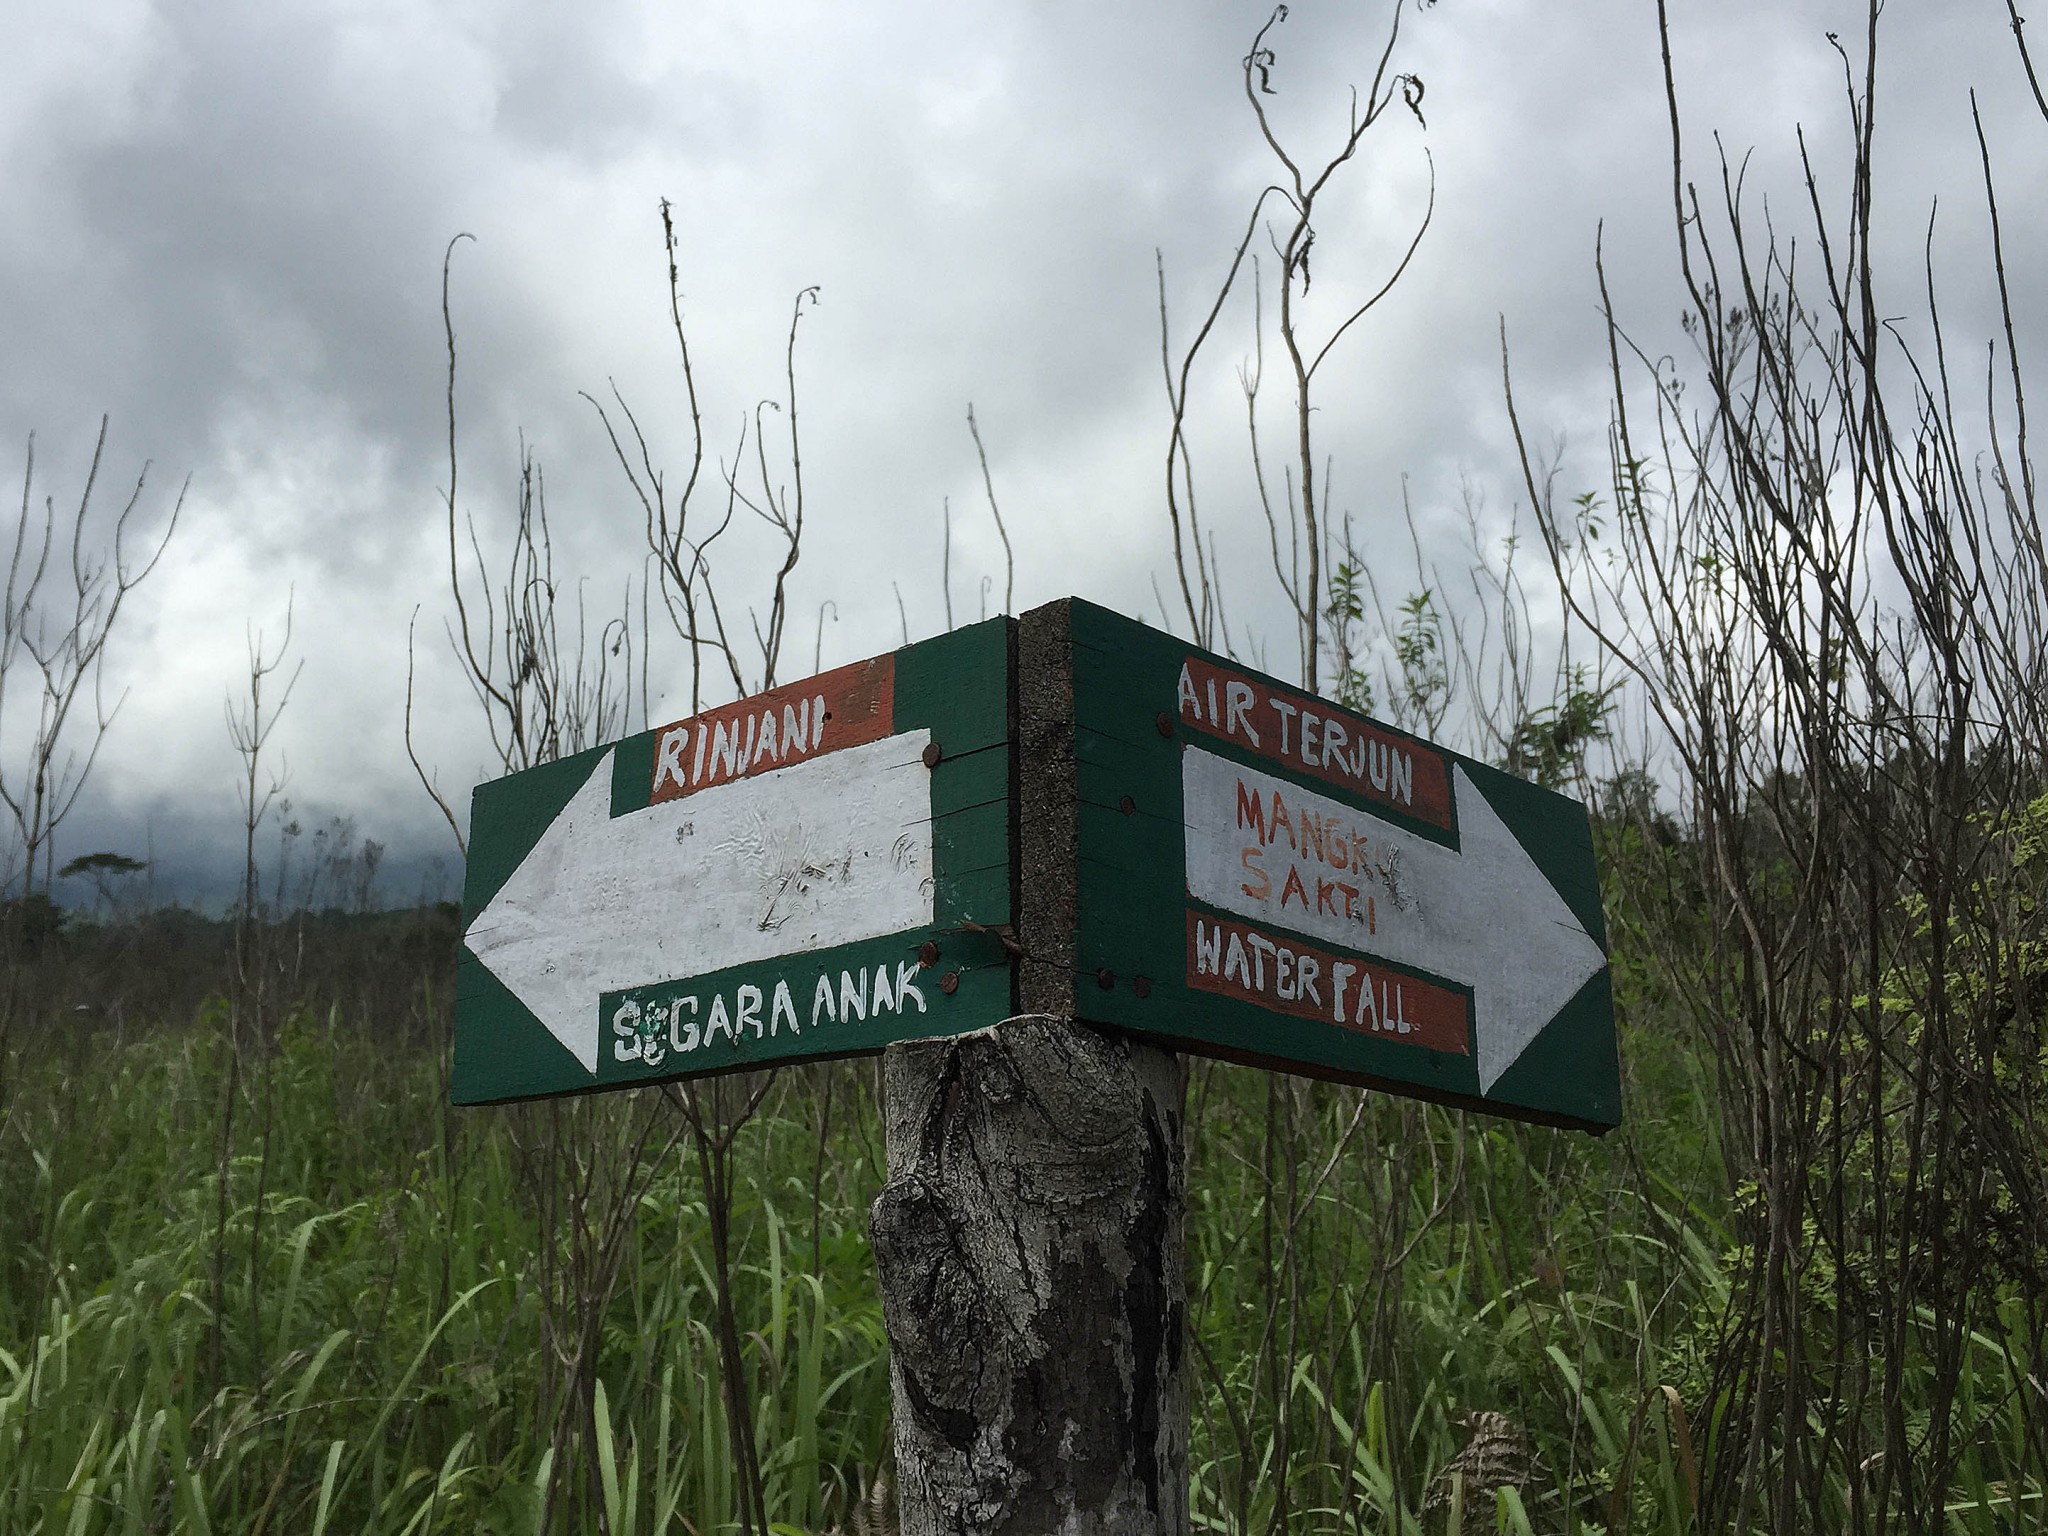
Hi everyone! So on this post I would like to share on behind the scenes of my Mangku Sakti Waterfall shooting. This waterfall is located near Sembalun village in Lombok tengah.

By far, this is the hardest place to reached during my Lombok trip. We had to go 3km off-road in a non-4wd vehicle and at about 2km we had a punctured tire, so we have to continue to walk the remaining 1km and believe me, it’s not an easy walk either!
After about 45 minutes of trekking up and down the hill, we reached the entrance to the waterfall. From there, it’s another 20 minutes of trekking to reached the waterfall! *Sigh*
Well, this is what we do, what we love to do as a landscape photographer. The harder it gets to reached to a location, the more excites we got! Although its pretty tiring! Lol.. :p
Here’s the final image….
Until my next post then..Assalamualaikum 🙂