landscape photography filters
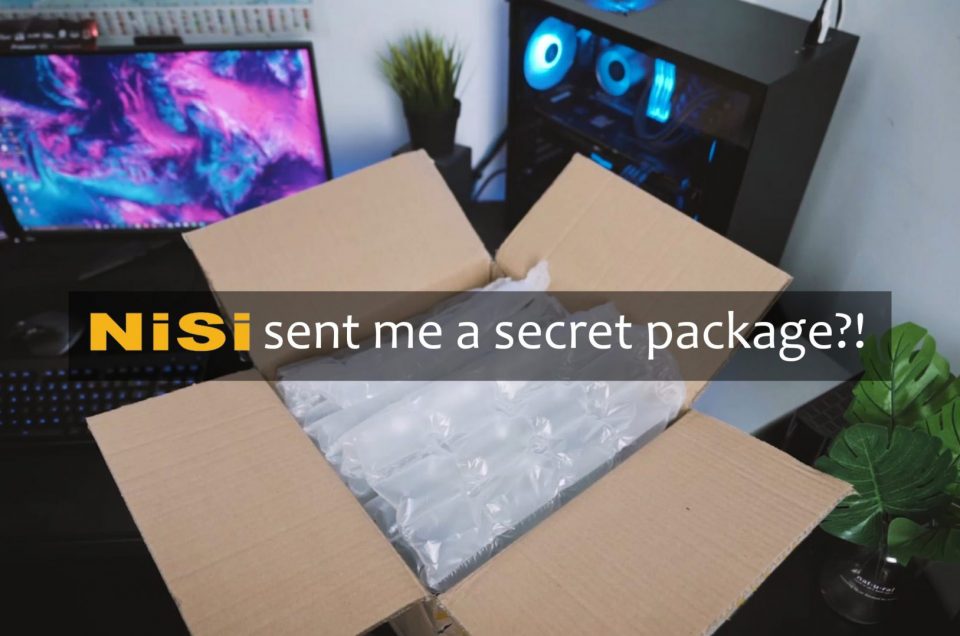
I’m proudly to announce that I have recently partnered with Nisi Filters Malaysia and they are kind enough to send me a cool kit for me to play around.

- 100mm filter holder system
- An adaptor ring (72mm for my UWA lens)
- ND1000 aka big stopper
- Circular Polarizer
I heard some good reviews over the internet for these filter. Look forward to give them a proper test over the coming months. Thank you Nisi Filters Malaysia!
Bismillah..Assalamualaikum and good evening everyone!
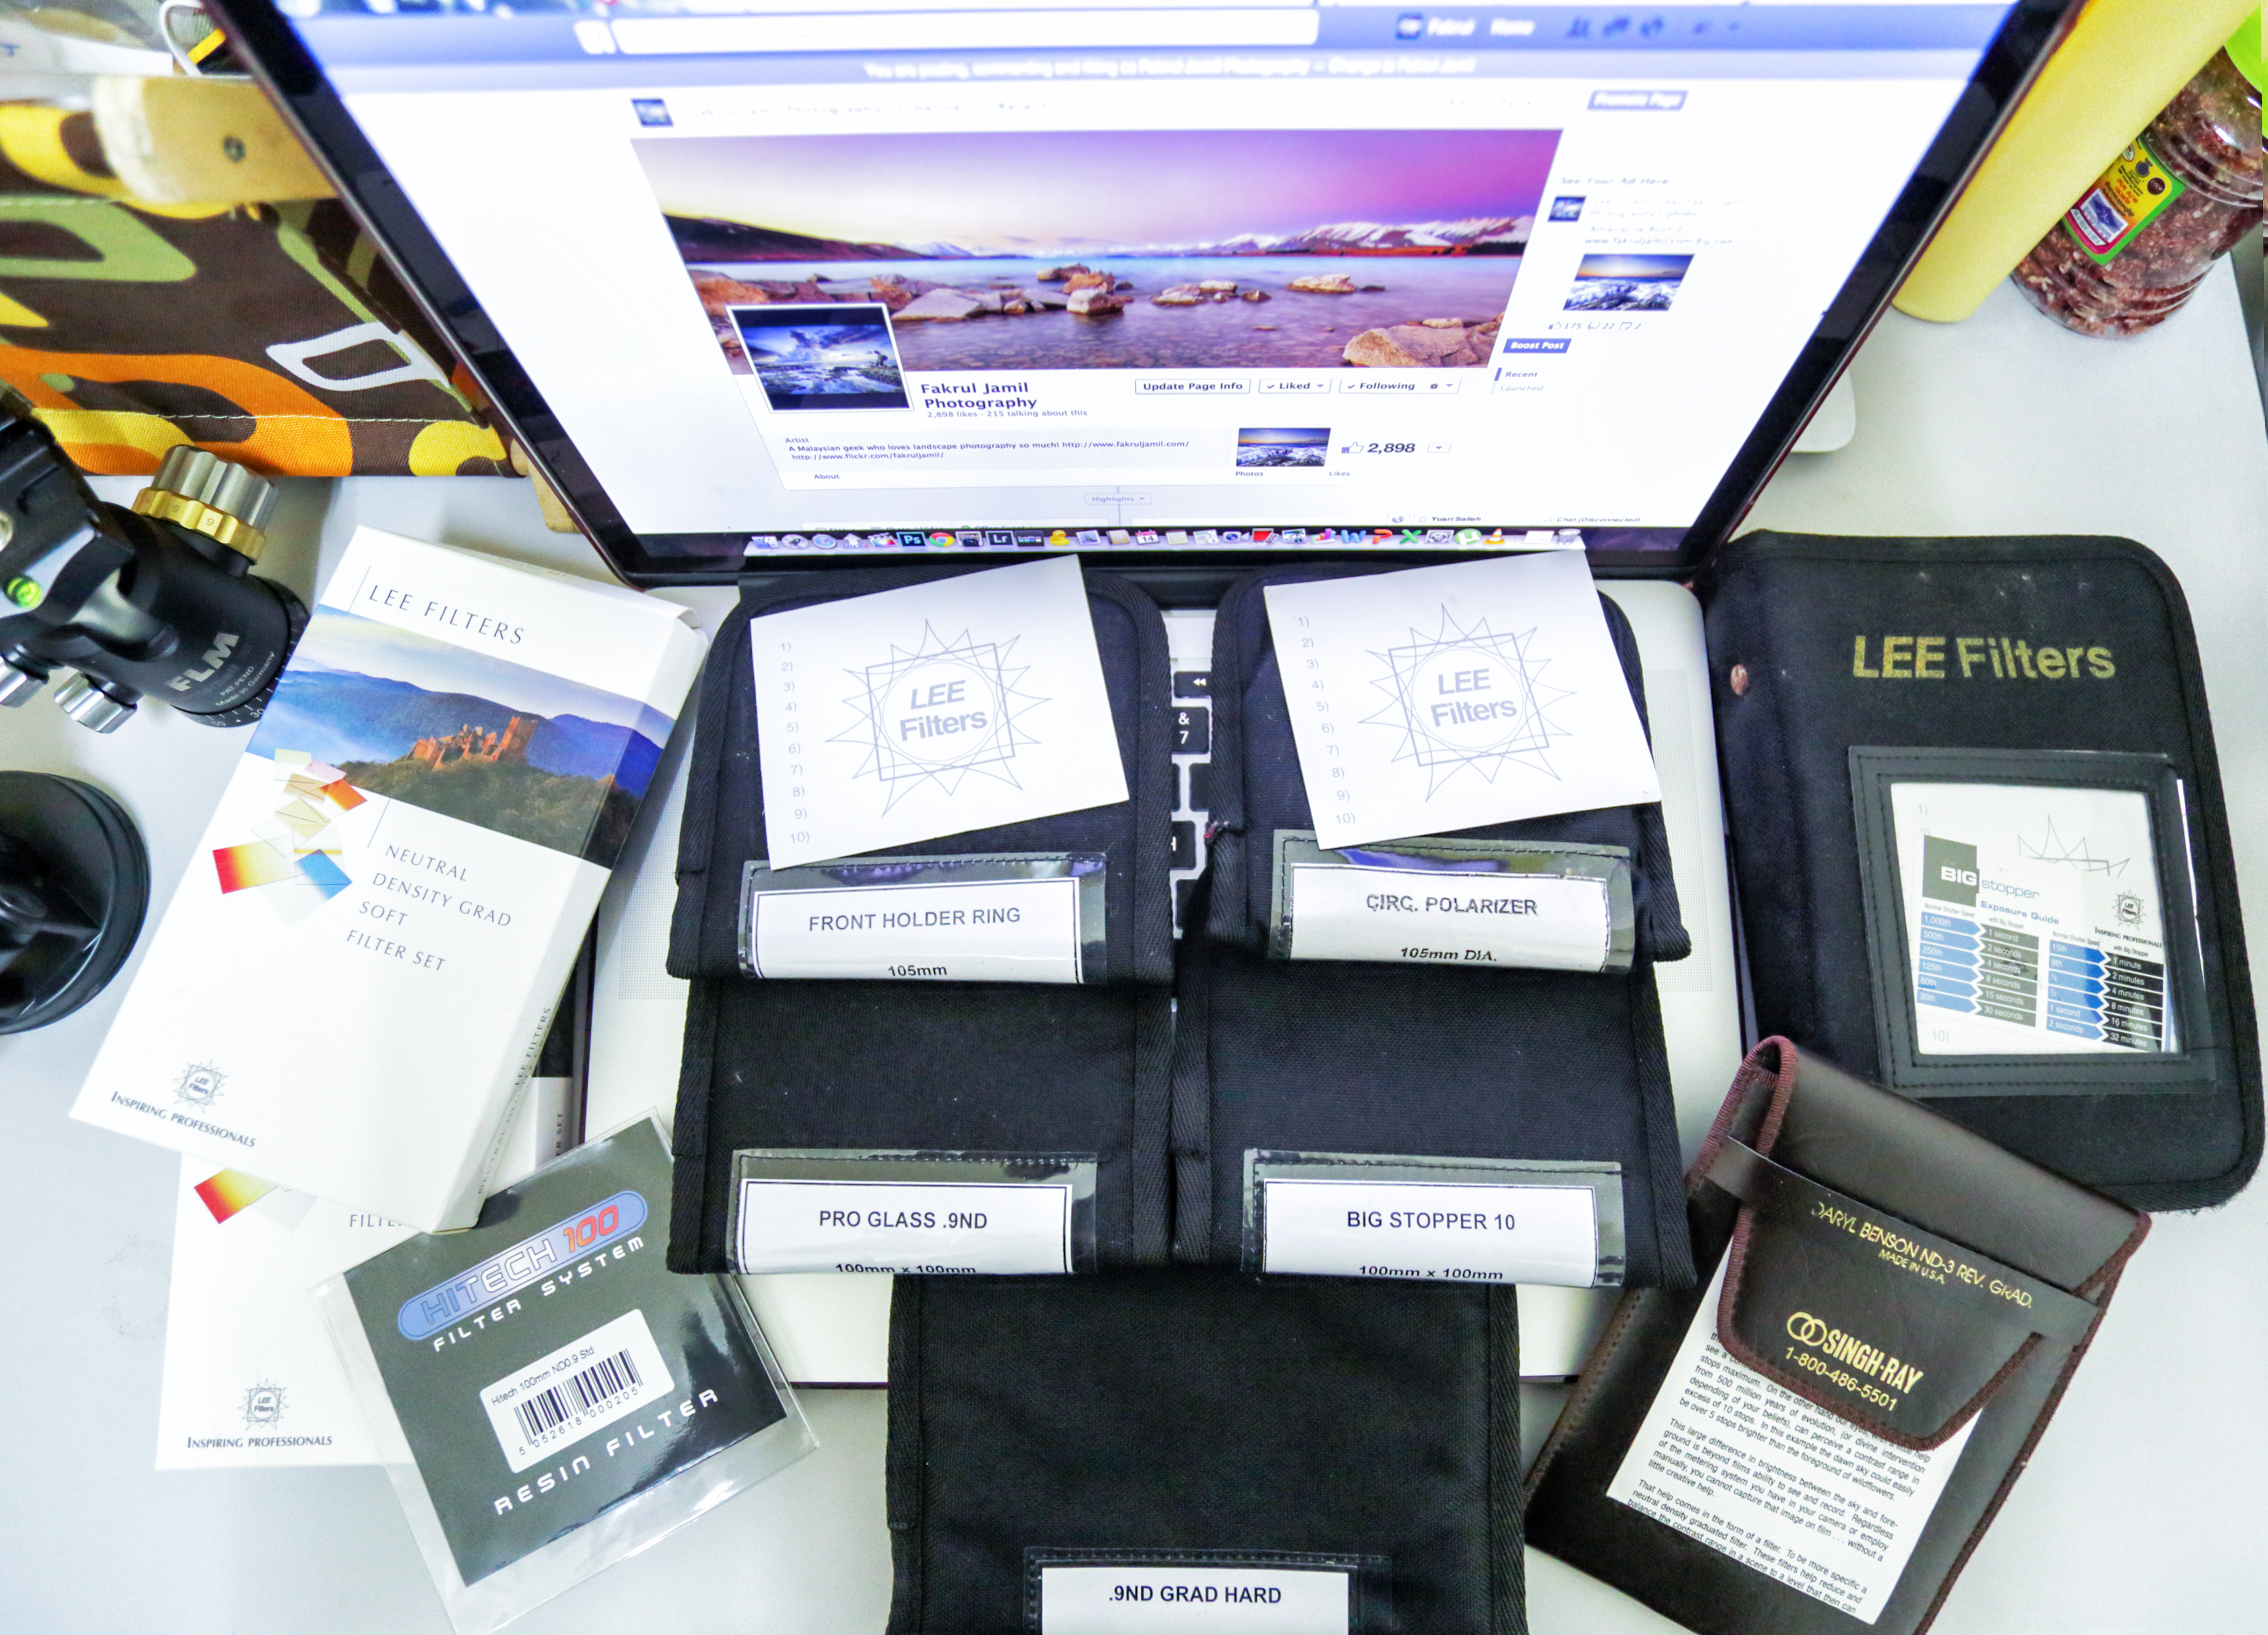
On this post, I just want to share what filter I use for my landscape shots. Each of these filter have its own use depending on the light source at the time. For example sunrise, afternoon and sunset. So check it out!
- 1,2 & 3 stops Soft & Hard Edge GND
- 3 stops Reverse GND
- 3 stops Full ND (Pro Glass)
- 10 stops ND aka Big Stopper
- Circular Polarizer (105mm)
LEE Soft Edge Graduated Neutral Density (GND soft)
I use this filter almost all the time. The softer edge of the GND makes it versatile to be use in all kind of landscape shooting and also cityscape.
So, let me breakdown the softer edges GND. It comes with a 1, 2 and 3 stops of density. Usually, the 1 and 2 stops is use during dawn, before the sun rises above the horizon or after the sun has fully set. The quantity of light at this time is low, therefore 1 and 2 stops is almost enough to balance the exposure. For 3 stops soft GND, I normally use it when the sun starting to set. Also you can use it anytime in the daylight (light source is not too harsh).
For example, this photo of Masjid Likas is shot at dawn, with a 2 stops soft edge GND.

Singh-Ray 3 stops Reverse Graduated Neutral Density (RGND)
I started using this filter after been ‘poisoned’ by a friend while shooting sunset at Malacca. I never knew before this that I required a reverse grad or what it can do. But after I’ve tried it myself, I bought it straight away. This filter is really amazing especially when shooting sunset, when the sun almost hitting the horizon, it will help darken that particular area only without affecting the whole sky. Thats amazing! Also, it produces brilliant colour! The downside is, if the weather is cloudy you will get a slight purplish colour cast. Also it cannot be use to shoot cityscape or anything that have buildings. It may still work, but you will get dark tones in the middle area of your image.
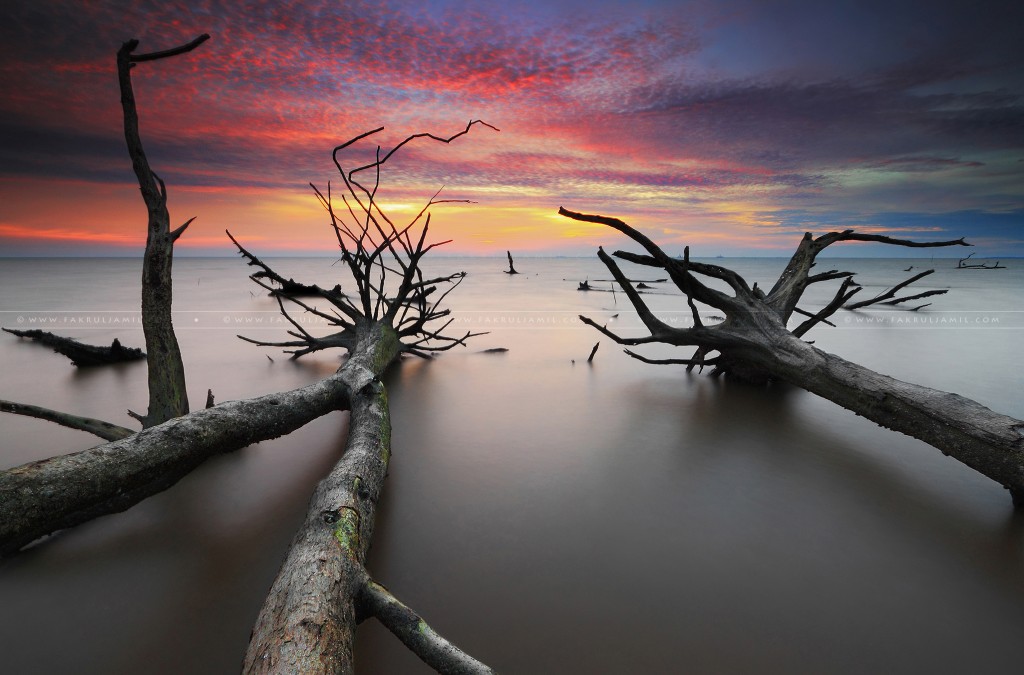
The Sea Guardians, Pantai Kelanang. Taken with Singh-Ray 3 stops RGND.
LEE 3 stops Full Neutral Density (ND) Pro Glass
If you love to shoot slow shutter or seascape of waves flowing at the beach, this is the filter you need to get. It helps to slower your exposure about 3 stops and you’ll be able to get the desired shutter speed to capture the waves motion.
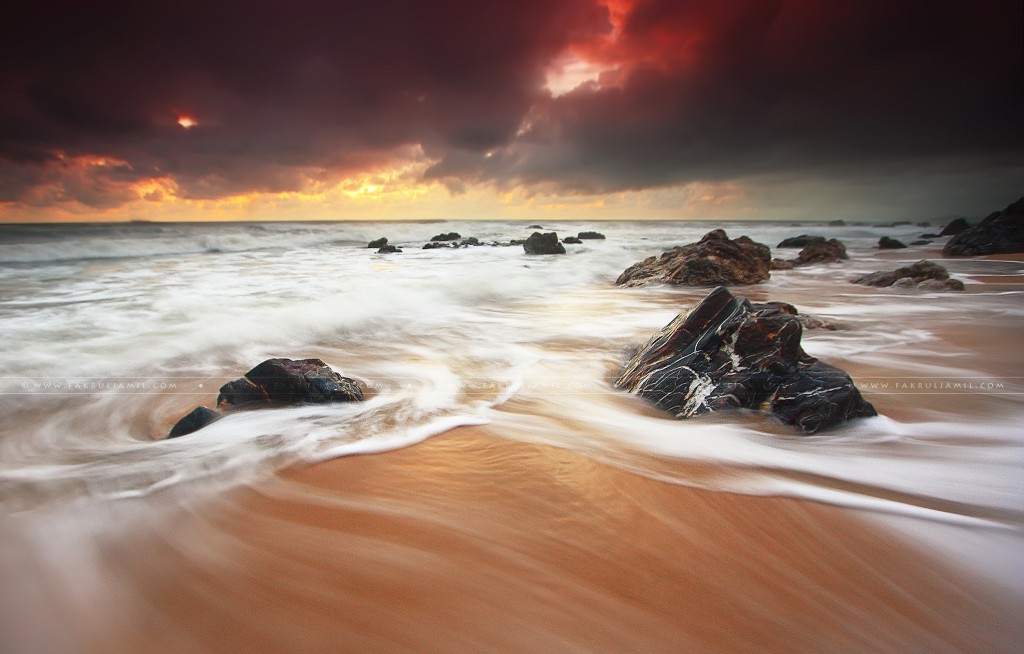
Rush Hour at Kemasik. Taken with 3 stops ND (Pro Glass) and a reverse grad.
LEE 10 stops Neutral Density aka The Big Stopper
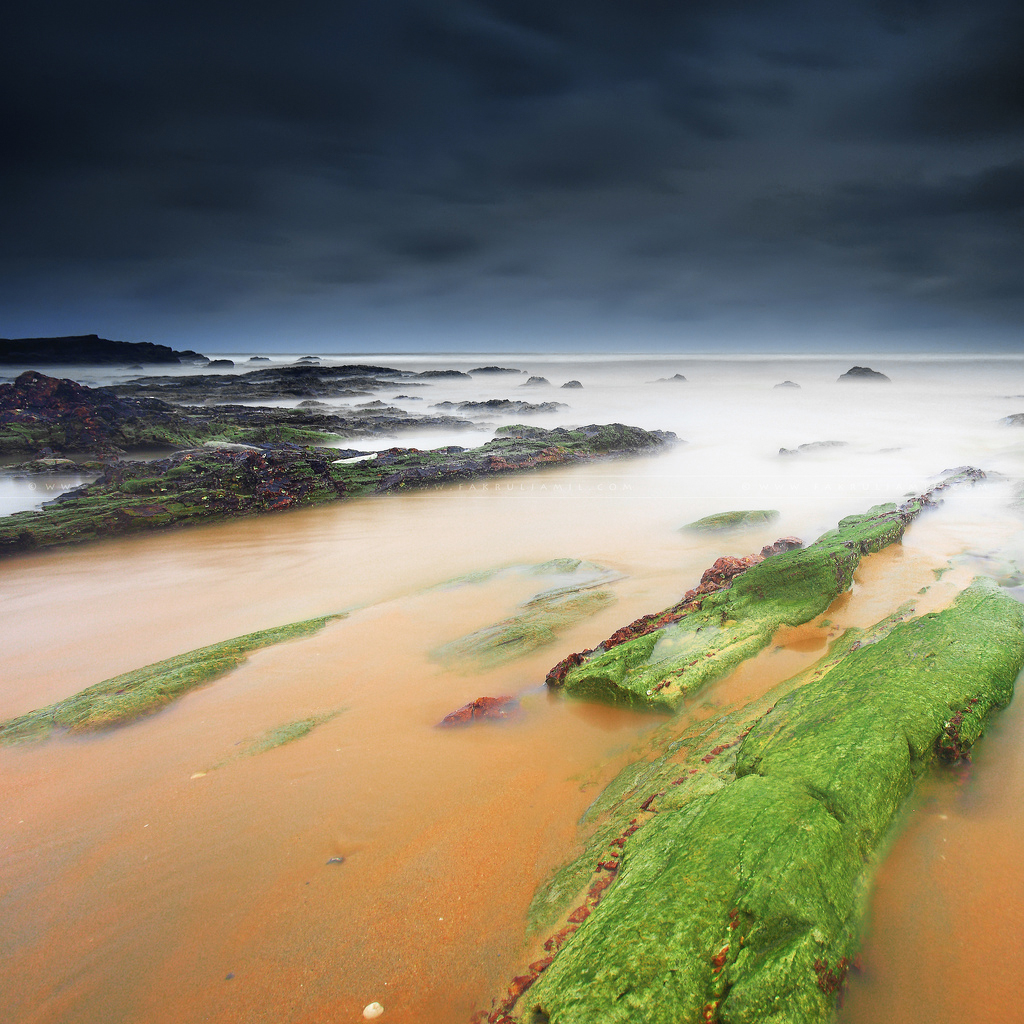
The Big Stopper is a filter especially made for long exposure photography. It gives you creativity to create a misty, dreamy look image. The best way to experience the effect is at the beach. This filter will make the ocean looks real calm and dreamy. Normally if you shoot at 30 secs exposure in a broad daylight, you’ll definitely get an overexposed image. Hence, to counter that problem is by using Big Stopper.
Lifeless Afternoon, Tanjung Jara. Taken with Big Stopper and 3 stops hard edge GND.
LEE Circular Polarizer (CPL)
Why use a CPL? The answer is to cut out some of the unwanted reflections in your shot. When light from the sun bounces off a flat non metallic surface, such as glass or water, it becomes polarised – i.e. all of the reflected light waves vibrate in the same plane. This reflected glare can be removed by the polarising filter. For example, CPL filter best work when shooting waterfalls and reflection.
Te Anau Downs, New Zealand. Shot with Big Stopper and CPL.

Recent Posts
- LIVE INTERVIEW: Future Traveler & Landscape PhotoFebruary 11, 2023
- Sony FE 14mm F/1.8 GM for Landscape PhotographyJanuary 22, 2023
- Alpha For Landscape - Timelapse PhotographyJanuary 16, 2023
- LIVE INTERVIEW: Future Traveler & Landscape Photo
Instagram
Popular Posts
- Milky Way Hunting in Chuping, PerlisJuly 12, 2016
- Landscape Photography Adventure to NZOctober 18, 2014
- Kelanang's Story - Cast AwayFebruary 8, 2012
- Milky Way Hunting in Chuping, Perlis

