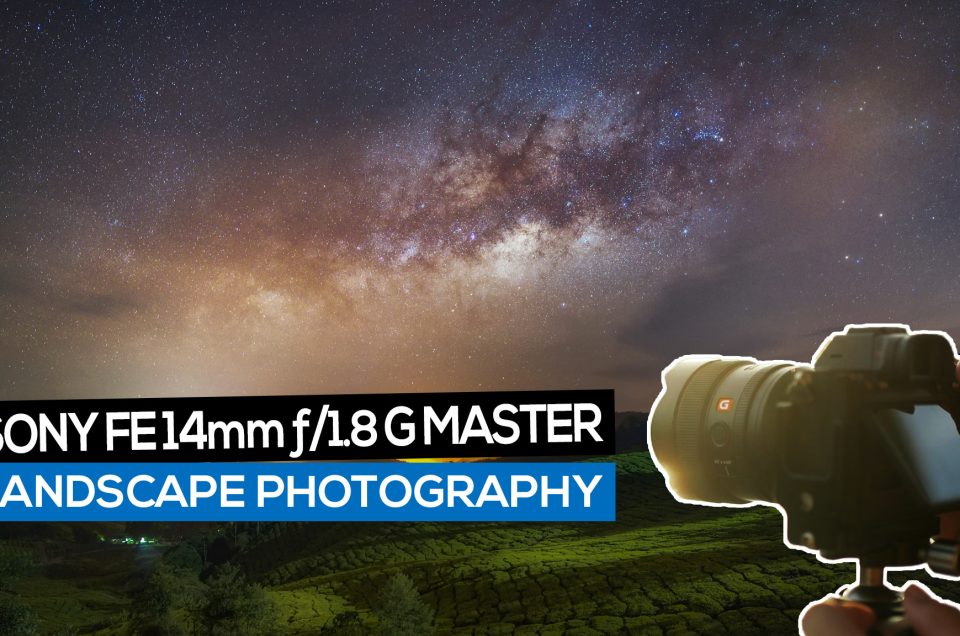
In this video, I share my opinion on the Sony FE 14mm F/1.8 GM lens for Landscape photography.
landscape photography
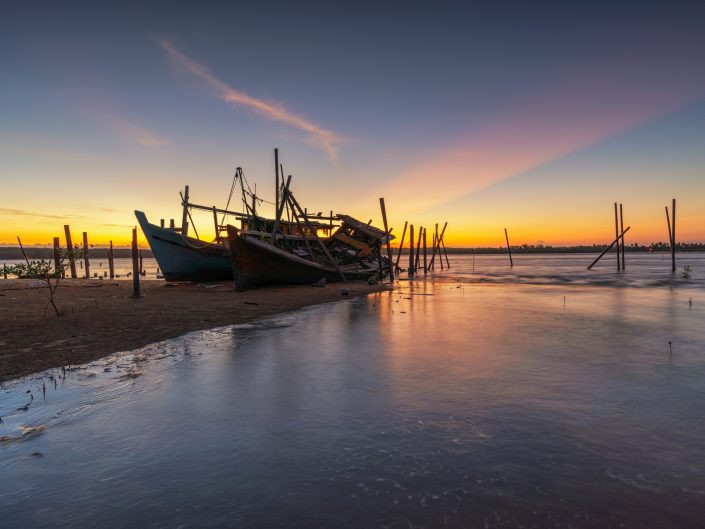
Shooting sunrise and landscape photography in a small village called Rompin in Pahang, Malaysia. It’s about 4 hours drive from Kuala Lumpur.
Enjoying sunset and landscape photography in Cherating, Pahang, Malaysia.
In this video, I share how I first started in landscape photography 10 years ago.
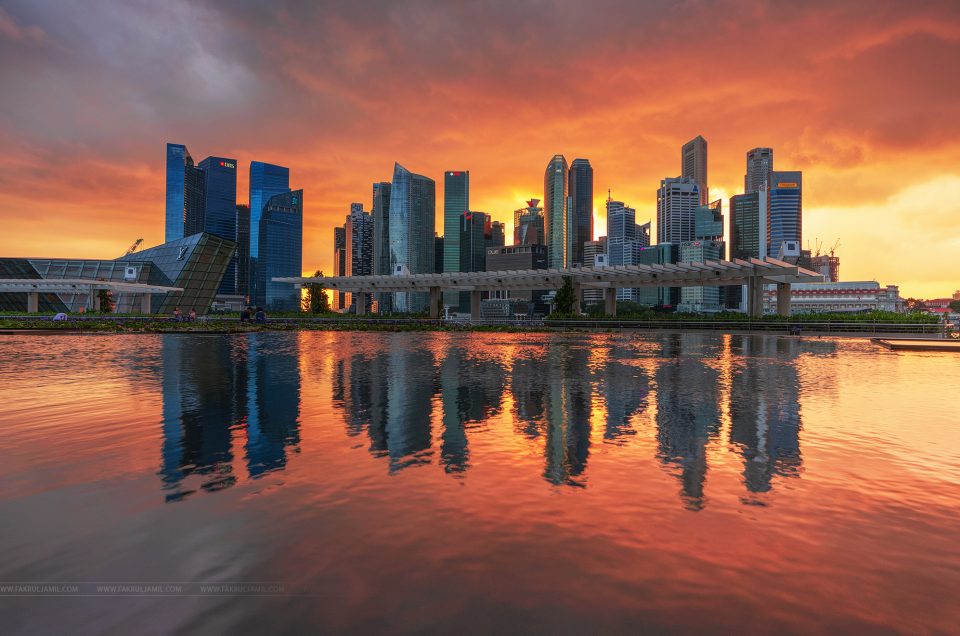
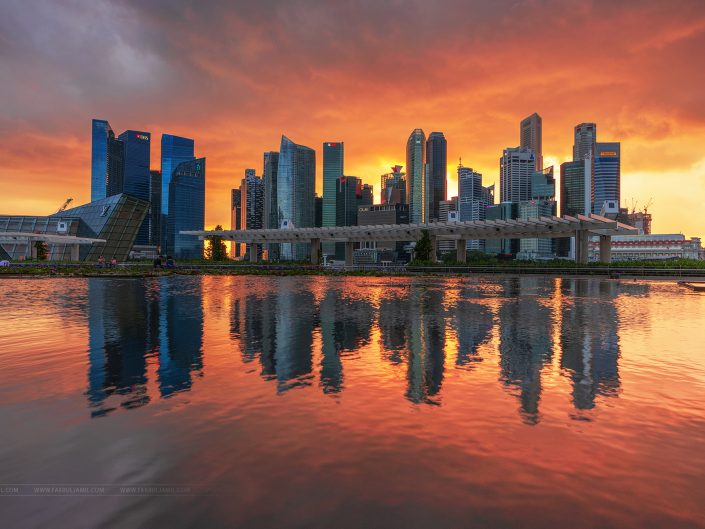
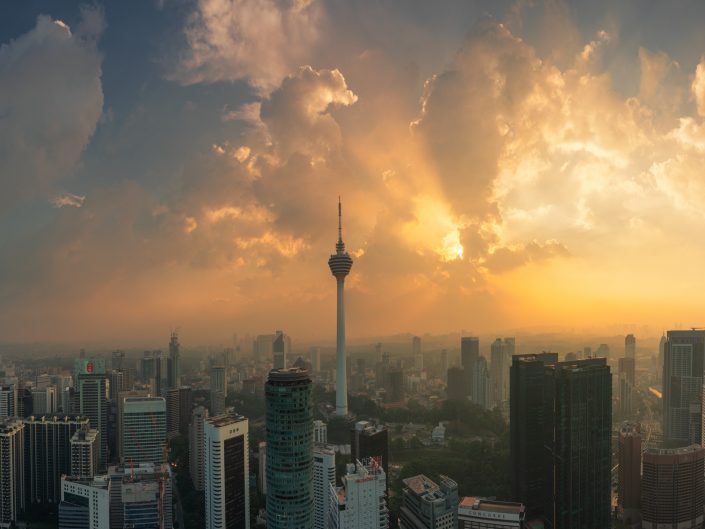
After a couple of visits, I finally managed to get this single shot that I wanted for quite some time. But I had to work a bit more for this shot. More stories below.
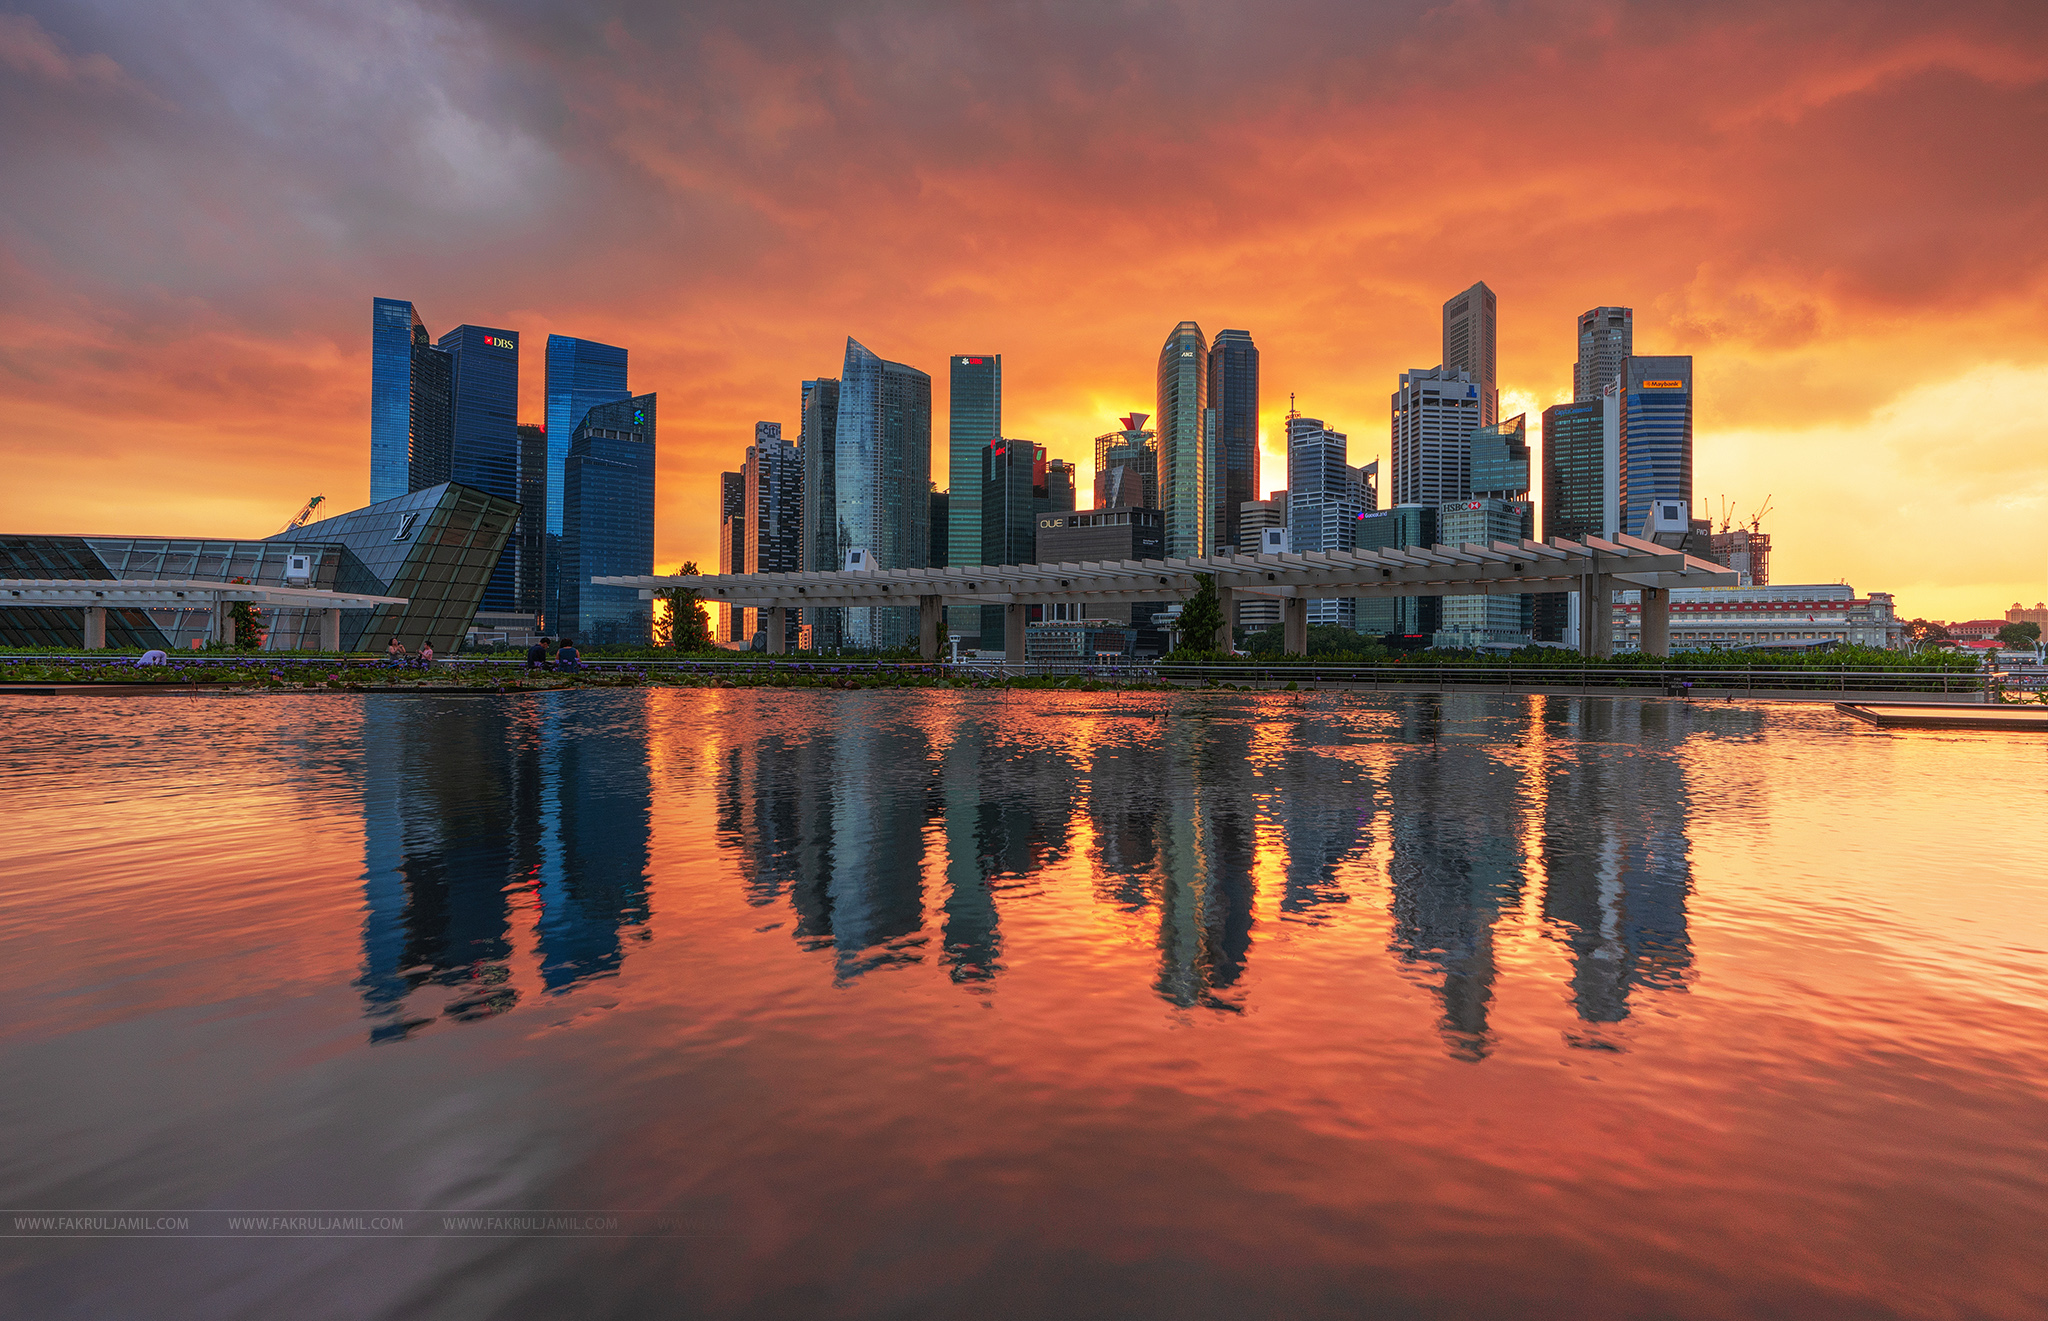
Sony A7RIII + FE 16-35mm F/2.8 G Master + NiSi V6 Holder with Landscape CPL
My hotel was 2km away from this location and I thought I have a bit more time because the sun only set in 40 minutes time. So I was walking leisurely until I notice the sky starts to change dramatically and it also looks like rain is approaching as well.
I still had like 1km to go and I know I can’t afford to miss this moment so I decided to ran frantically with all my equipment all the way to the museum. Luckily I still had a bit of stamina left so I managed to reach the spot just in time and the skies are just getting better and better.
So I didn’t know that the museum closed at 7 pm, this is when I got kicked out nicely by the lovely lady guard. By this time, the color in the sky has faded completely and just in split second, it rained heavily. I’m so glad that I ran for this shot!
For quite some time, NiSi Filters have taken the photographic filter market by storm, especially amongst the landscape photography community. Prior to 2016, I have used many filters available on the market namely – Cokin, Hoya, B+W, Hitech and Lee Filters. Most of these filters did the job, more or less, but I was looking to upgrade to a more robust, customizable and higher quality system that will benefit me when I’m out shooting in the field.
Full disclosure, since end 2016, I have been part of the Malaysian NiSi Filters ambassador. However, everything in this review will remain completely unbiased as possible.
Earlier this year, I was contacted by NiSi and they asked me whether I wanted to do a review and some videos for their new V6 Holder. Of course, I had to say yes. So here we are.
Today, we’re gonna be looking at the new and latest 100mm filter holder system from NiSi, the V6 Filter Holder Kit.
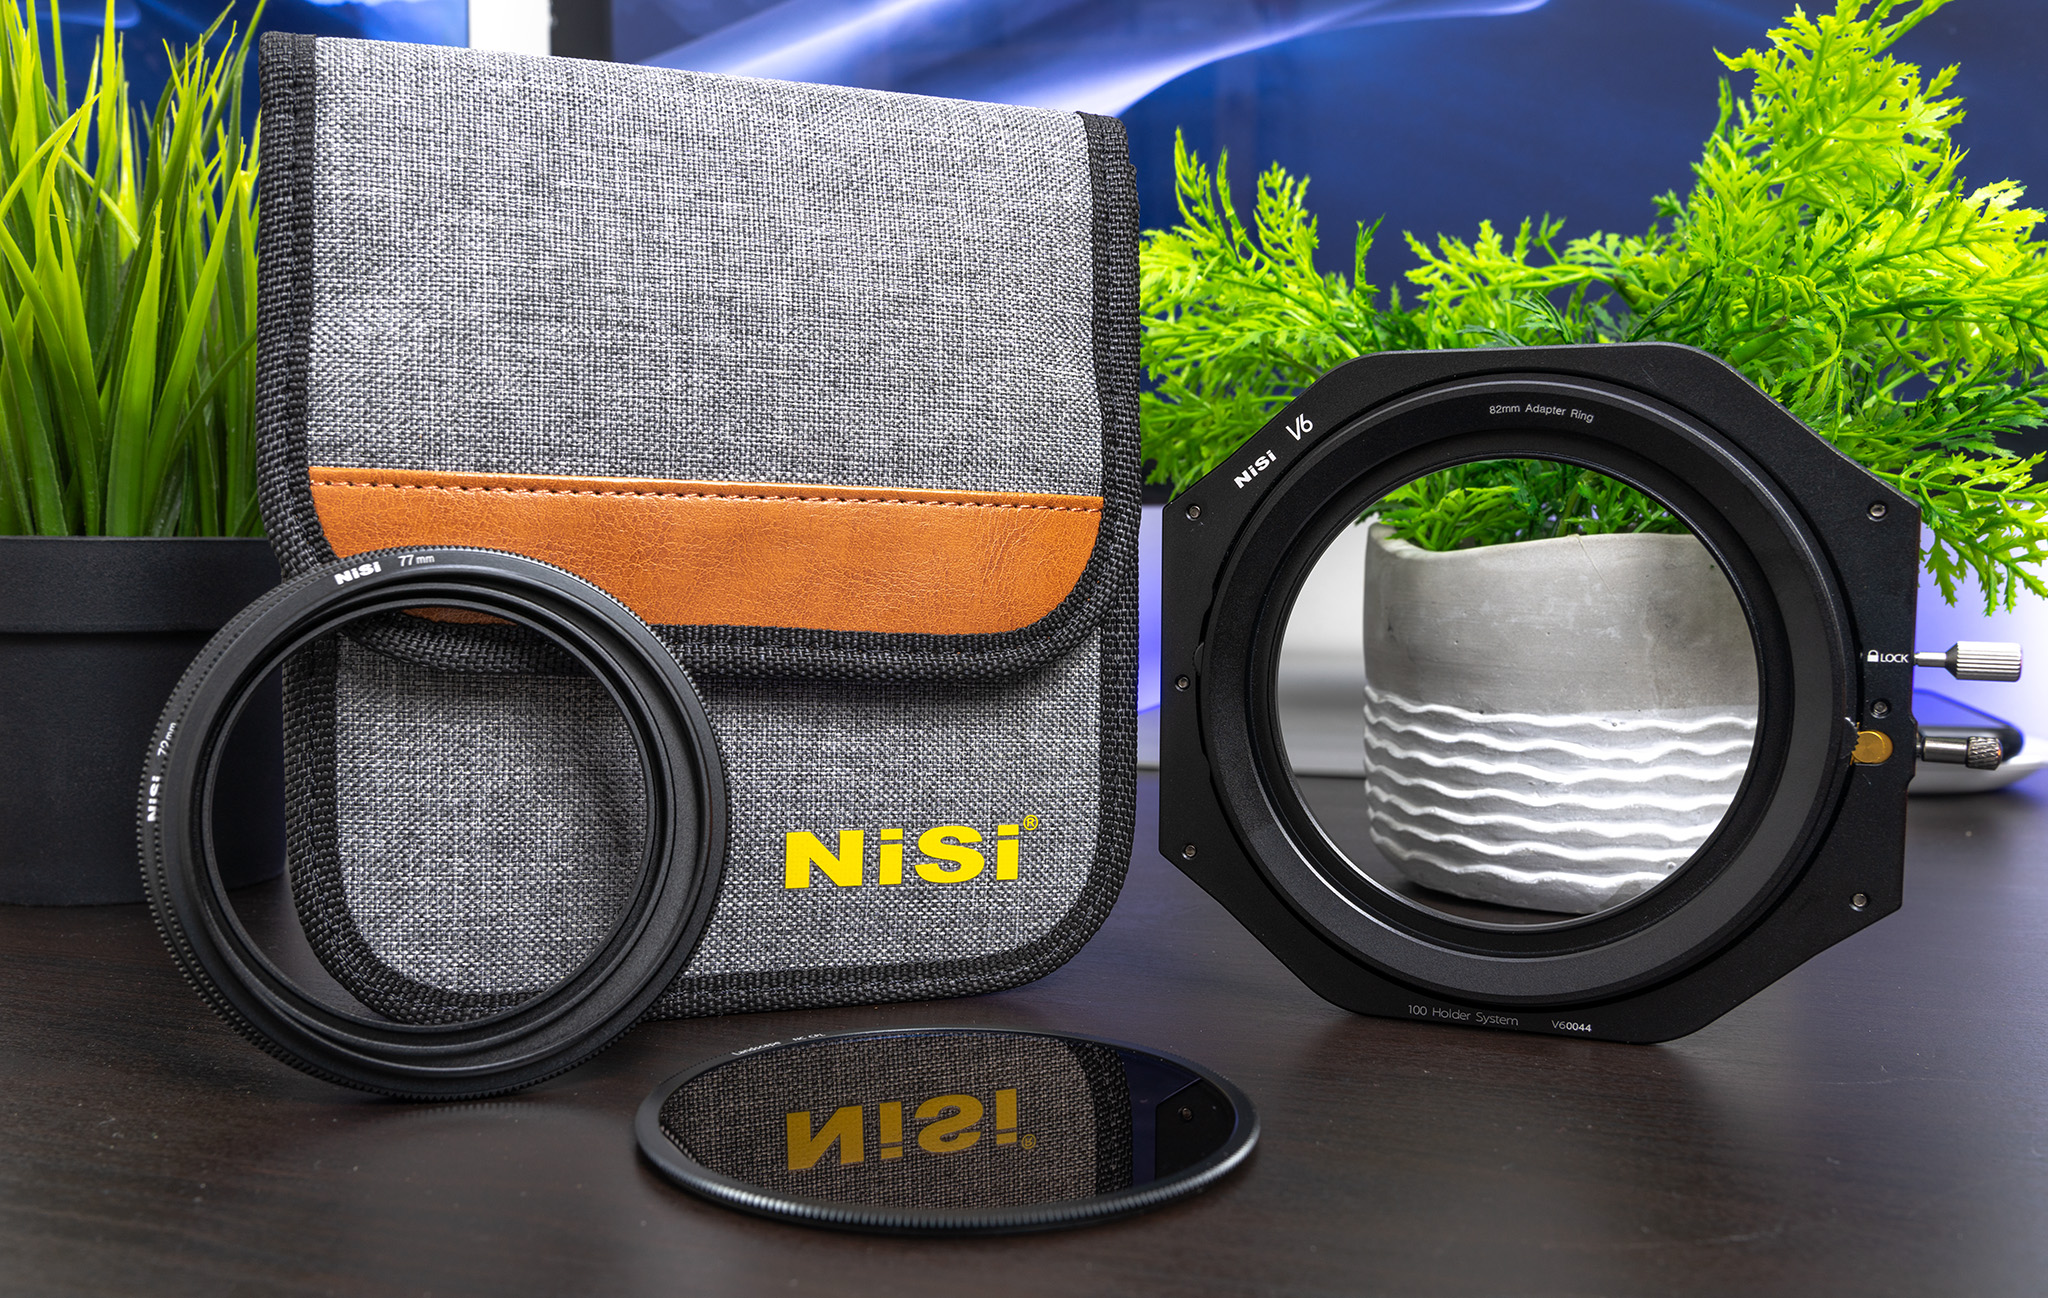
Packaging
Before this, the NiSi V5 Pro Filter Holder kit comes with a hard filter holder case. This time, they have replaced it with a soft-pouch case that feels really nice to hold and much more practical to use.
What’s Inside the Box of NiSi V6 Kit?
- Filter Holder Case (Pouch case – ideal for travel)
- V6 Filter Holder
- 82 Main Adaptor Ring
- Enhanced Landscape CPL
- 67-82mm Adaptor Ring
- 72-82mm Adaptor Ring
- 77-82mm Adaptor Ring
- Instruction Manual (which I’ve never personally looked at)
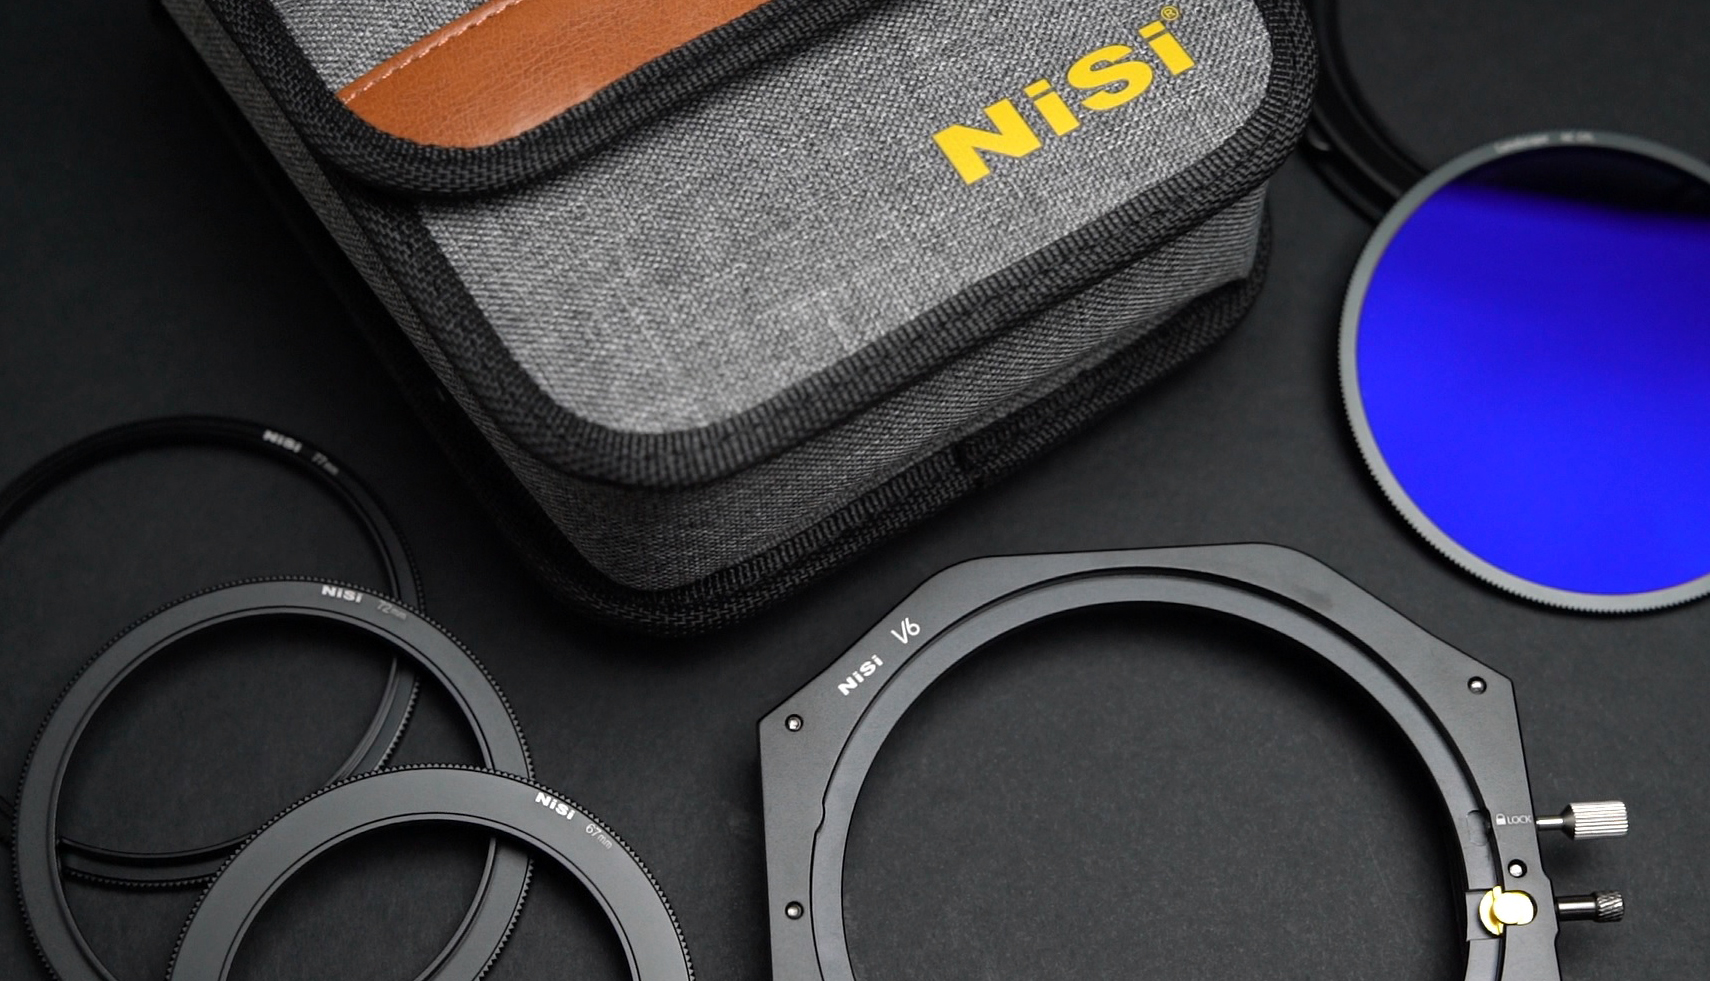
And upon unboxing it, I immediately notice that this time the V6 holder came with plastic wrapped which is something new. Nonetheless, the same care and detail in the packaging have been pretty much the same.
V5 Pro vs. V6 – What’s New?
Appearance
At first glance, the V6 Holder looks slightly smaller than the V5 Pro. This is because NiSi has redesigned the shape with purposes. From my personal experience, I found some difficulty when I wanted to remove my ND filter once a GND filter has been slotted in. With V6, NiSi has appropriately shaping the corners allowing quick insertion and removal of ND filters with ease.
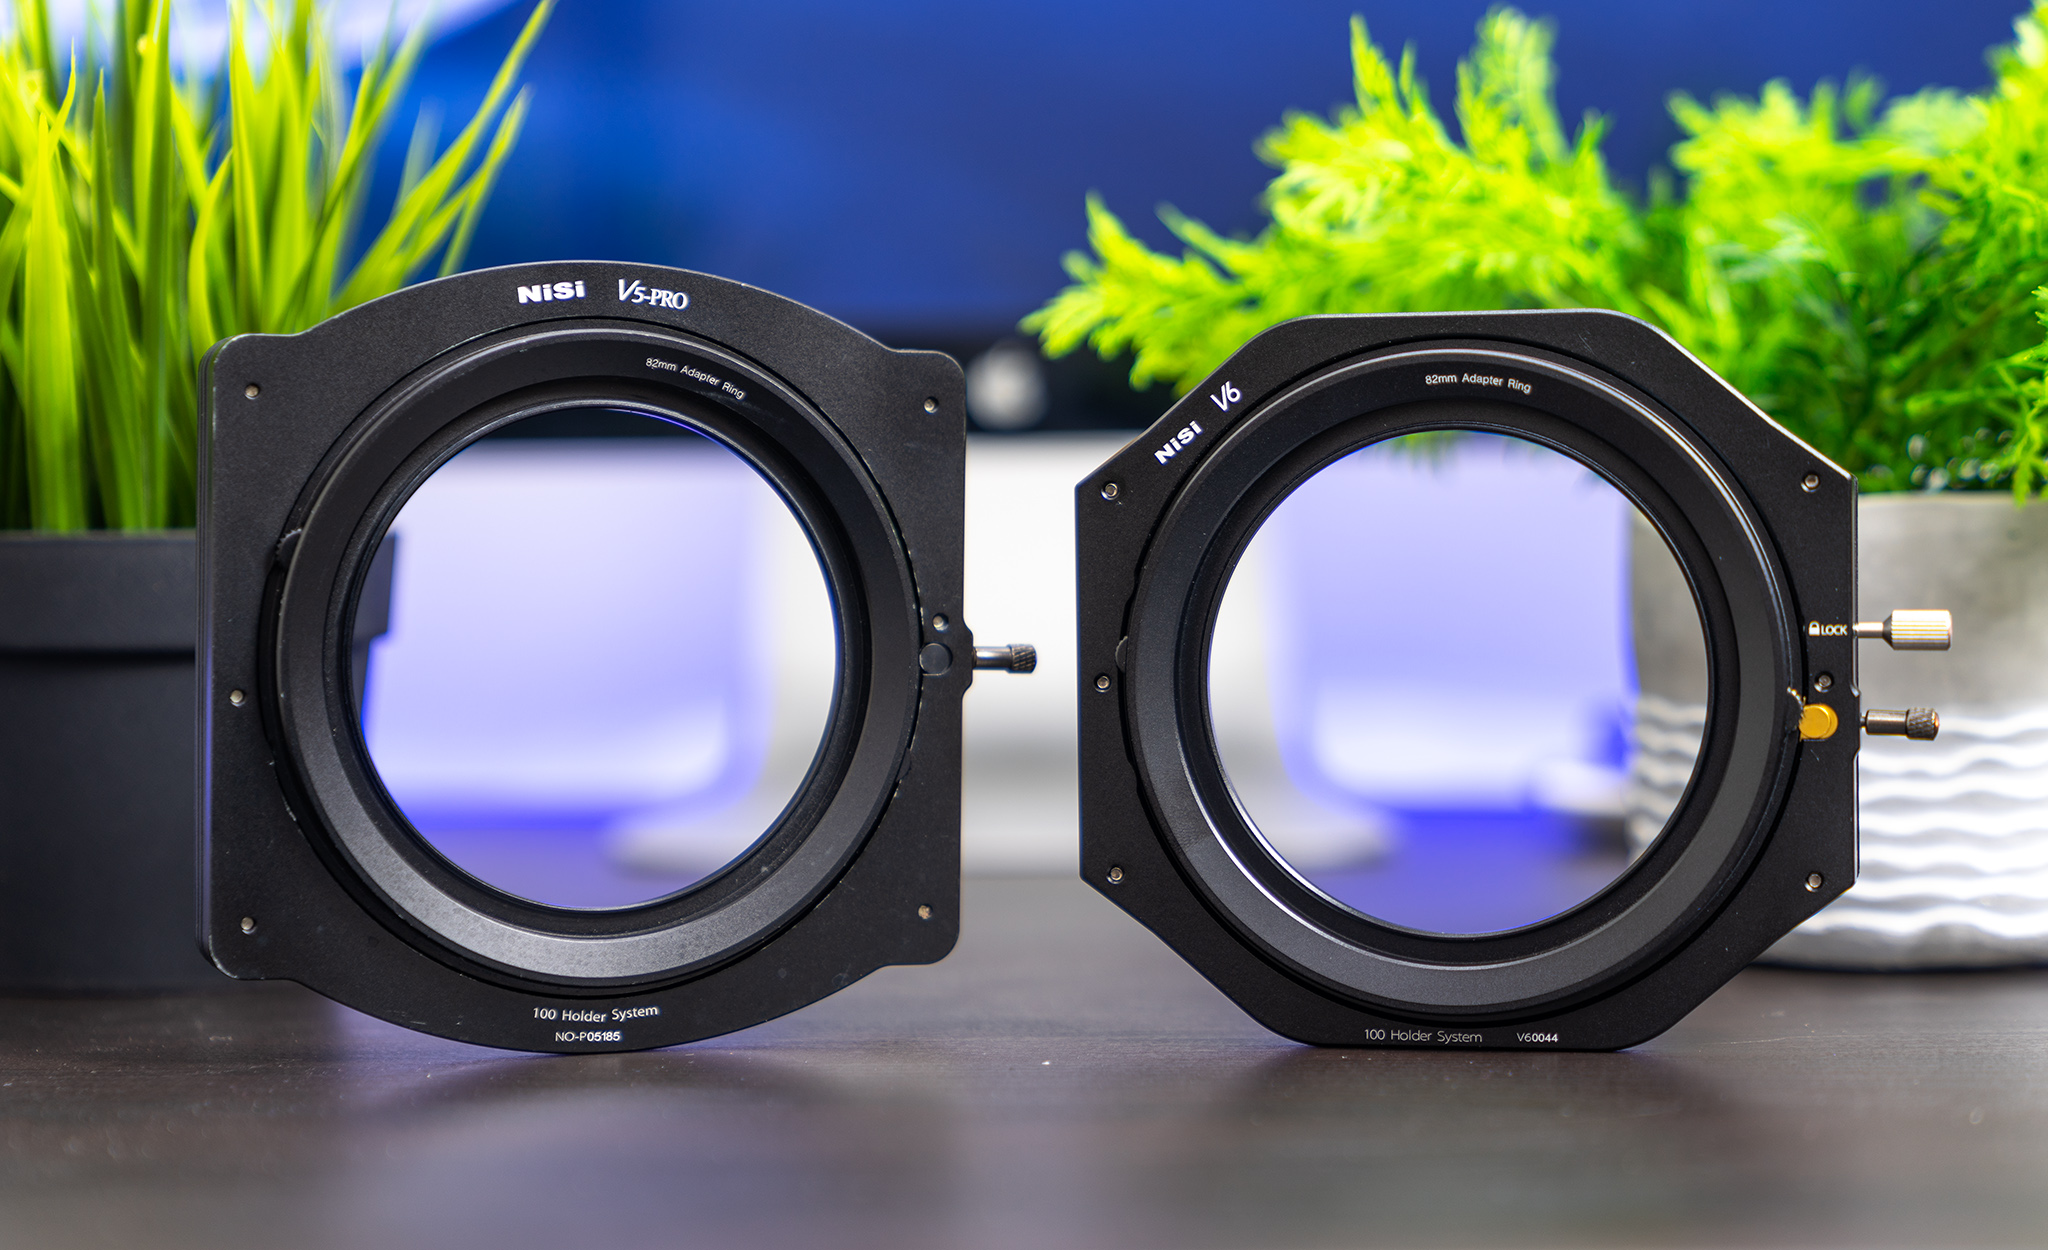
NEW Locking Screw
The new locking screw helps you to secure the holder from moving around and lock the angle of the holder in the position in which it’s set. This is important to avoid any movement of the holder during the phase of insertion or removal of a filter. It provides more stability while maintaining functionality for landscape photographers.
The lower knob, which can be found in V5 Pro, it helps to engages/disengages the holder on the adaptor ring.
Functionality/Usability
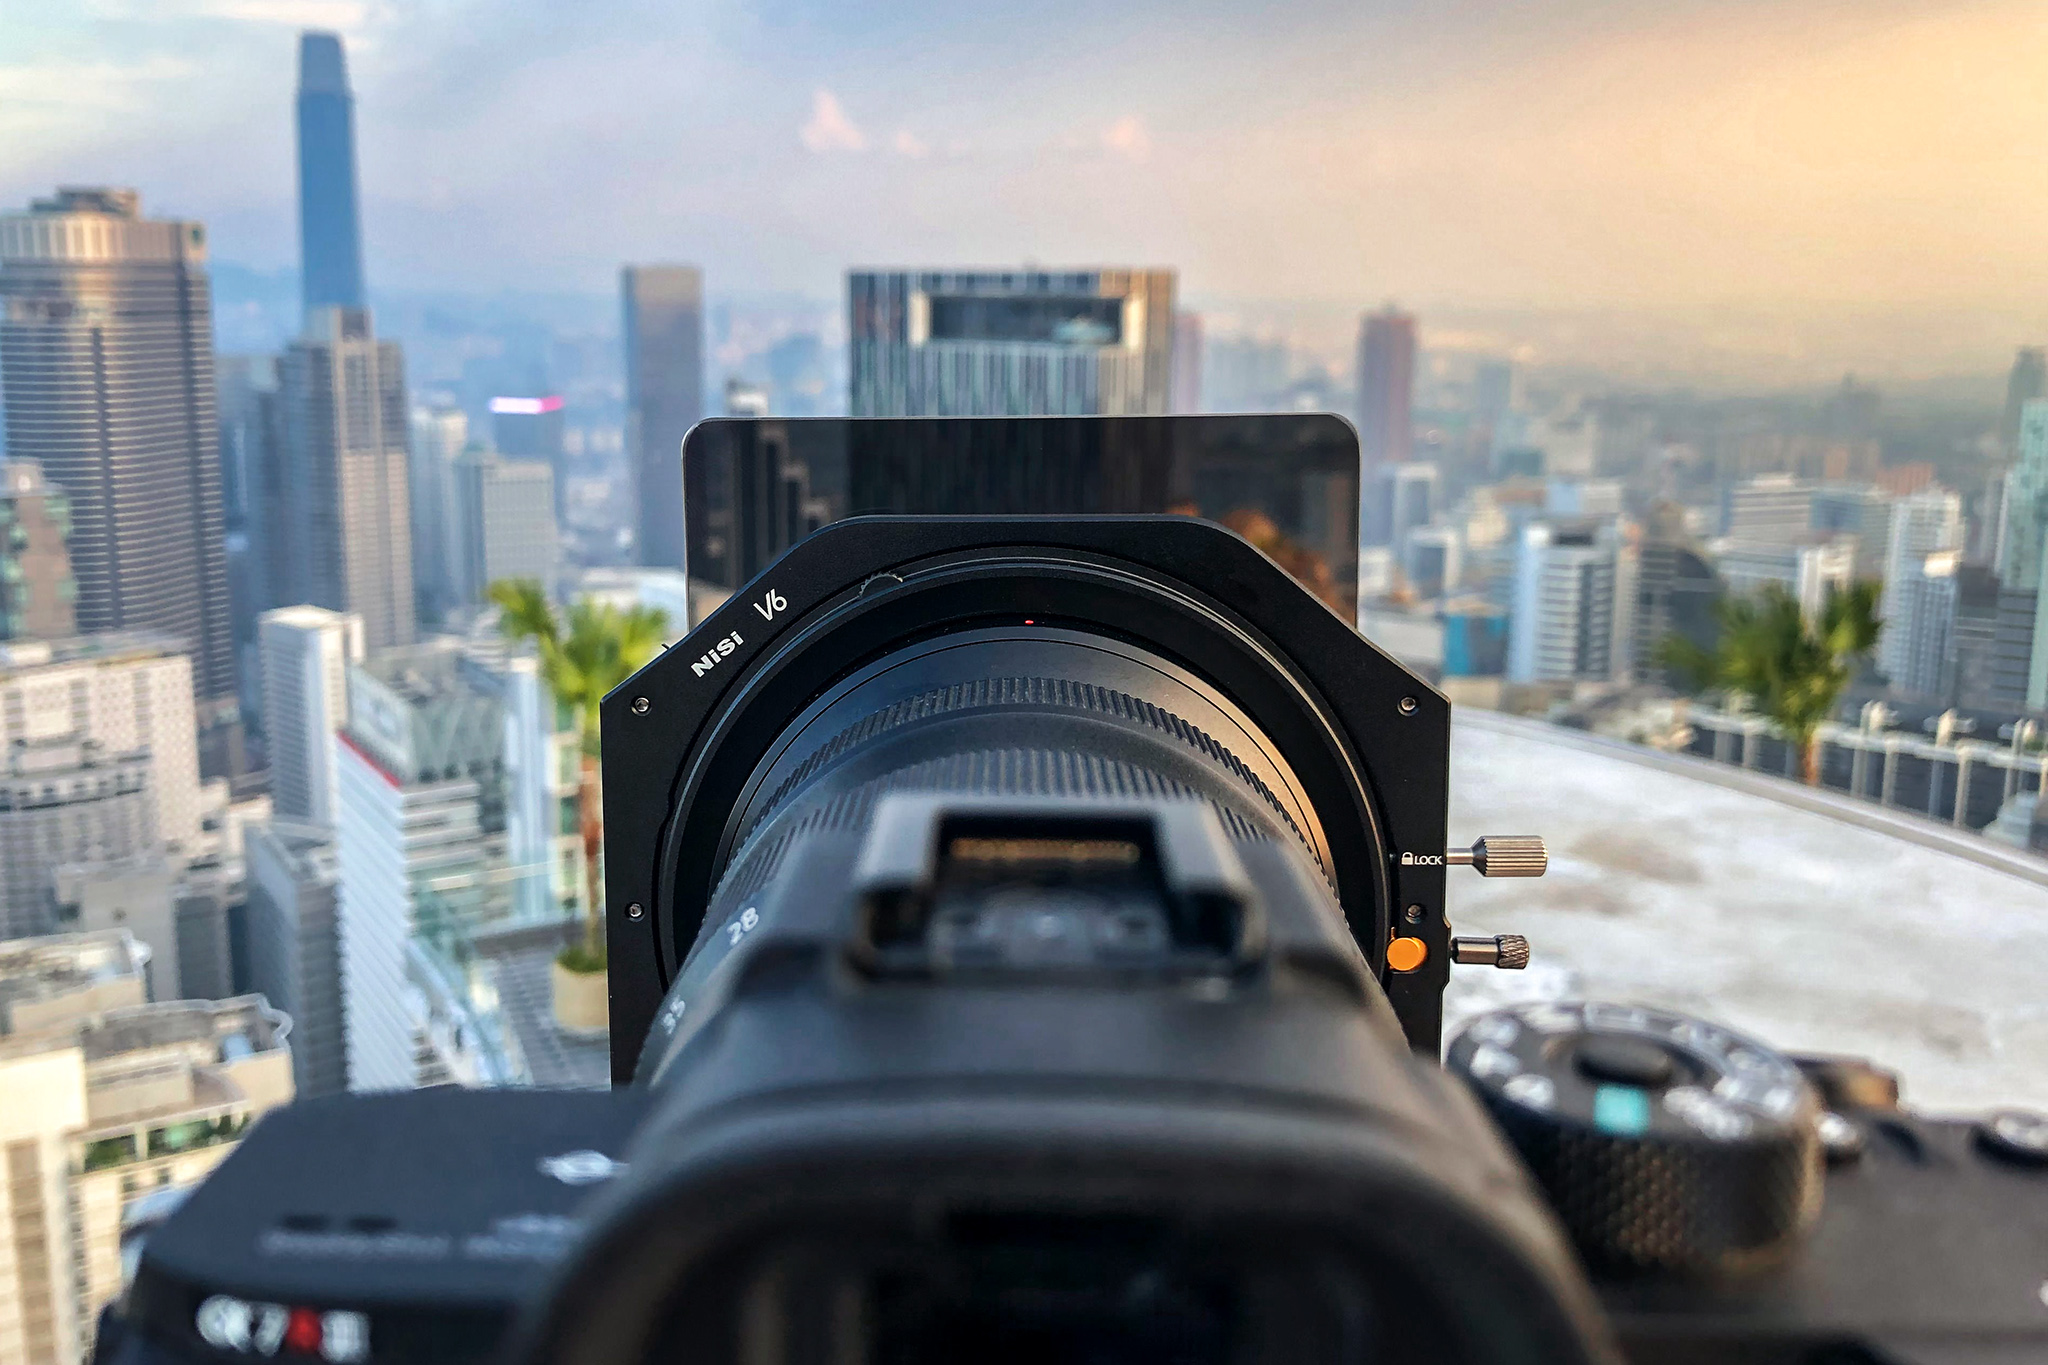
Simple and easy to use. NiSi has optimized the design of their 82mm main adapter ring with this V6 Filter Kit. This allows quick installation and removal of the CPL and the new slots on the V6 Holder are designed for smooth filter insertion. And the ease of CPL rotation is like nothing else on the market. Probably my favorite feature which can be found on both V5 Pro and V6.
Summary

Things I love:
- Comes with soft-pouch case, not the hard case anymore
- Comes with three additional adaptor rings
- Exceptional build, solid and more compact
- Includes a Landscape CPL
- Finger/thumb dials for rotation of CPL
- No vignetting (even at 16mm)
- Huge selection of ND and GND filters
Conclusion
If you’re looking for a high-quality filter system, both in terms of image quality and build quality, you really can’t look past the NiSi V6 Filter Holder system. And let’s be honest, aren’t we all looking for optimal quality, especially when it’s something we’re putting in front of our already incredibly expensive lenses?
Images Taken with The NiSi V6 Filter Holder Kit (And Various ND’s)
I made couple of videos about the new holder. Check out below. Feel free to subscribe to my Youtube channel!
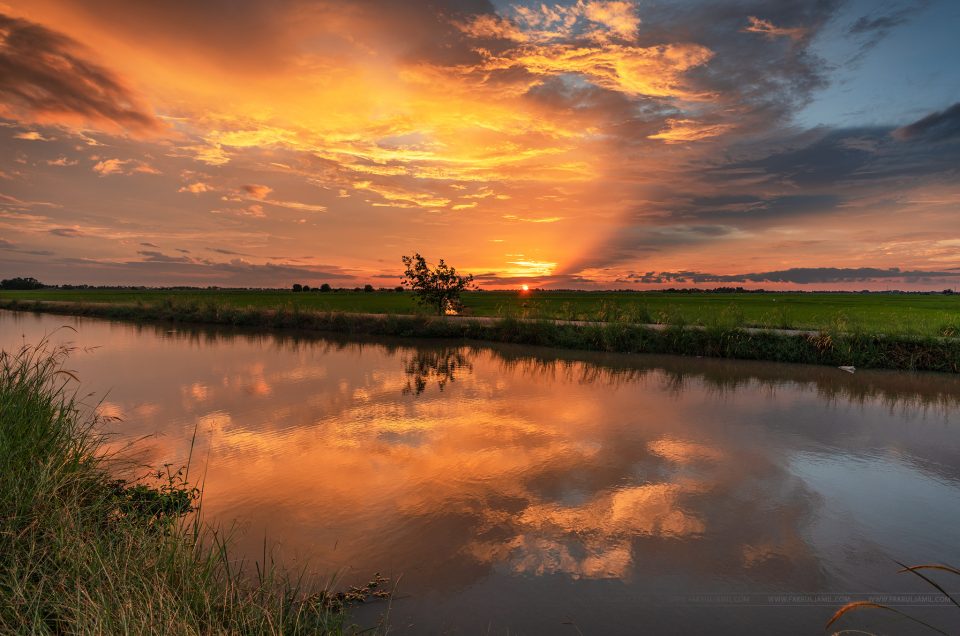
I went back to my hometown in Alor Setar, Kedah during the final few days of 2018 to visit my parents. The weather was astonishingly hot during the day and it rained almost every evening. On the last day of 2018, it rained, as usual, that evening. But it stopped around 7.10pm and I was about to go out to collect takeaway food for our dinner when I saw the skies are starting to explode with colors. I ran back inside and grab nothing but my camera, the Sony A7R Mark III camera with FE 16-35mm F/2.8 G Master lens. Then I quickly drove off into a small road behind my parent’s place which leads to this small river stream that is surrounded with paddy field. By the time I reached at one corner which has enough space to park my car, the sky was already on fire!
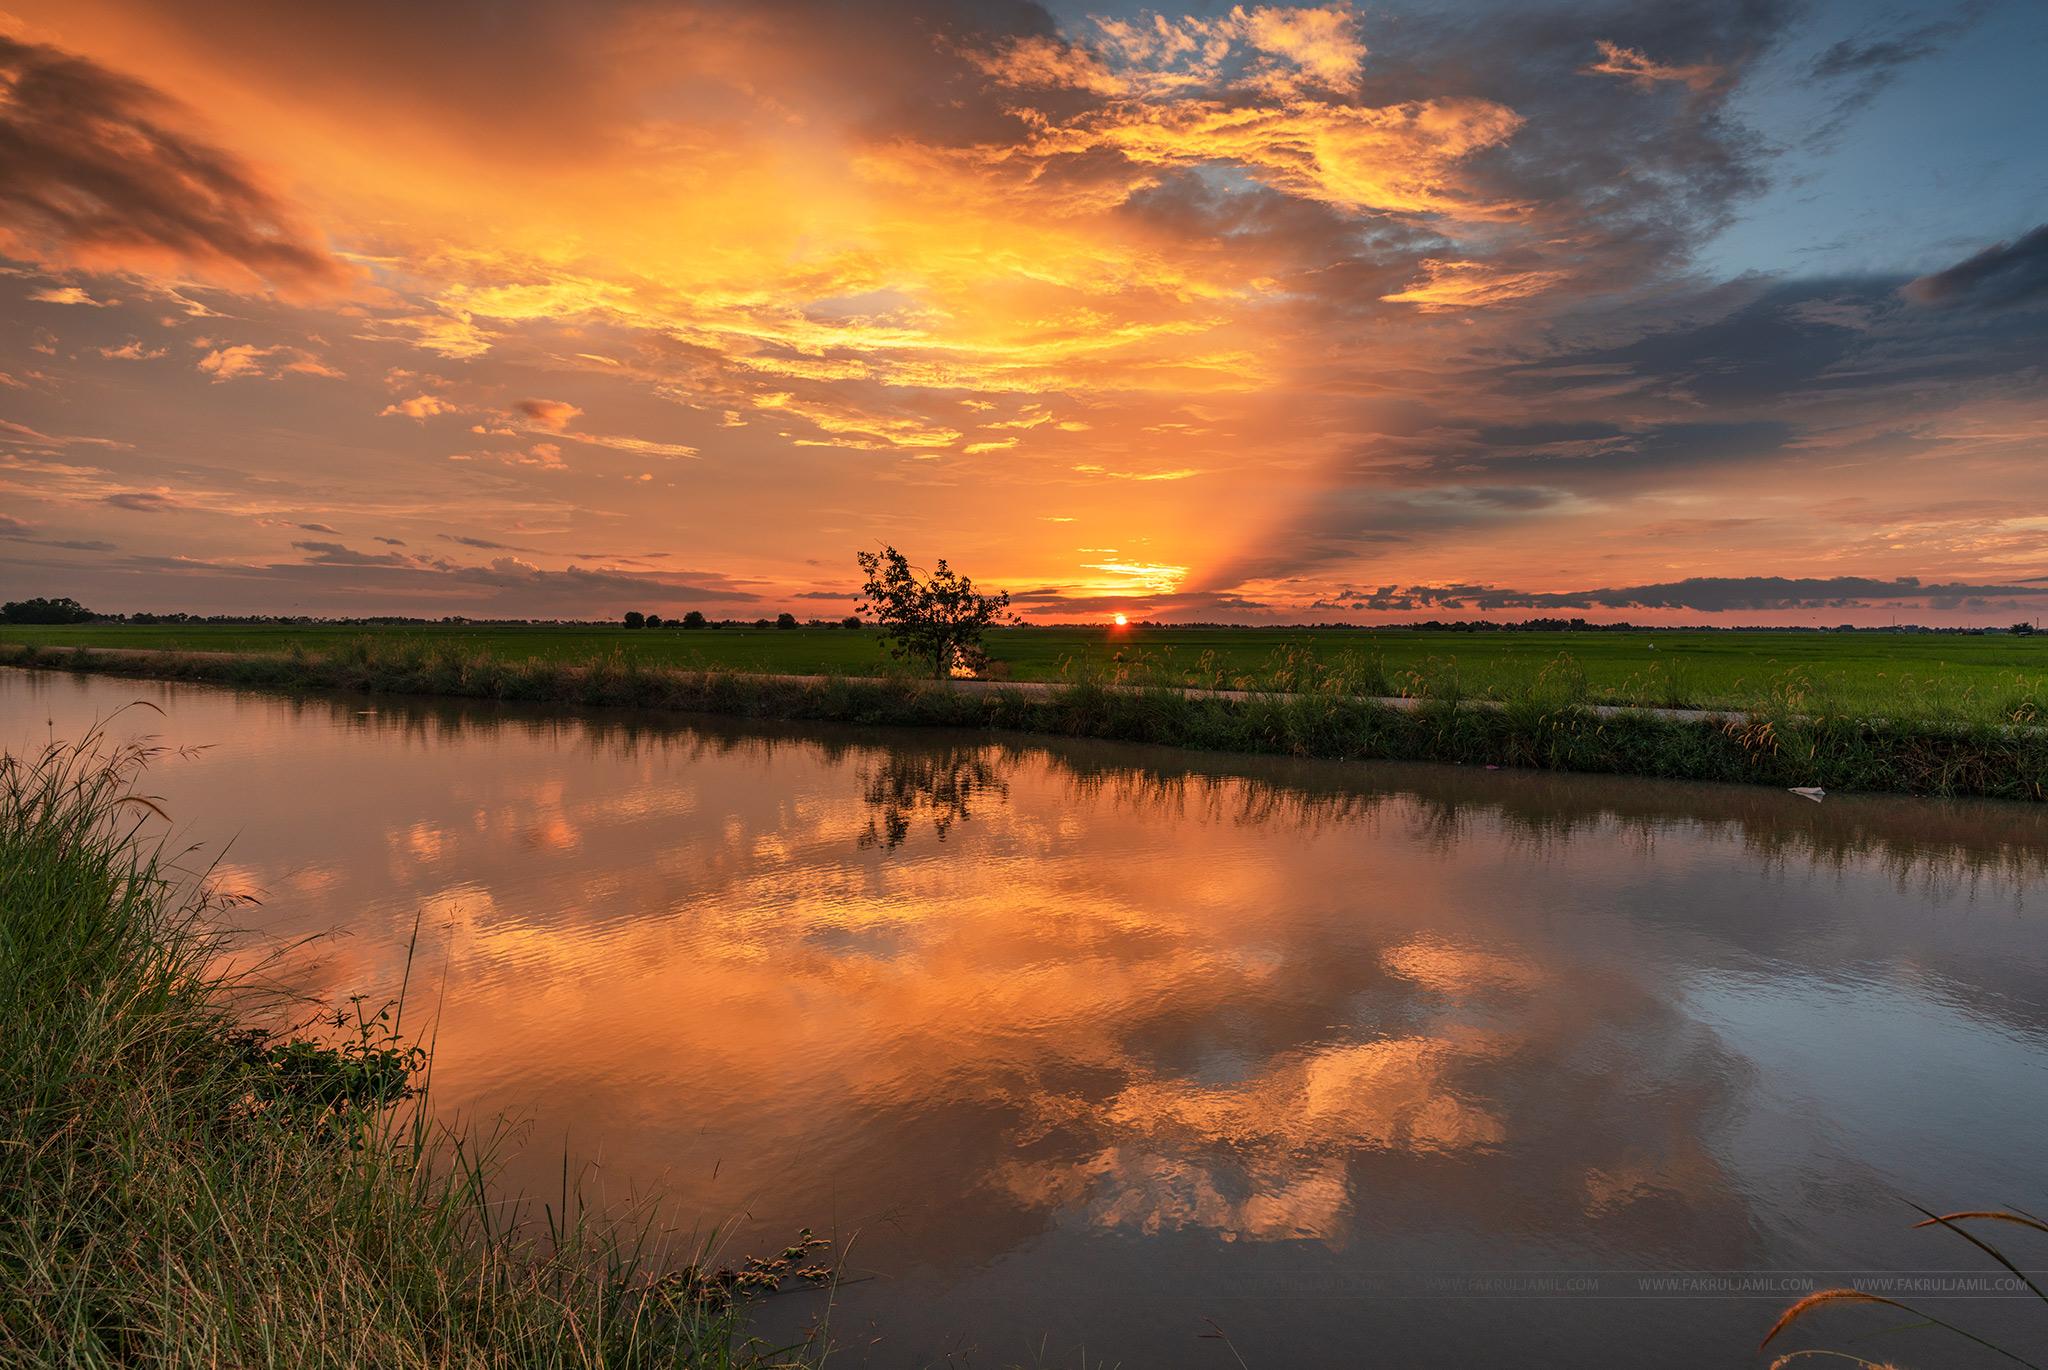
Thanks to Sony IBIS (In-body Image Stabilization), I managed to get tack-sharp images handheld, even in low lighting conditions. What a really useful feature to have!

A puddle of water is always handy when it comes to photography, especially when the skies is burning like this! A nicely timed shot when this motorbike passing through as I went on low to get the reflection. Anyway, thanks for taking your time to read until this and if you did, much appreciated! Until my next post then, wassalam..
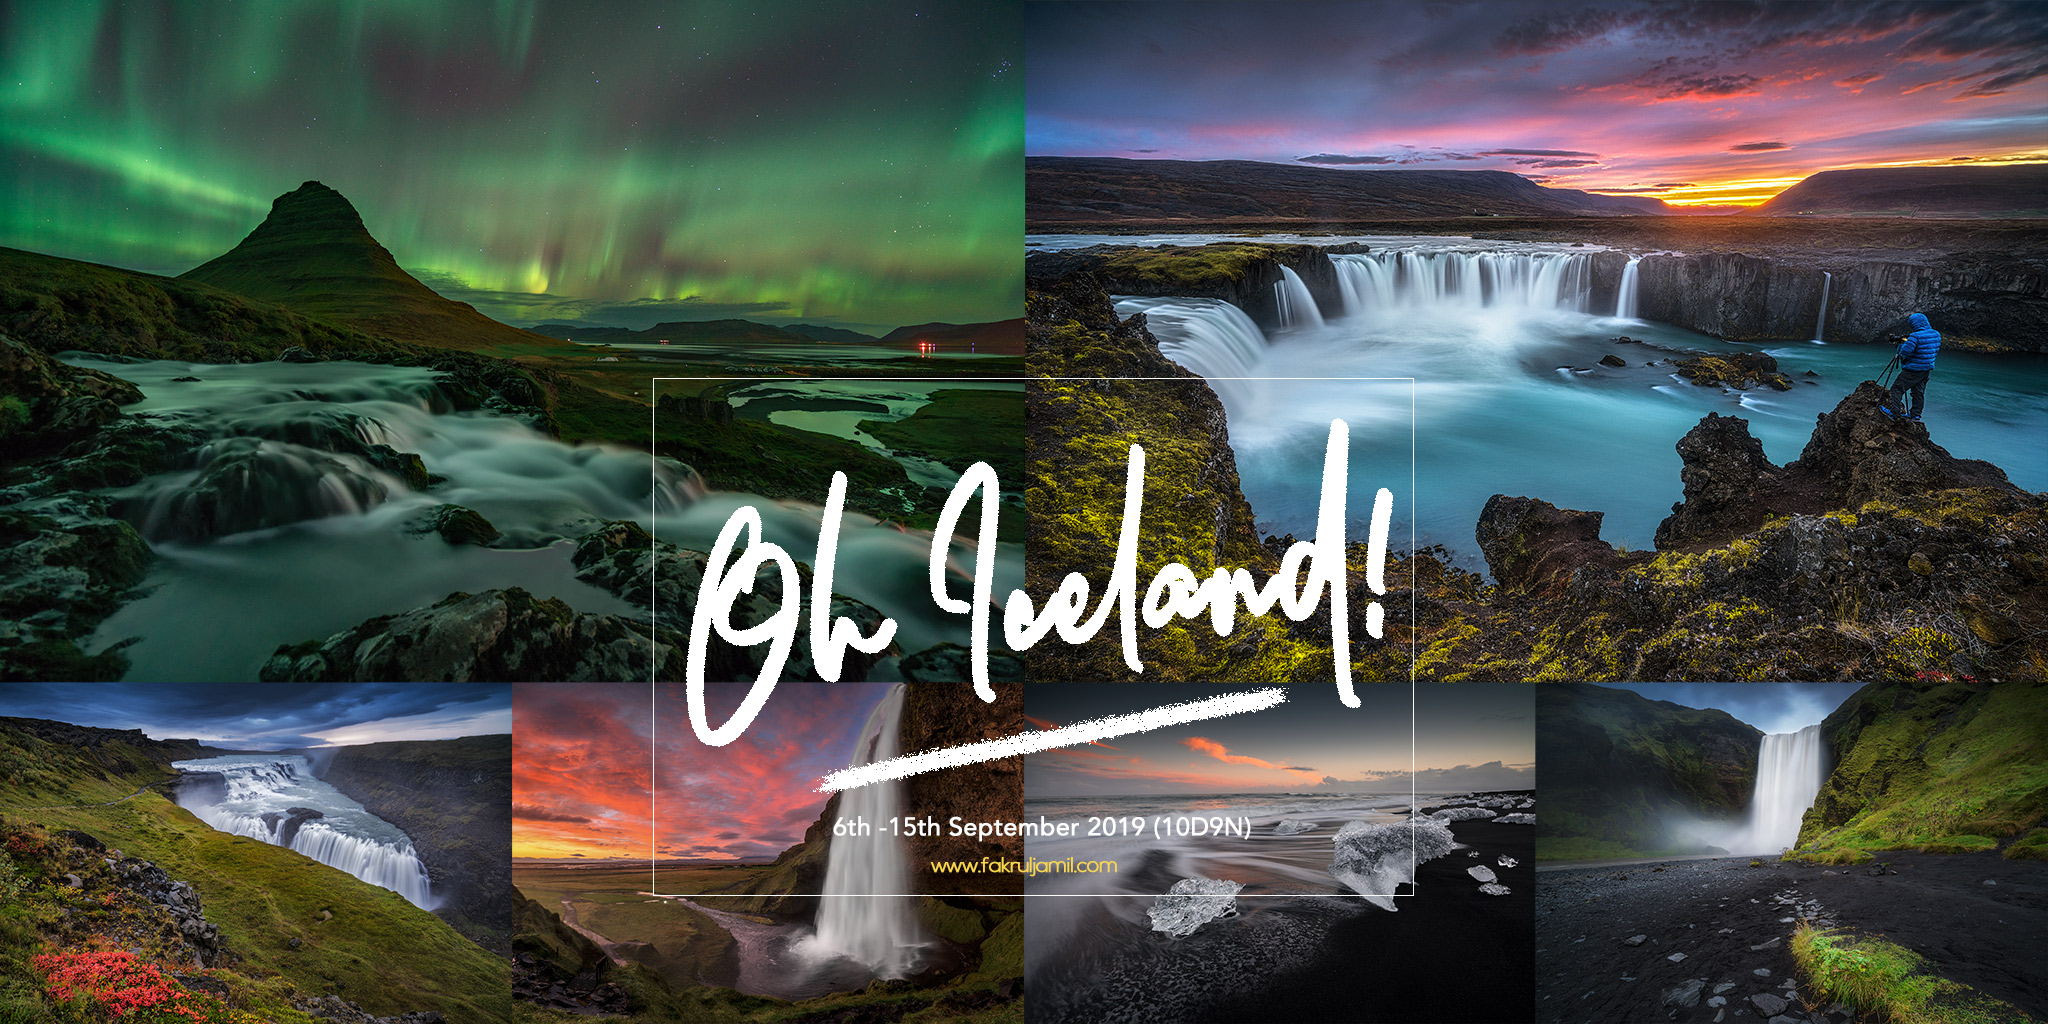
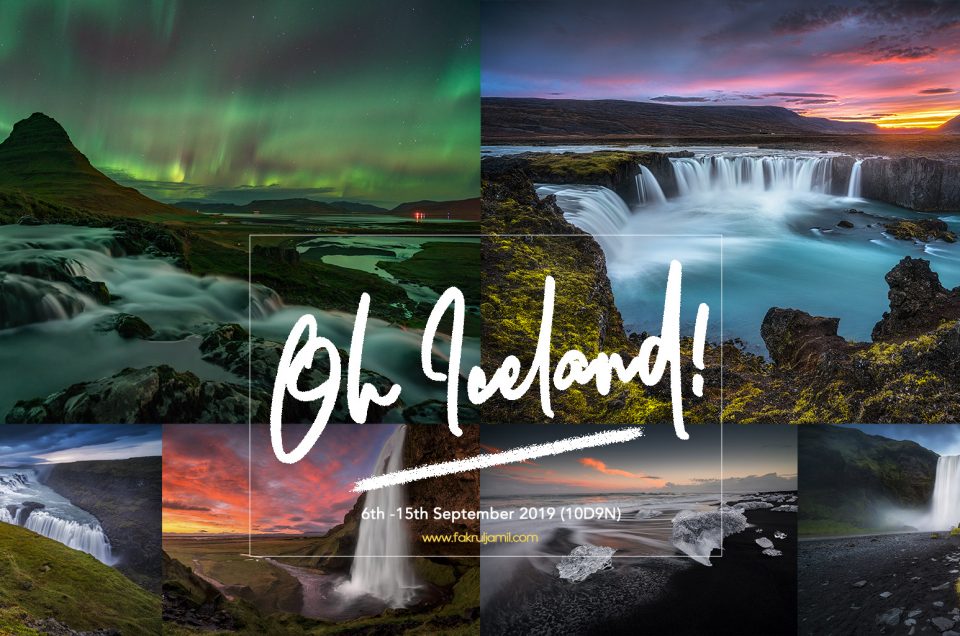
Date: 6th – 15th September 2019
Length: 10 days 9 nights
Group Size: Maximum 6 pax
Skill Level: Suitable for photographer of all levels
This guided photography tour will span over 10 days and will take you to some of the most amazing locations around Iceland. On this tour, my aim is for you to not only experience the beauty of this country but also to go home with incredible memories, skills and photos that will last a life time. From sunrise to sunset as well as shooting the elusive Aurora Borealis, I will ensure we are at the right places when it matters most. With a small group size of just 6 participants, we have a personal sharing environment, allowing you to get the most out of this unforgettable experience.
A big part of outdoor photography is being able to read and adapt to the conditions at hand and as a result, I believe some of the best images are unplanned, reacting to a unique moment that suddenly presents itself. So although an itinerary with locations is pre-fixed, I always allow for the unforeseen situations that have a way of regularly occurring in a place like Iceland.
If you’re interested to join, do contact me at +6012-4968727. I will share further details about this trip.
Thanks!
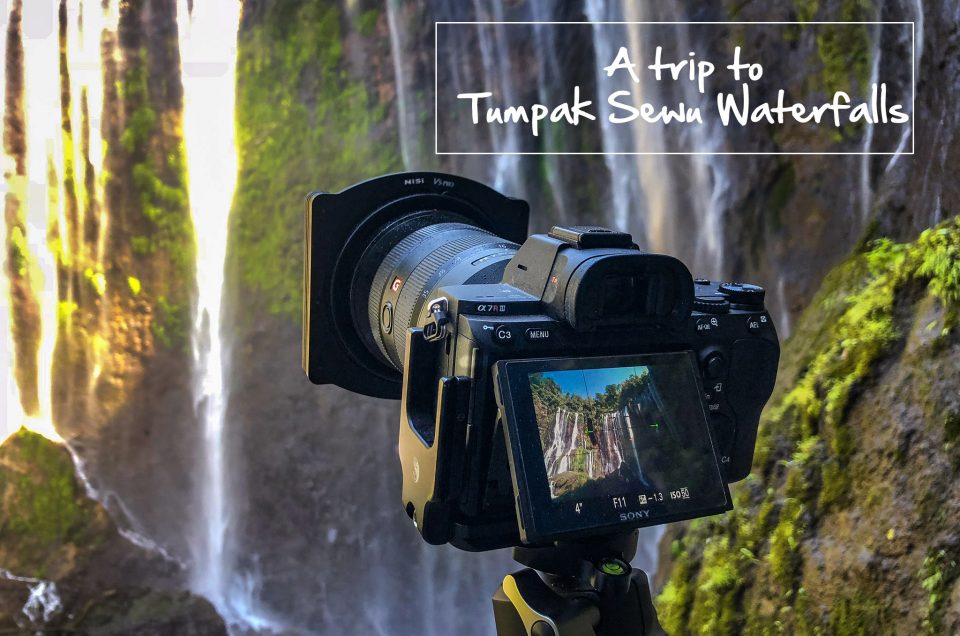
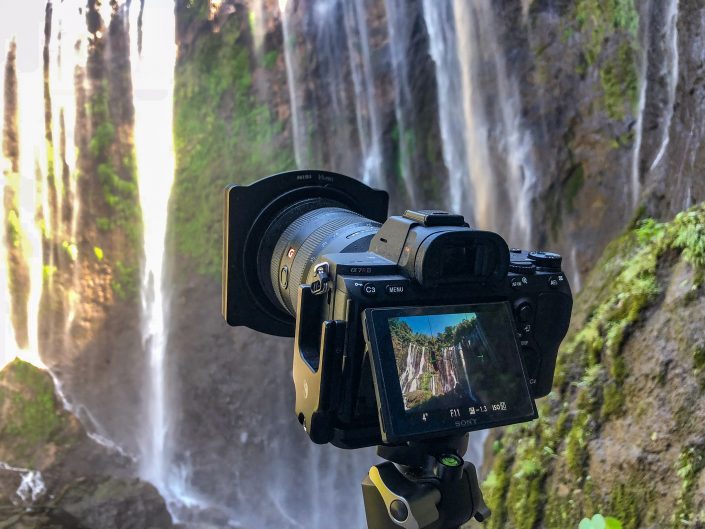
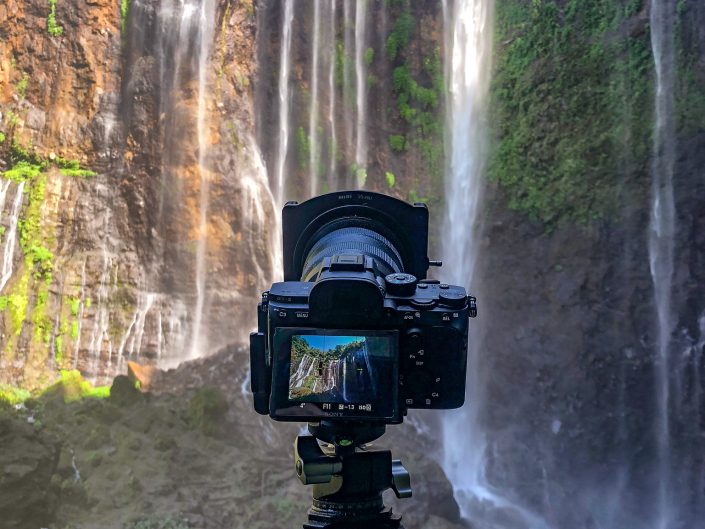
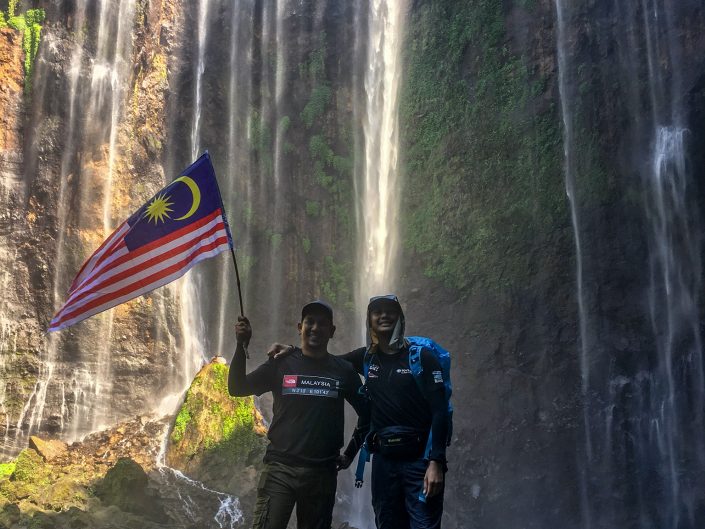
So I stumbled upon this majestic waterfalls while I was surfing the internet called Tumpak Sewu, located in Lumajang Indonesia. I was blown away with it and I knew I had to take a trip up there. After a short research, I packed my camera and ended up on a plane with a friend heading towards Surabaya.
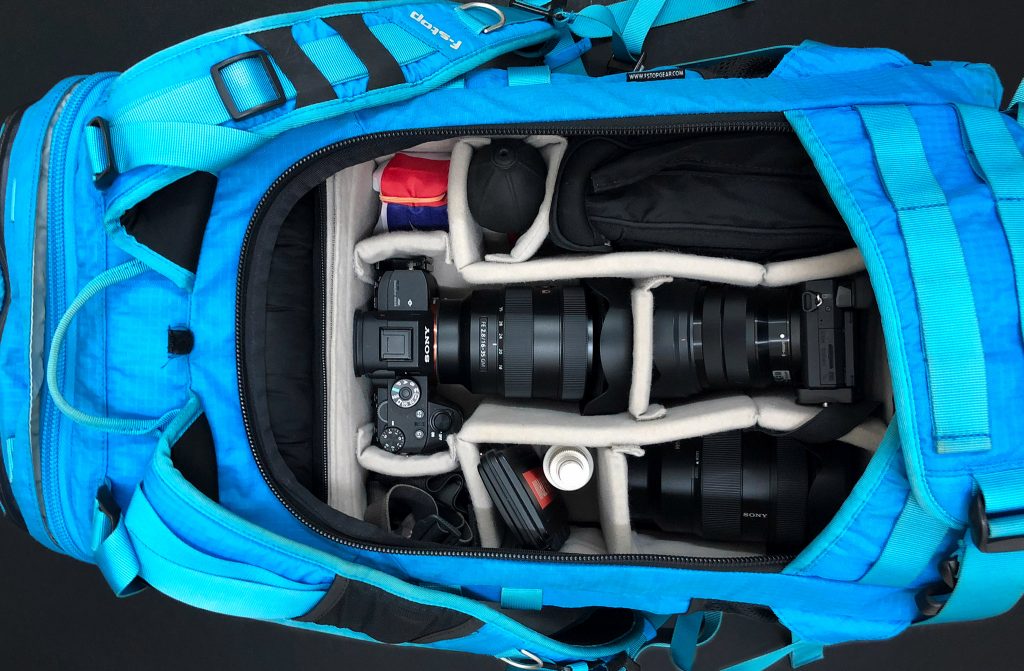
The trip commences from 8th – 12th September 2018. We took a Lion Air flight JT164 from Kuala Lumpur International Airport and around 2 hours later, we arrived at Juanda International Airport which is the third busiest airport in Indonesia. We were greeted by our driver and then took off straight to Lumajang which is a 6 hours drive from Surabaya. A tip worthy to take note – best to arrive Surabaya in the evening if you plan to head directly towards Lumajang due to lesser traffic in the night and you can sleep during the long drive. We arrive at our accommodation around 1 am and after a quick unpacking, we retired the night. For your information, there is no resort or hotel in the area due to the location is not developed with tourism just yet. We slept in the local villagers’ place (paid).
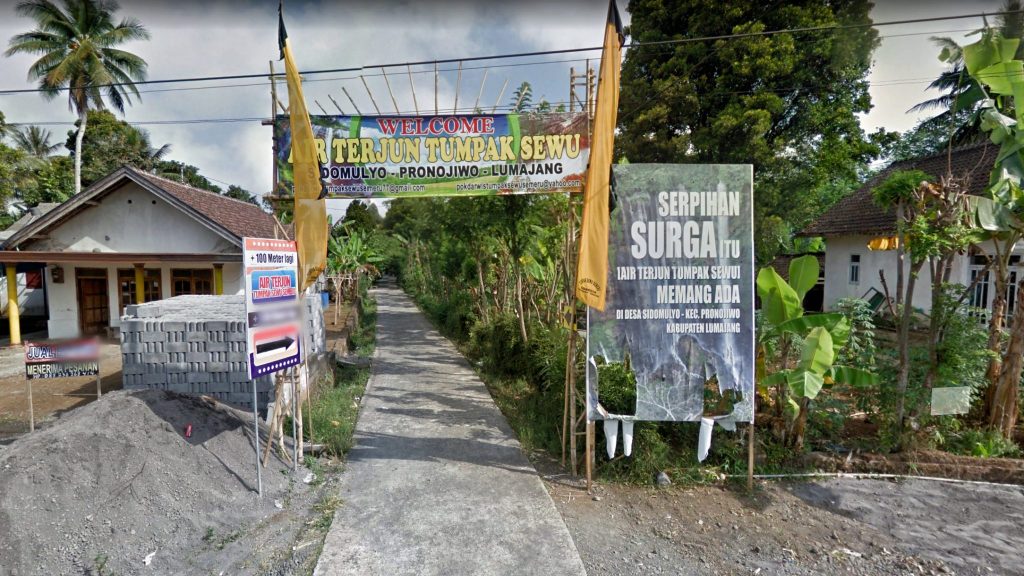
Tumpak Sewu Entrance
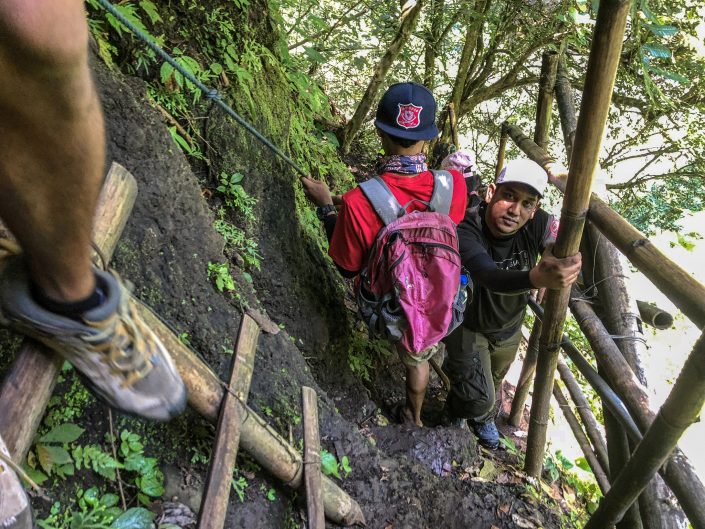
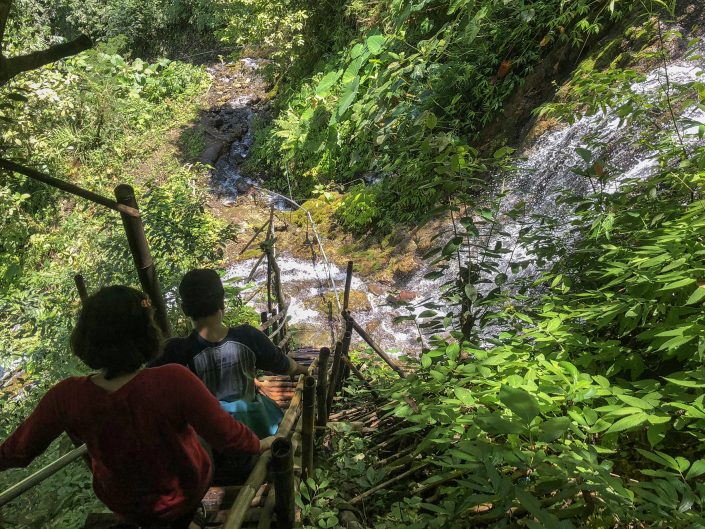
The next morning, we tried to enter the waterfall as earliest as we can. I’m not sure about the exact price but the entrance ticket shall cost you around IDR 10k /pax. From the entrance, the descend started right away. The trekking path is quite an exhausting one because it was very steep.
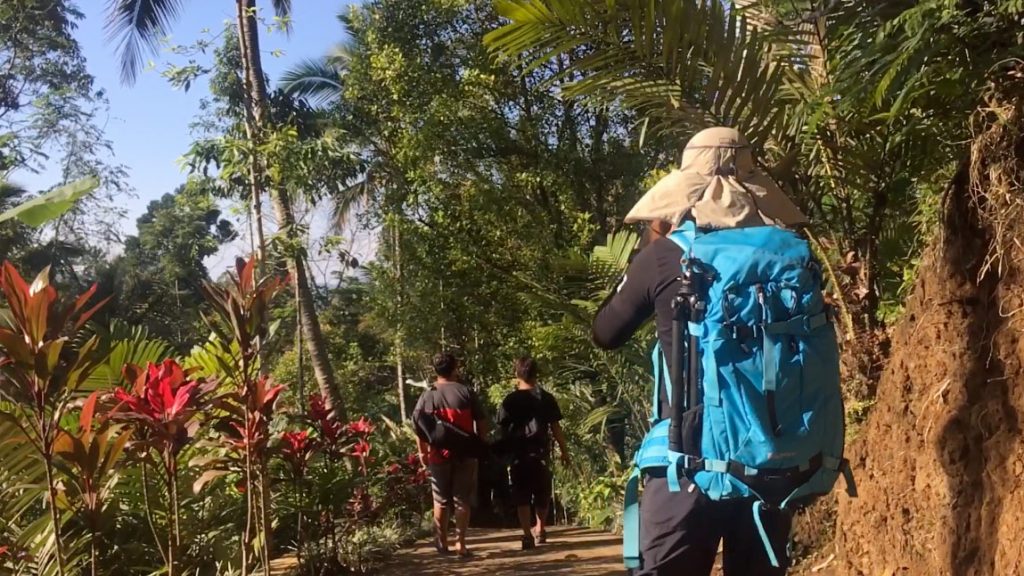
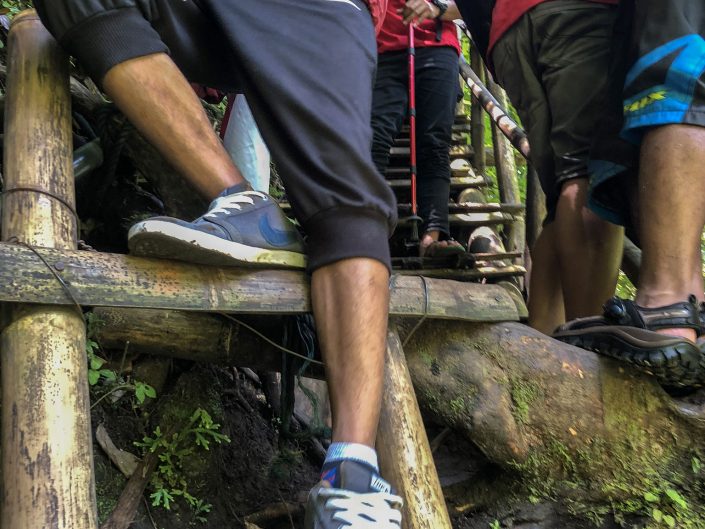
For most of the trails, you will be walking on a small-narrow bamboo staircase and sometimes you need to pass some slippery wet stones and crossing several small rivers along the way. You need to be very careful and ensure that you have proper trekking sandals or shoes for your own safety. Depending on your speed, the descent would take around 30-45 minutes and perhaps it will be doubled when you ascend.
Once you reached the base, it is another few hundred meters and you will reach the majestic falls. These greenies complex really worth the effort going down!
Unfortunately, the condition wasn’t that good. The lighting was uneven while we were there to shoot. The sun is already too high but not high enough to light the whole area causing part of the area to be underexposed. I guess this is a good reason for me to back again in future.

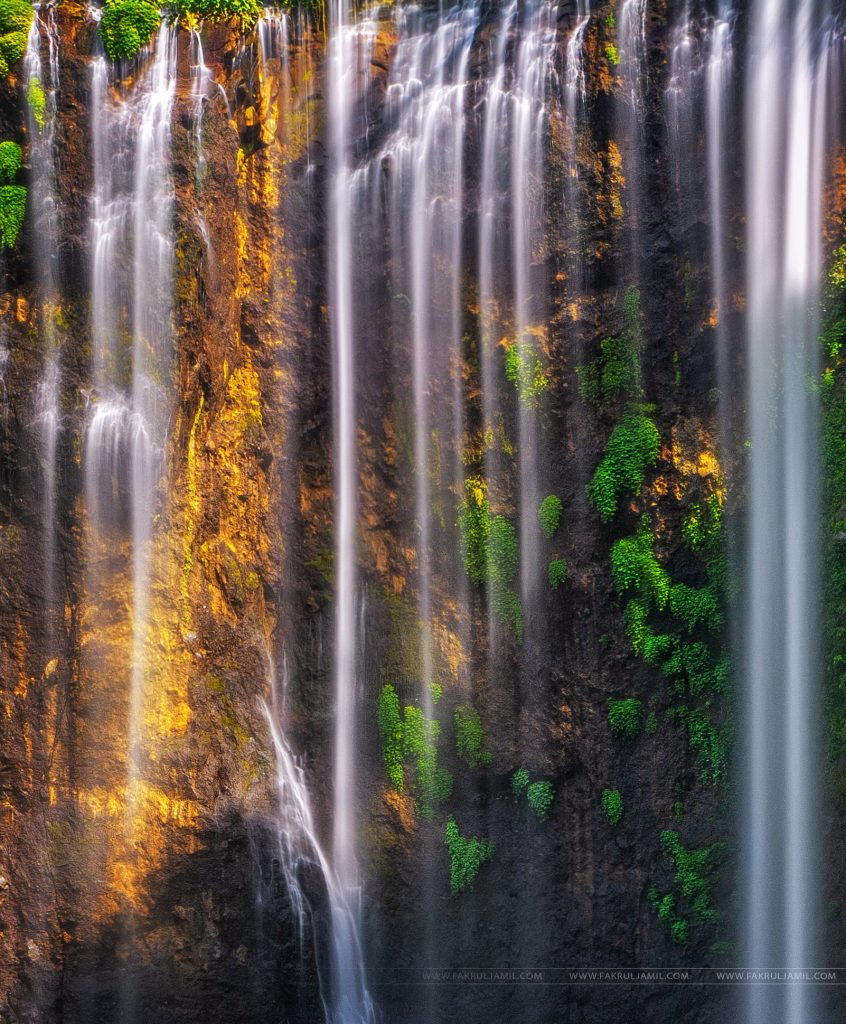
After spending almost 2 hours at Tumpak Sewu, we started our ascent and it took us almost an hour to reach the car park. We returned to our accommodation where our host had prepared a nice lunch for us. We then doze off for a couple of hours before proceeding to our next waterfall which is Air Terjun Kabut Pelangi. By this time, me and Faisal are having a crucial muscle cramp on both of our legs. It’s another descend to get to the Kabut Pelangi waterfall and this time the distance felt farther. Anyhow, we made it to fall. The 100m+ Kabut Pelangi is an incredible sight. The force it generates when it hits the pool below is incredible and this is definitely not a place you want to go swimming!
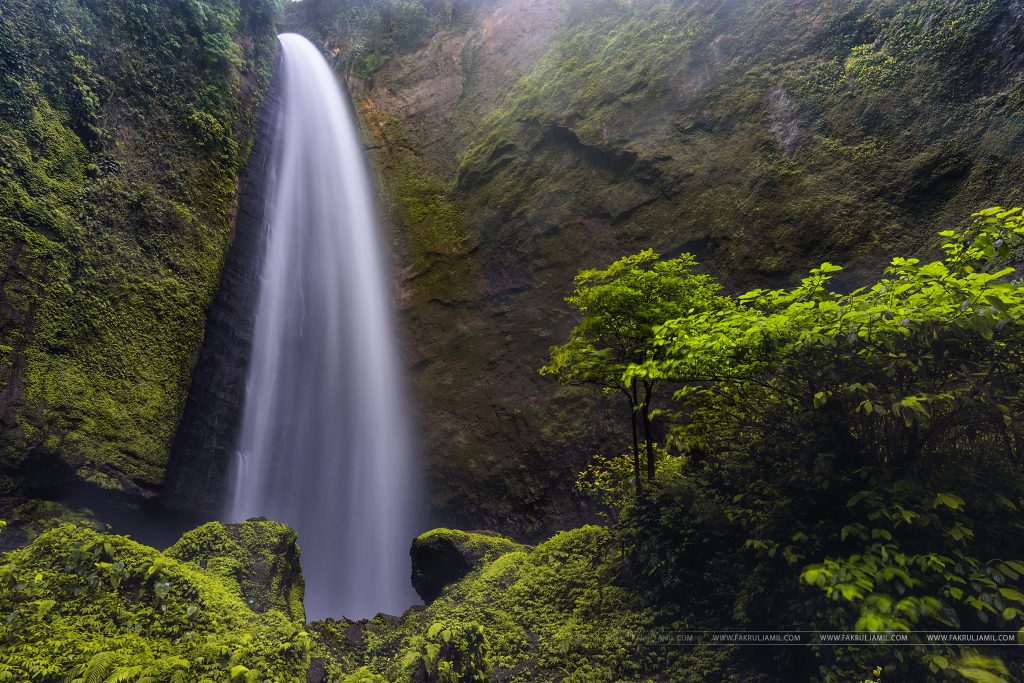
Air Terjun Kabut Pelangi
Recent Posts
- LIVE INTERVIEW: Future Traveler & Landscape PhotoFebruary 11, 2023
- Sony FE 14mm F/1.8 GM for Landscape PhotographyJanuary 22, 2023
- Alpha For Landscape - Timelapse PhotographyJanuary 16, 2023
- LIVE INTERVIEW: Future Traveler & Landscape Photo
Instagram
Popular Posts
- Milky Way Hunting in Chuping, PerlisJuly 12, 2016
- Landscape Photography Adventure to NZOctober 18, 2014
- Kelanang's Story - Cast AwayFebruary 8, 2012
- Milky Way Hunting in Chuping, Perlis

