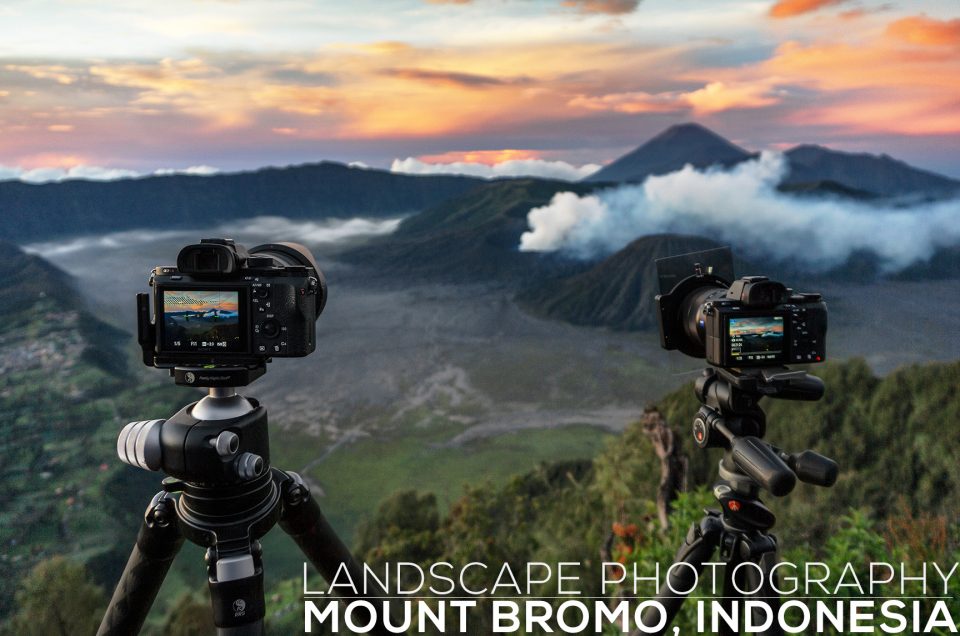
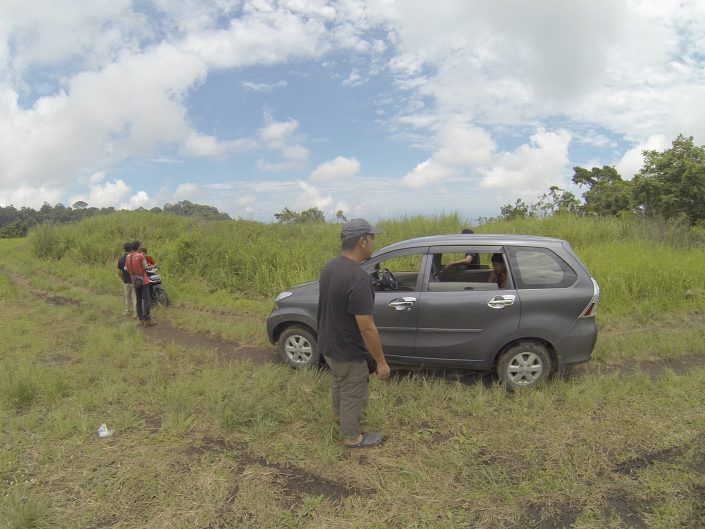
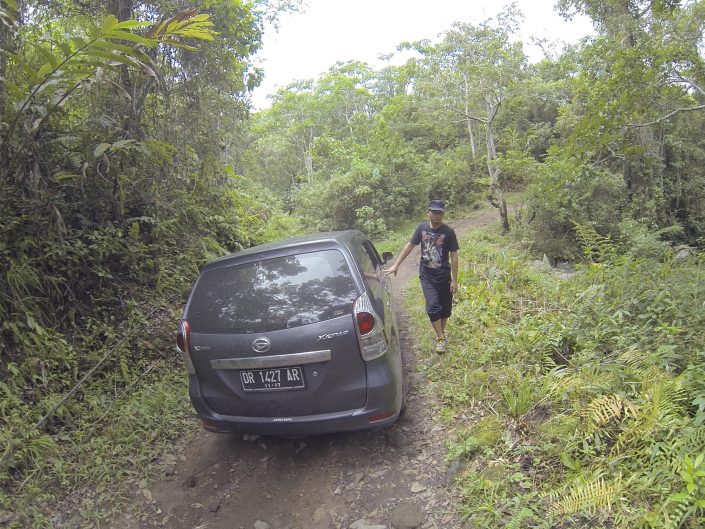
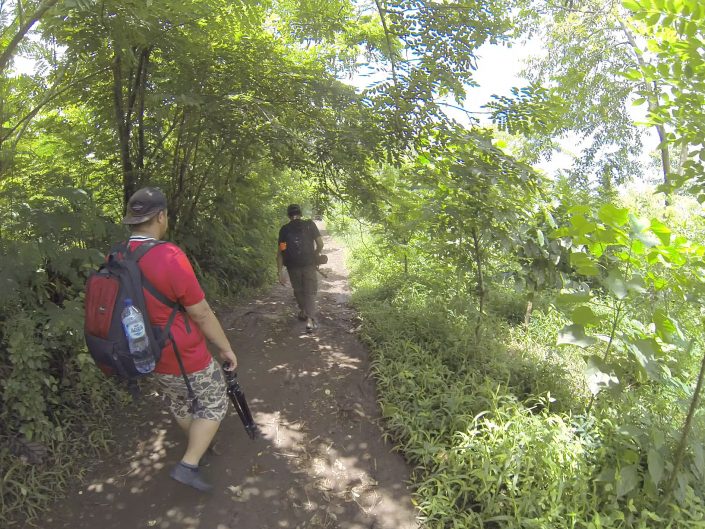
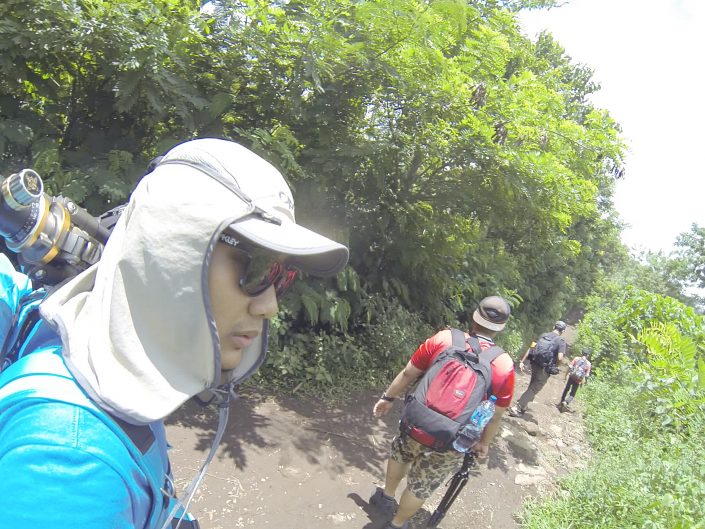
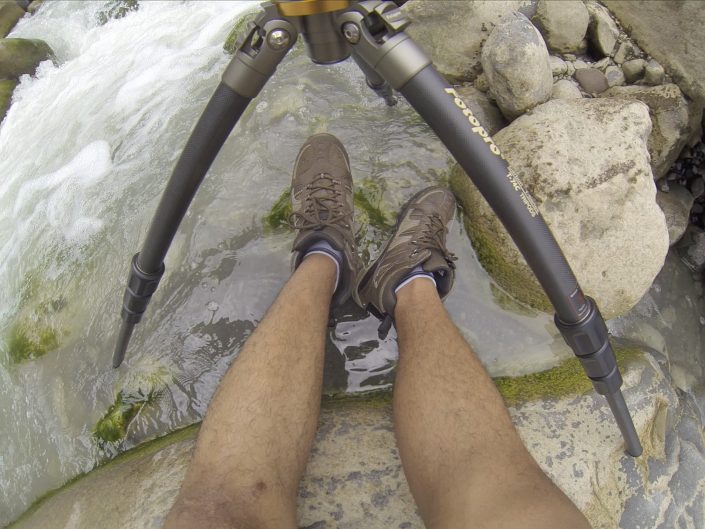
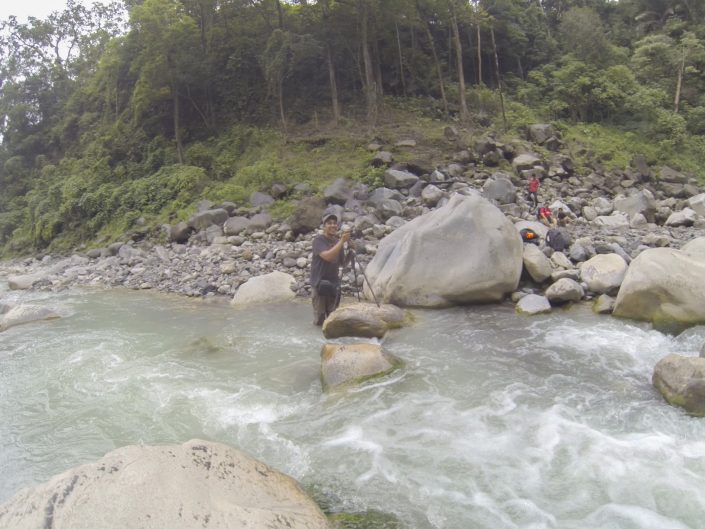
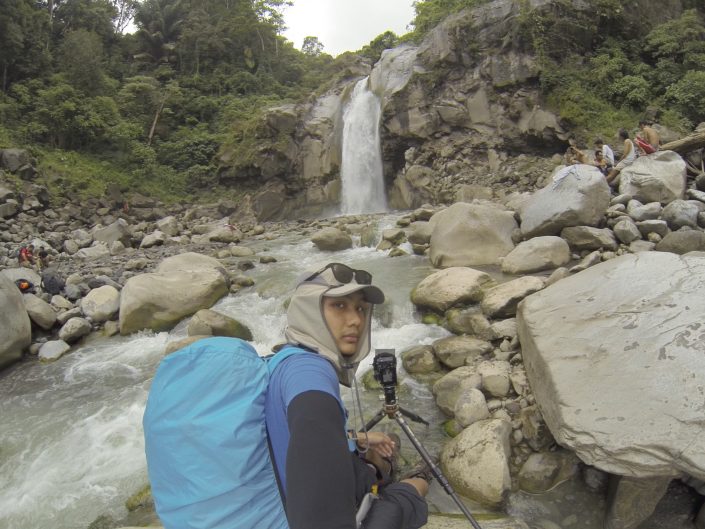
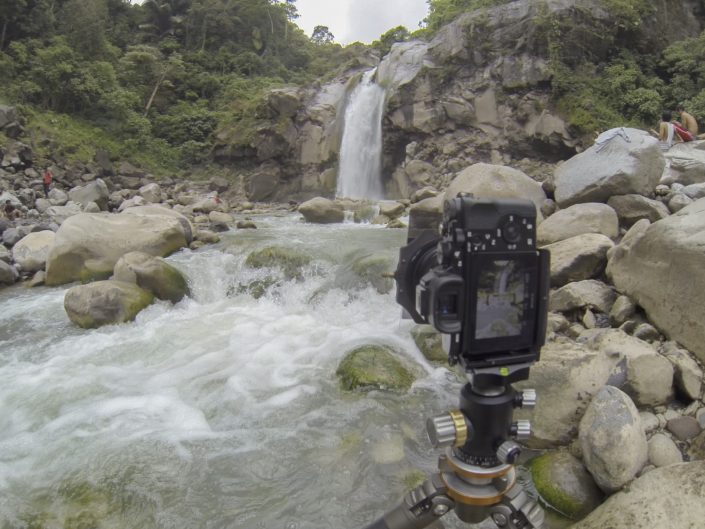
A short video of my trip to Mount Bromo National Park in East Java, Indonesia. Such a great place for landscape photography!
indonesia
A short trip of 4 days and 3 nights to Bromo Tengger Semeru National park, particularly to photograph the majestic Mount Bromo, an active volcano in the part of Tengger massif, East Java, Indonesia. It was an unplanned trip, a quick chat with Azmi, a friend of mine, then we realized there is an airfare promotion to this location. But we realized that we had to sacrifice the milky way due to full-moon period. Hey, that’s a reason to go back again yeah?
23/3 – Wednesday evening : Kuala Lumpur International Airport 2 (KLIA2). Meeting up with the team. From left, Azmi, Jemang, Pak Zahar & yours truly.

While waiting for the departure, a close look of the FE 24-70 f/2.8 G-Master paired with Sony A7SM2. Ain’t she a beauty?

24/4 – Thursday morning : Our flight delayed for over an hour so we arrived in Surabaya airport around 1am. We met Pak Irsam, our local guide for this trip. It was then a long 4-5 hours drive from Surabaya city to Bromo Tengger Semeru National park. Our eyes couldn’t take it anymore so everyone fell asleep except for Pak Irsam himself because he got to drive.
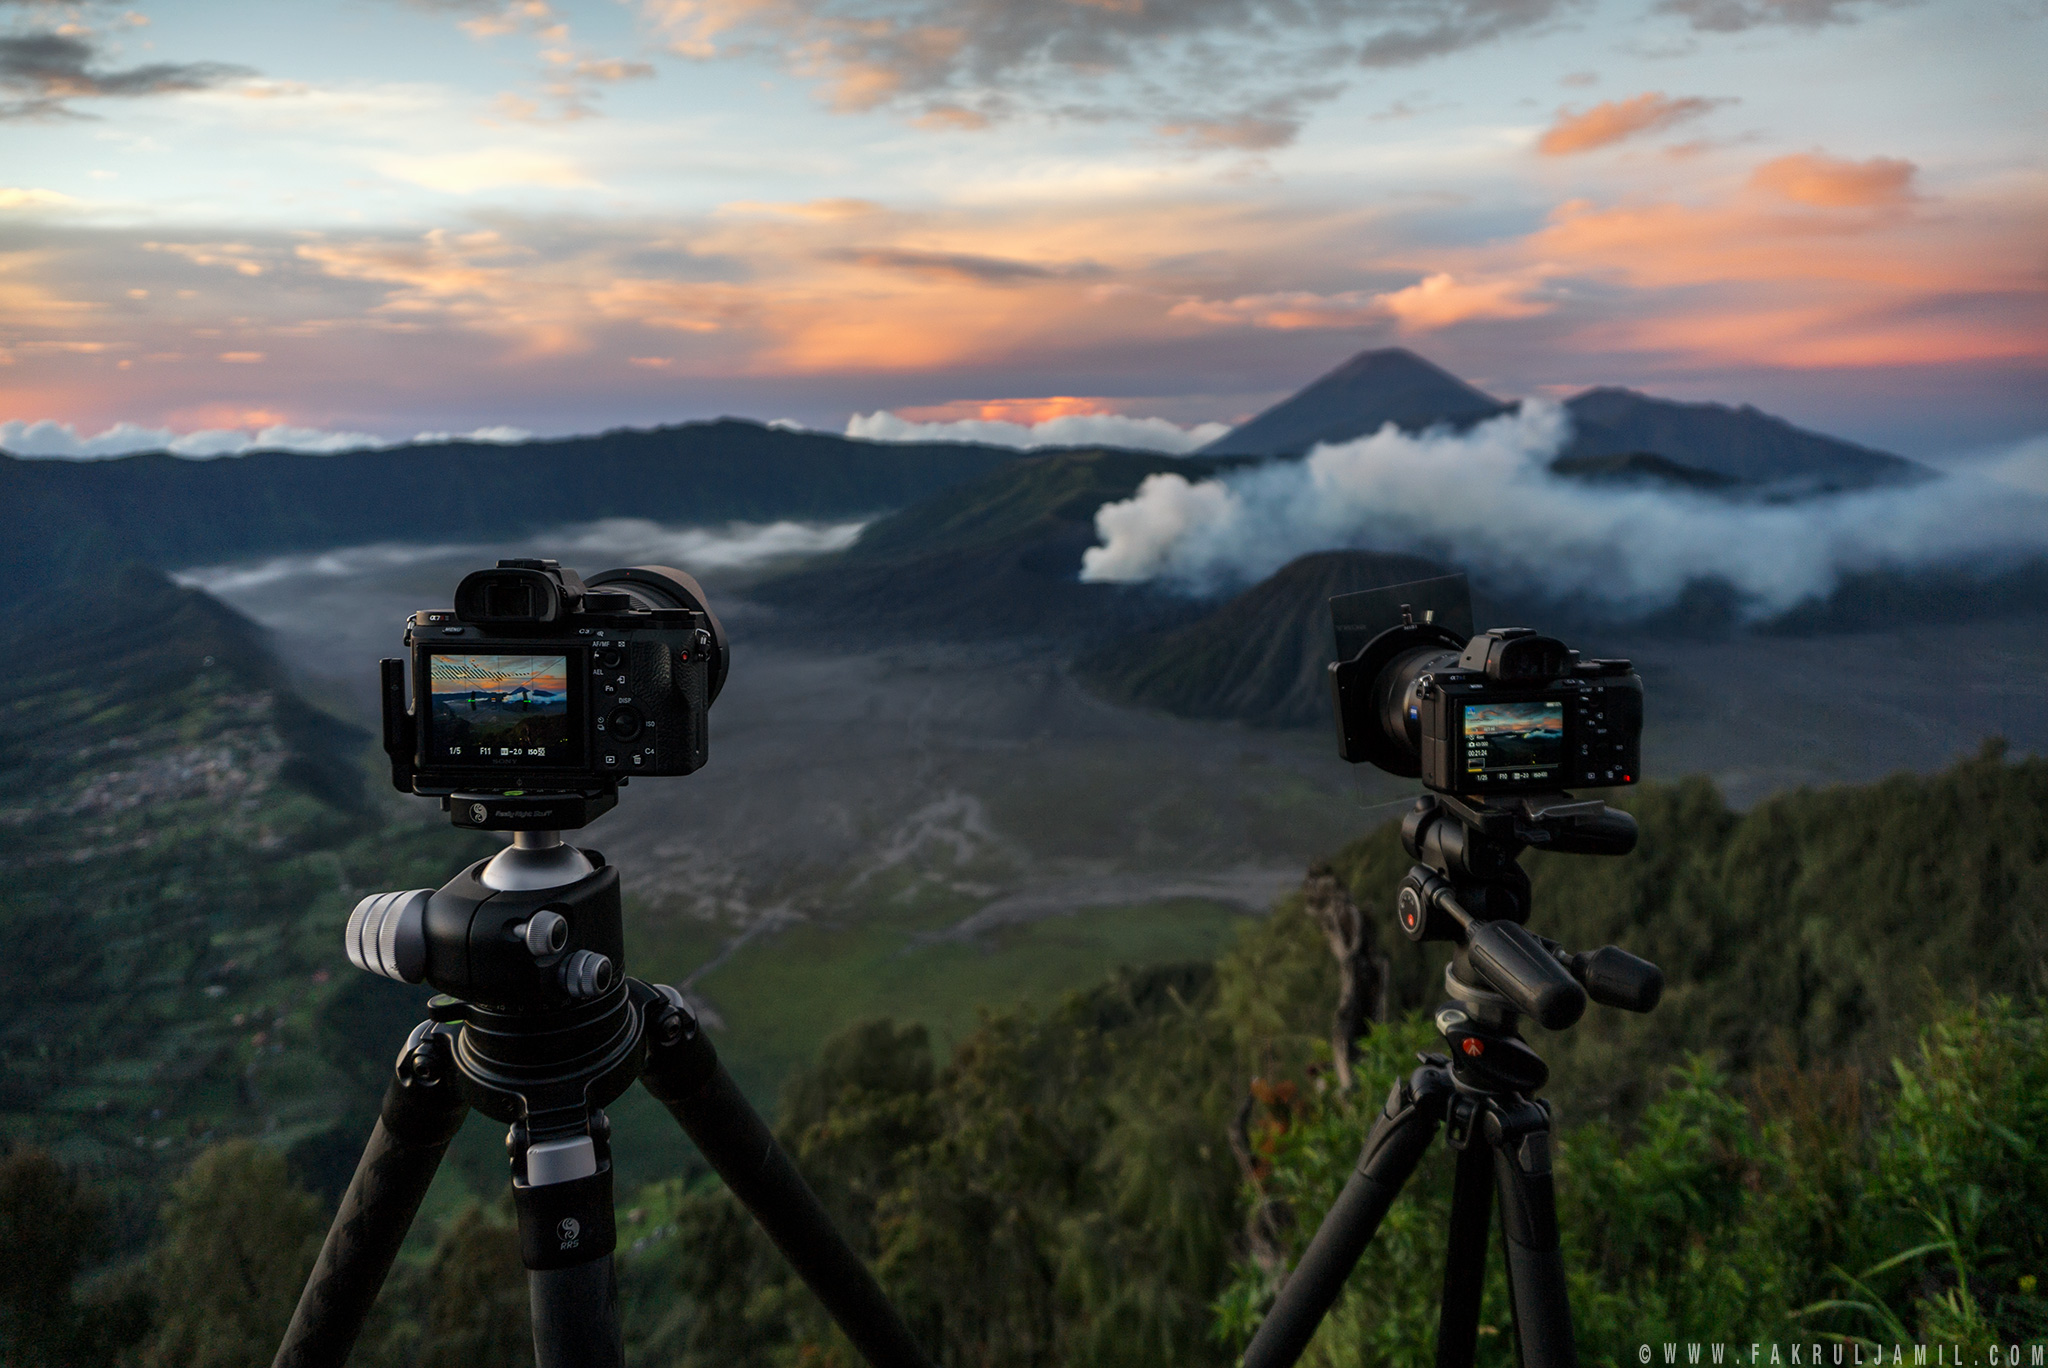
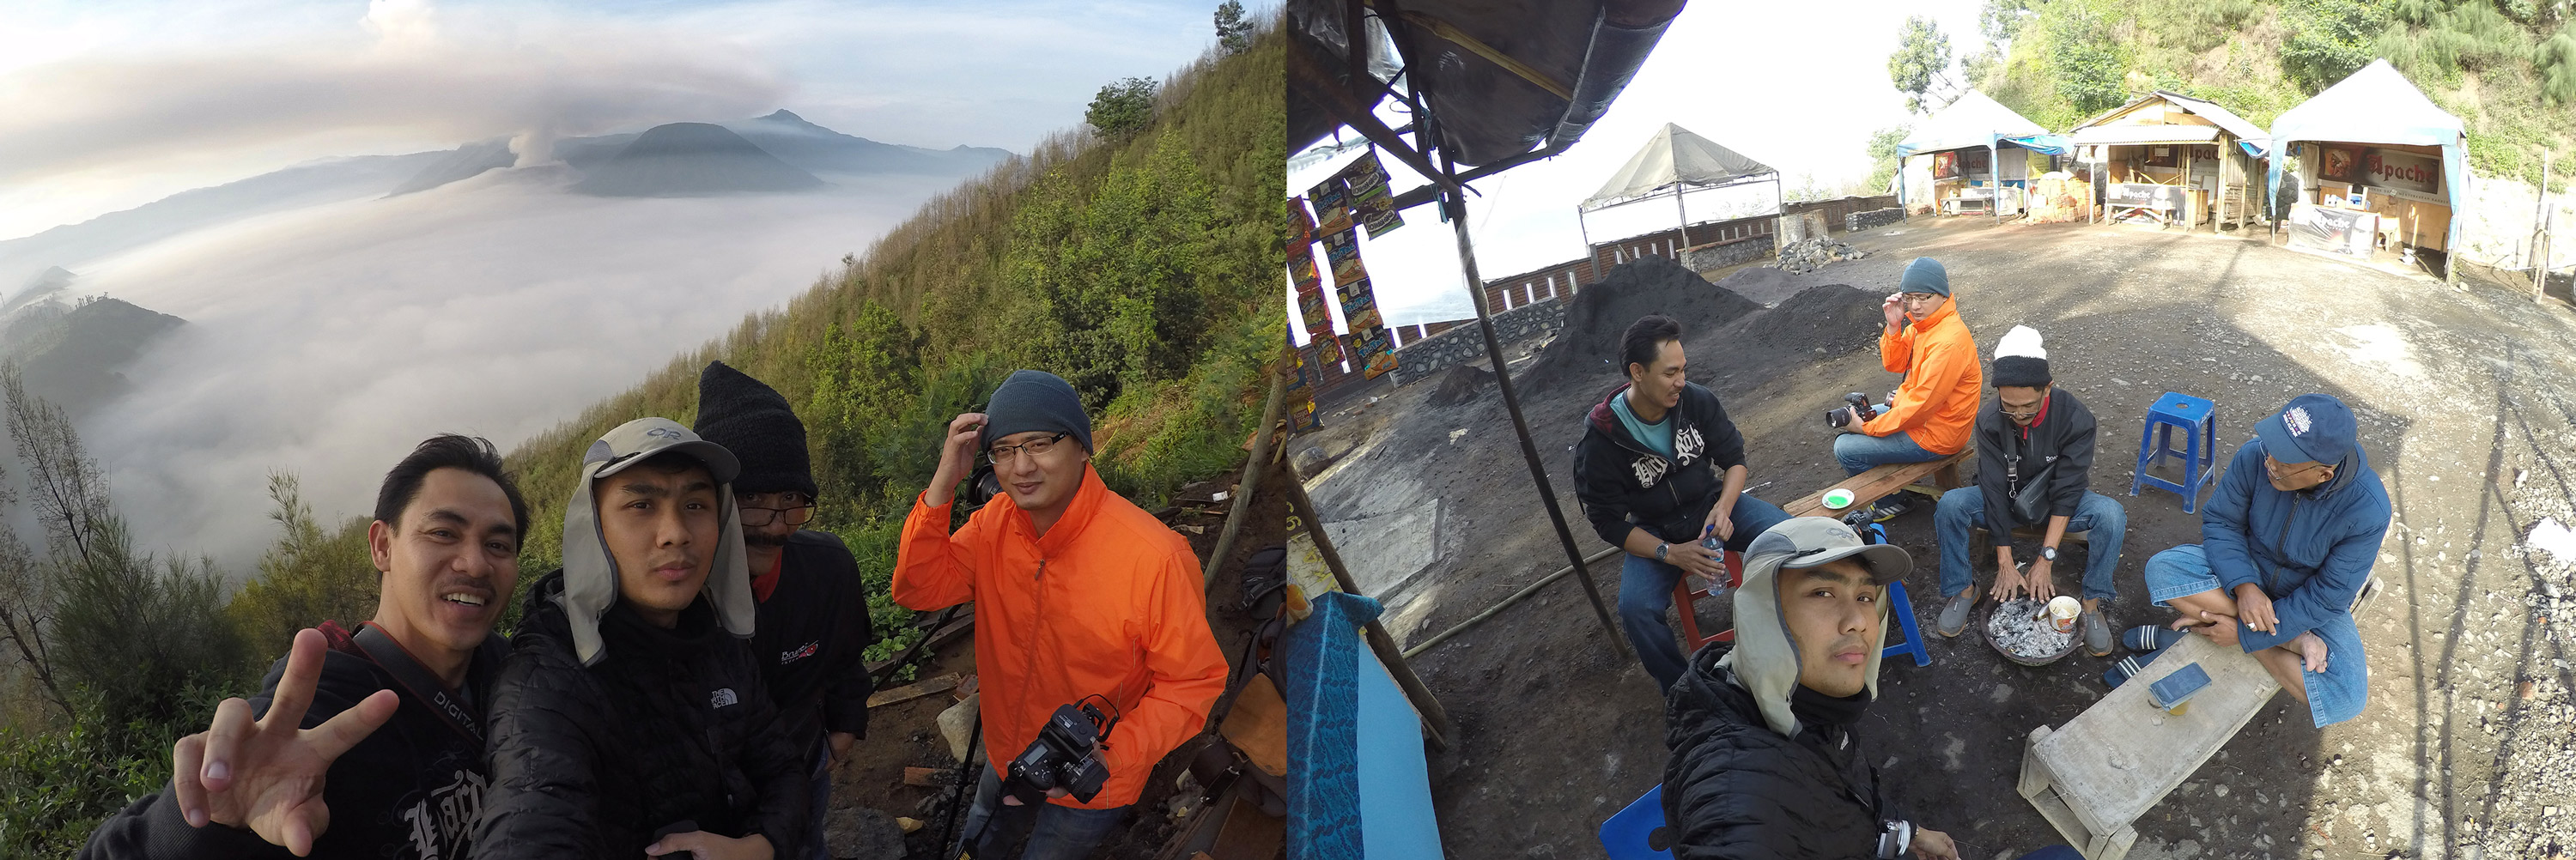
A few hours later, we arrived to the national park just at around sunrise. We missed the blue hour but we were greeted with beautiful sea of clouds! Here’s my Sony A7RM2 and the FE 24-70 f2/.8 GM in action. The other camera was running on timelapse of the volcano mountains.

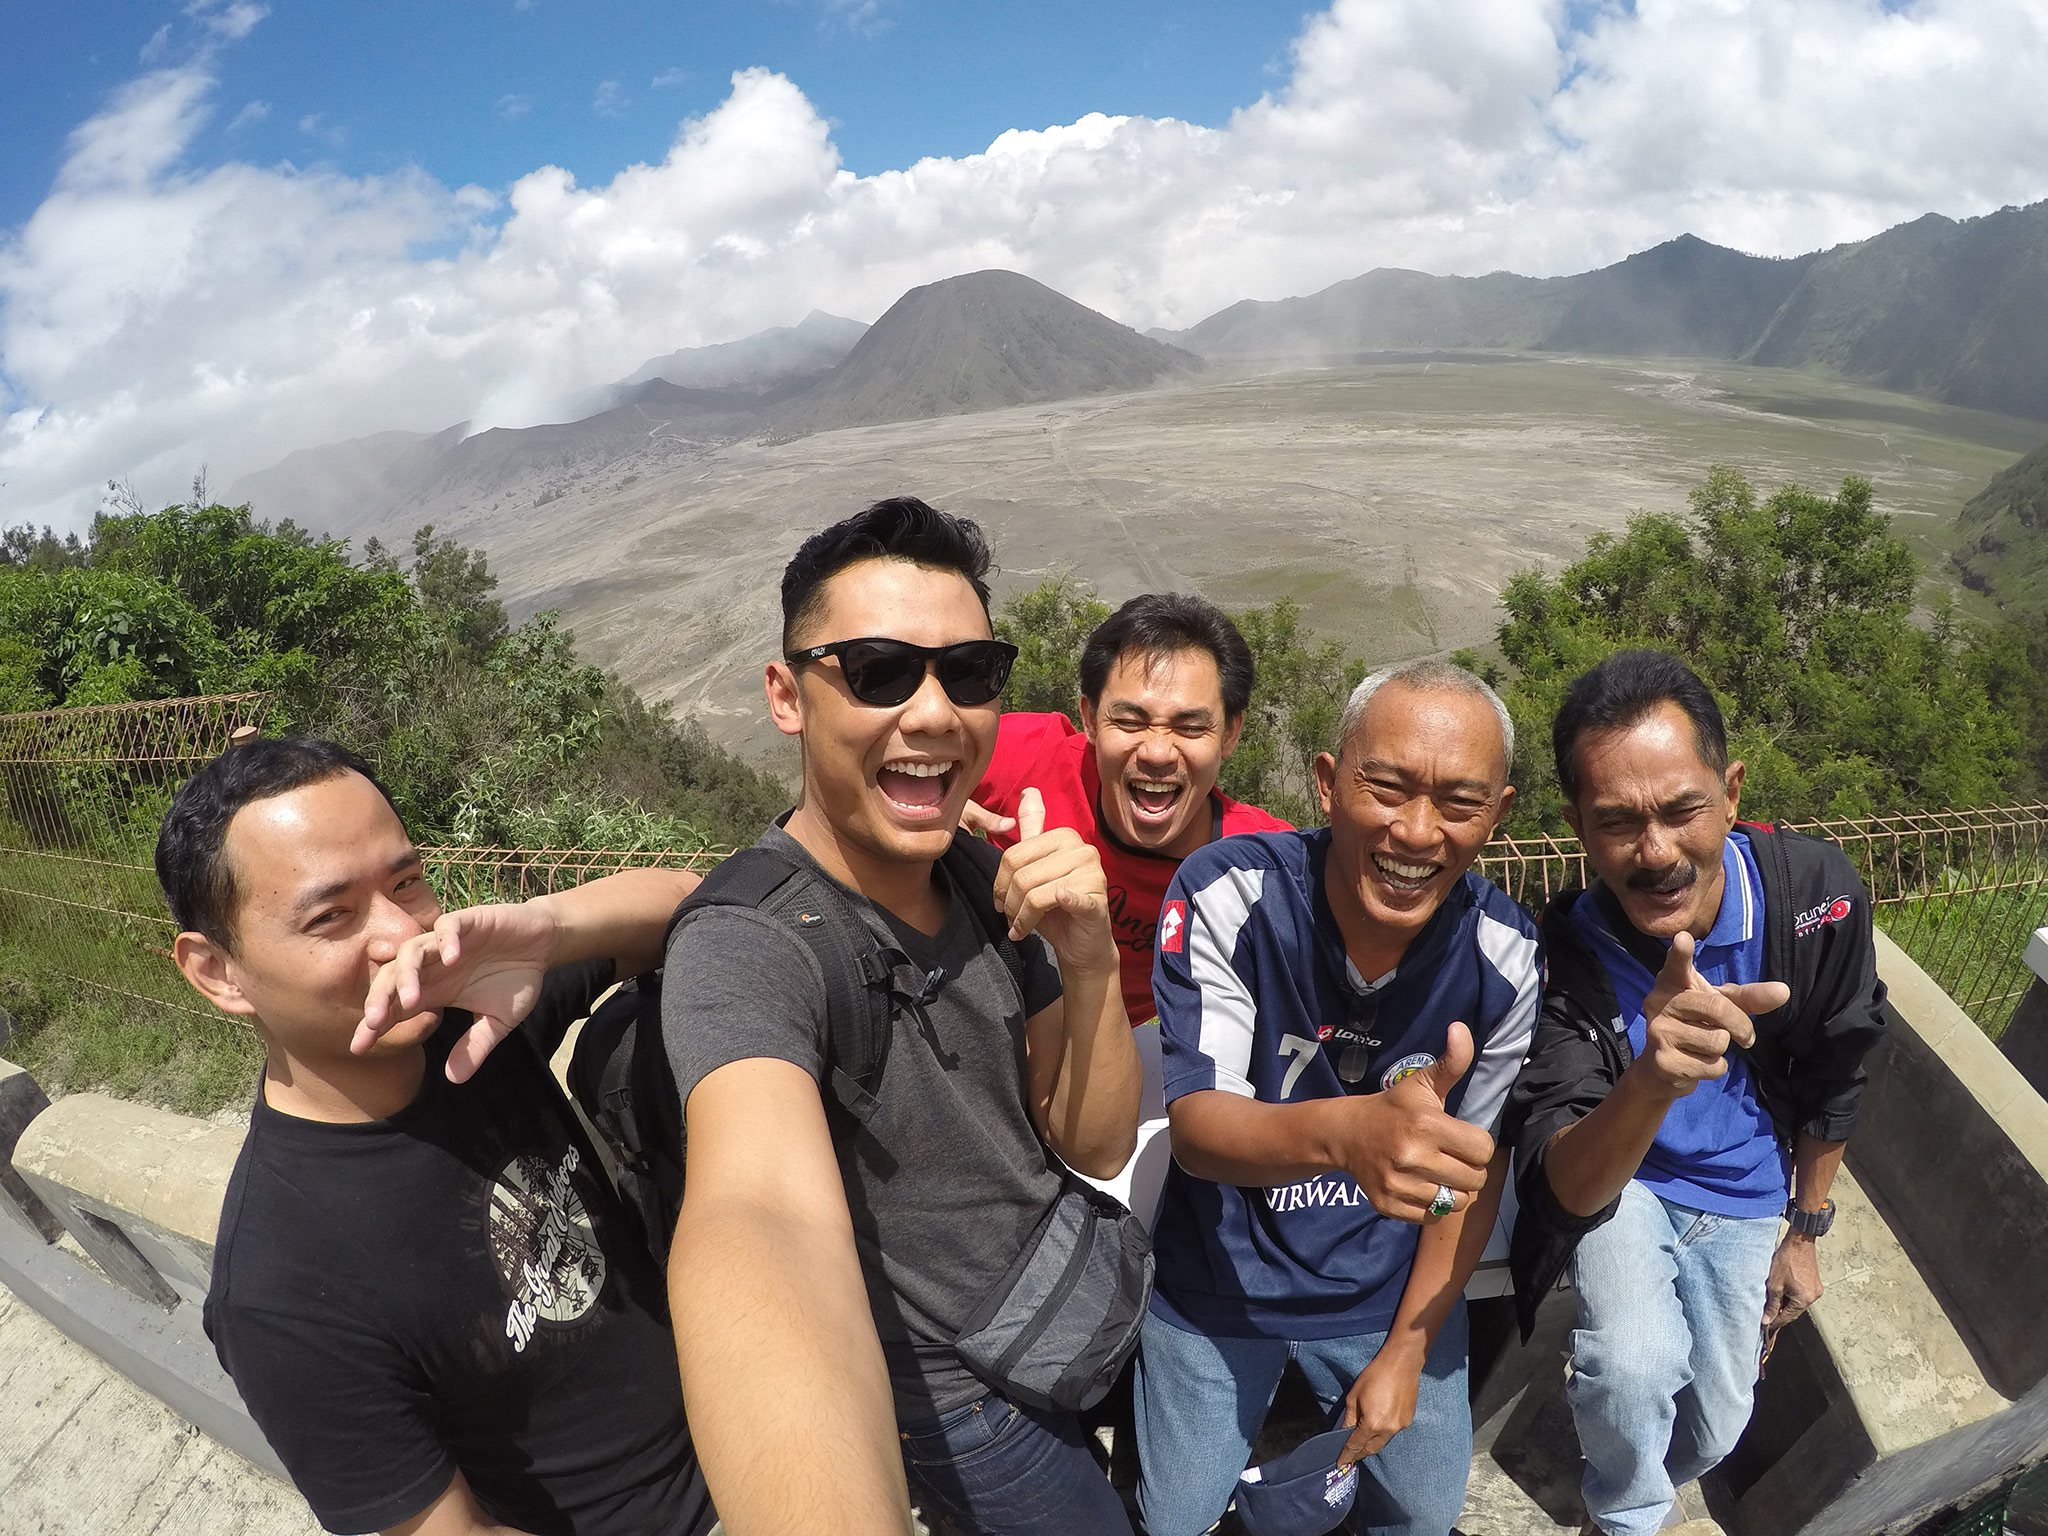
We wrapped our shooting at this first location with a group-photo-selfie and a cup of teh halia (ginger tea).
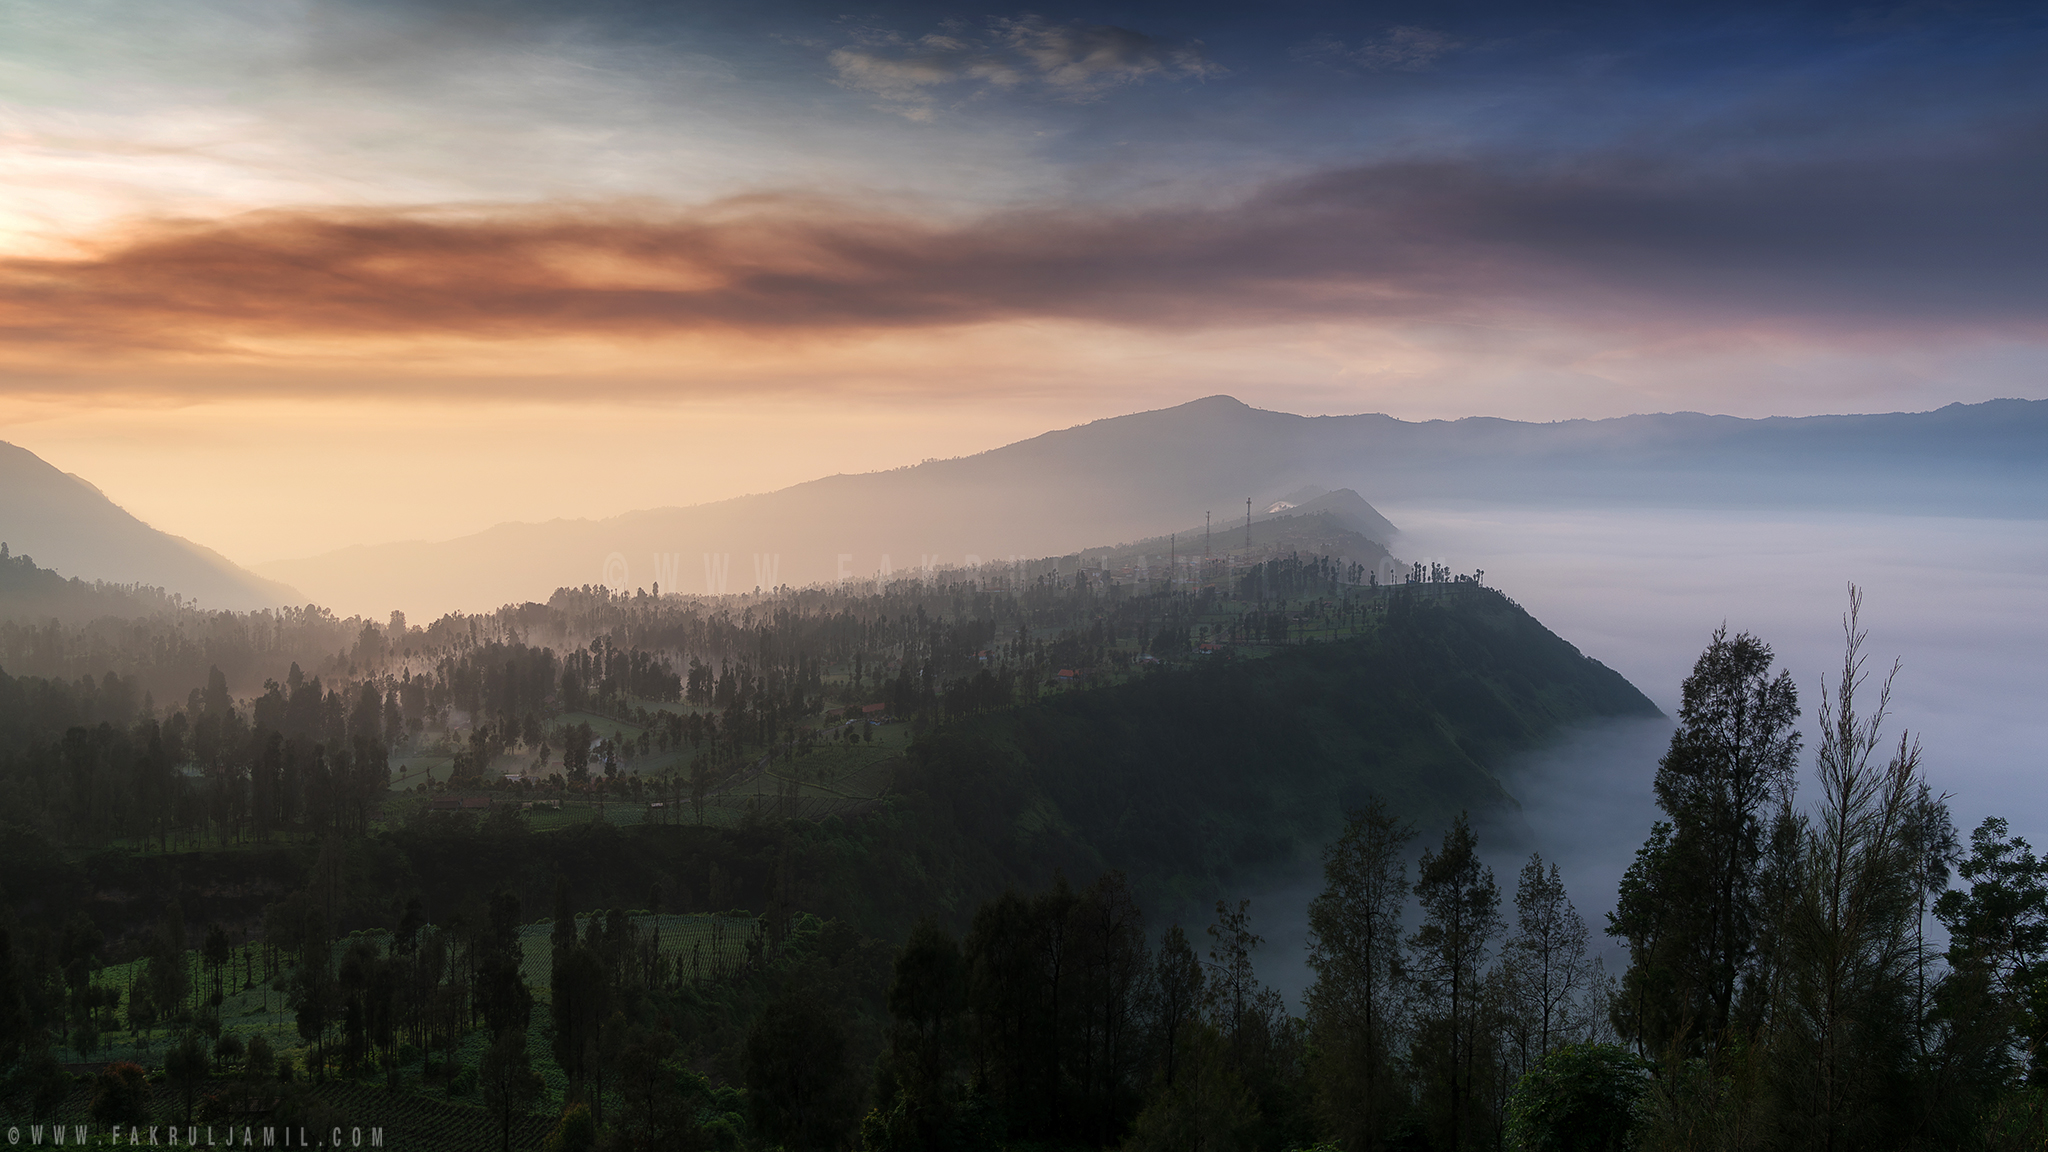
The remaining of sunrise colours that morning. The blanket of clouds partially covering Cemoro Lawang. Cemoro Lawang is a very small hamlet north-east of Mount Bromo (East Java), Indonesia with the altitude of 2,217 meters above sea level.This hamlet is a part of Ngadisari Village, Sukapura in the Probolinggo Regency.
Frame-grab from my timelapse sequence. Absolutely magnificent view when the stormy clouds came into the scene.

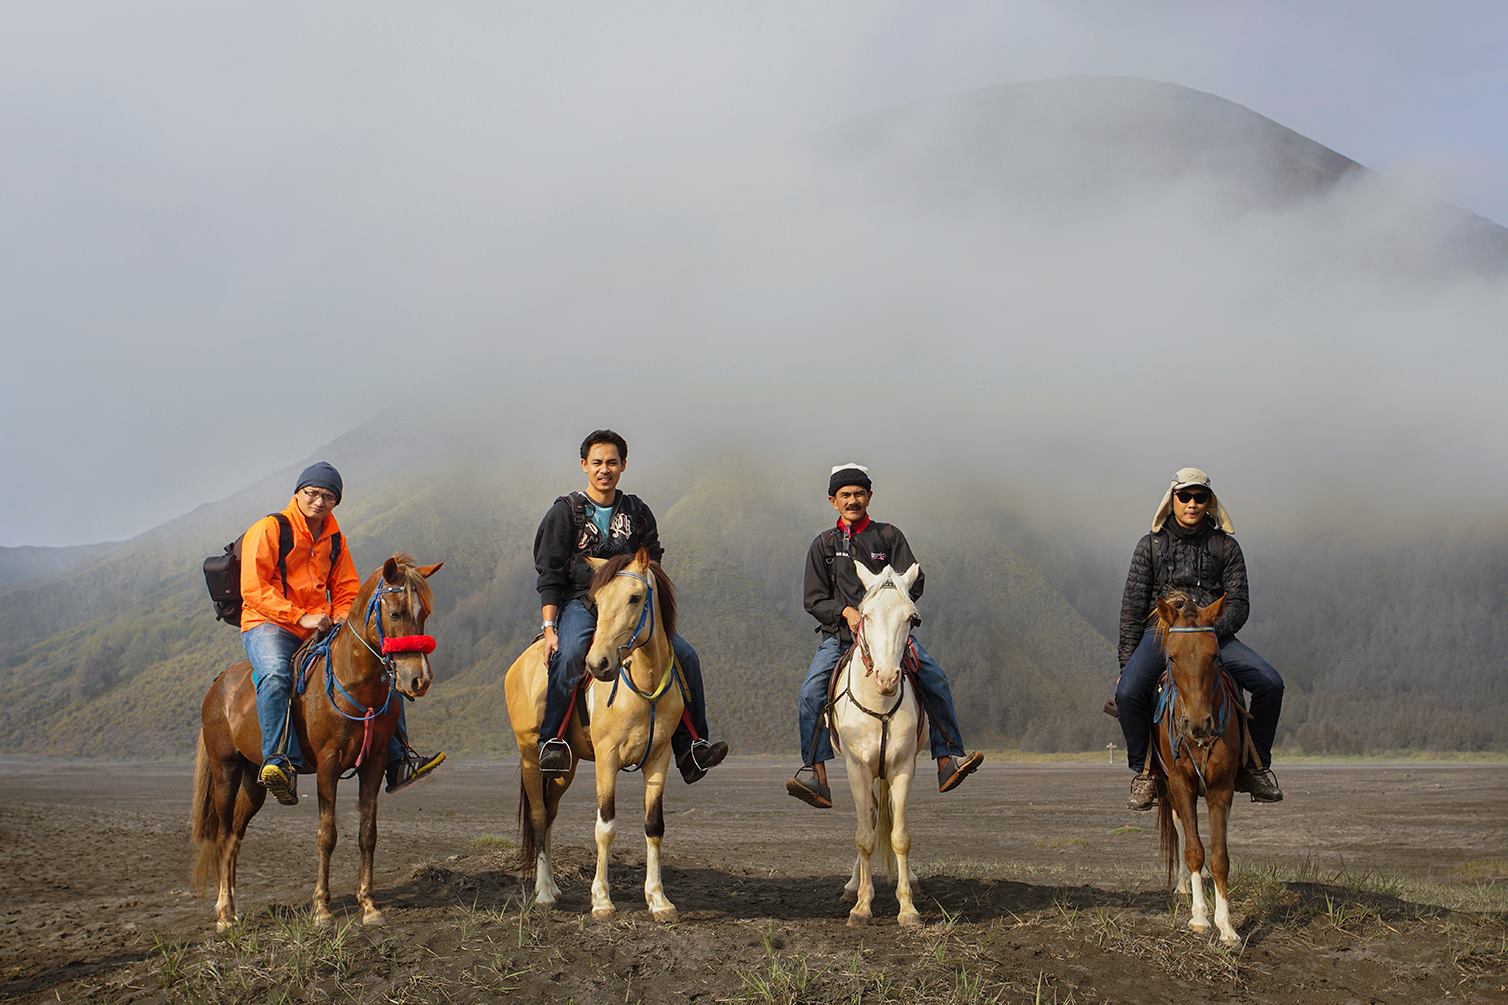
Our next location is the crater of Mt. Bromo. To be honest, I didn’t expect a horse ride which was arranged by Pak Irsam. It’s around 1 km distance from the car park up to the crater so a horse ride definitely ease the journey. Photo below is a courtesy from Pak Zahar’s camera.
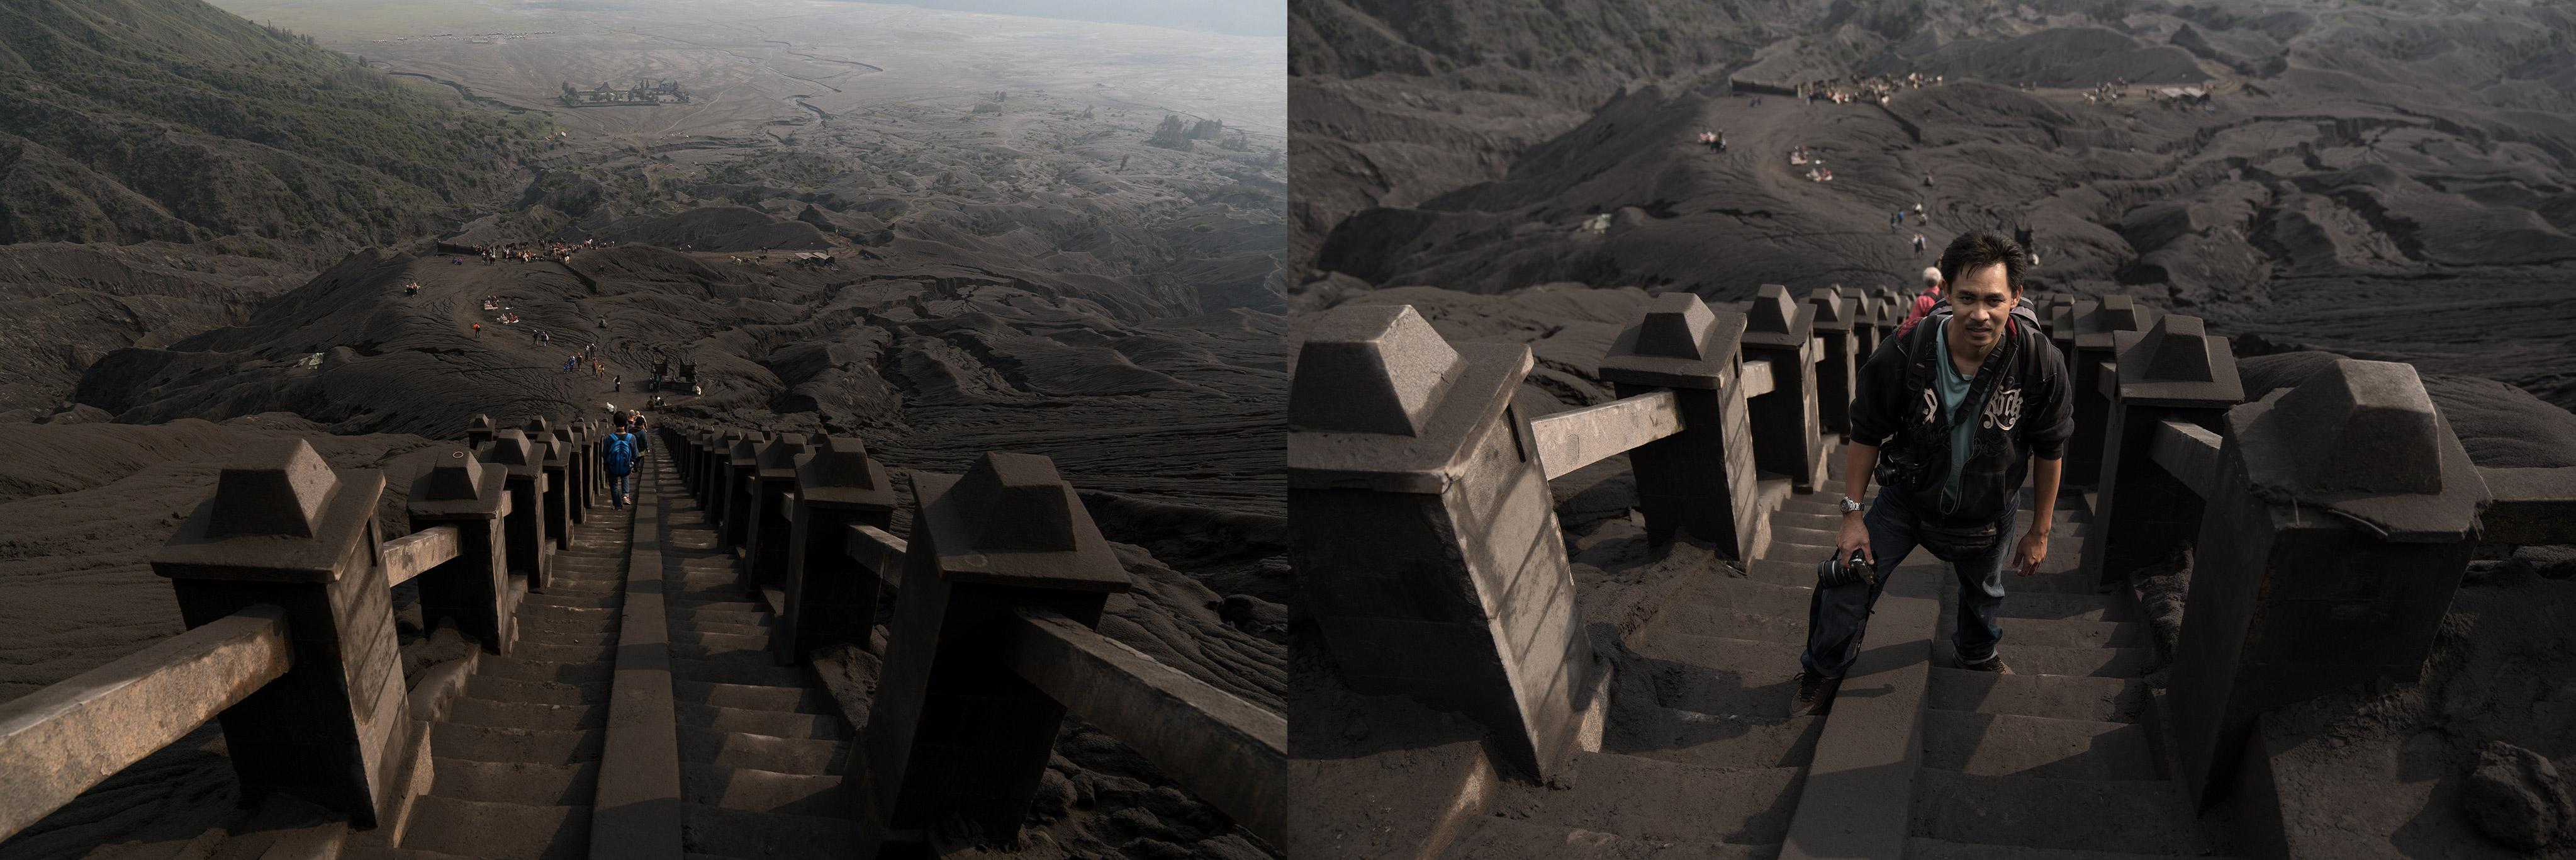
Anyway, I thought the horse ride would take us all the way up to the crater, but I was wrong. The ride stops at the stairways then we had to climb it ourself and it was a pretty steep climb. Had to stop few times to catch some breath!
Here’s the stairways and abam Jemang at one of the many pit-stop we had to make before reaching the peak.
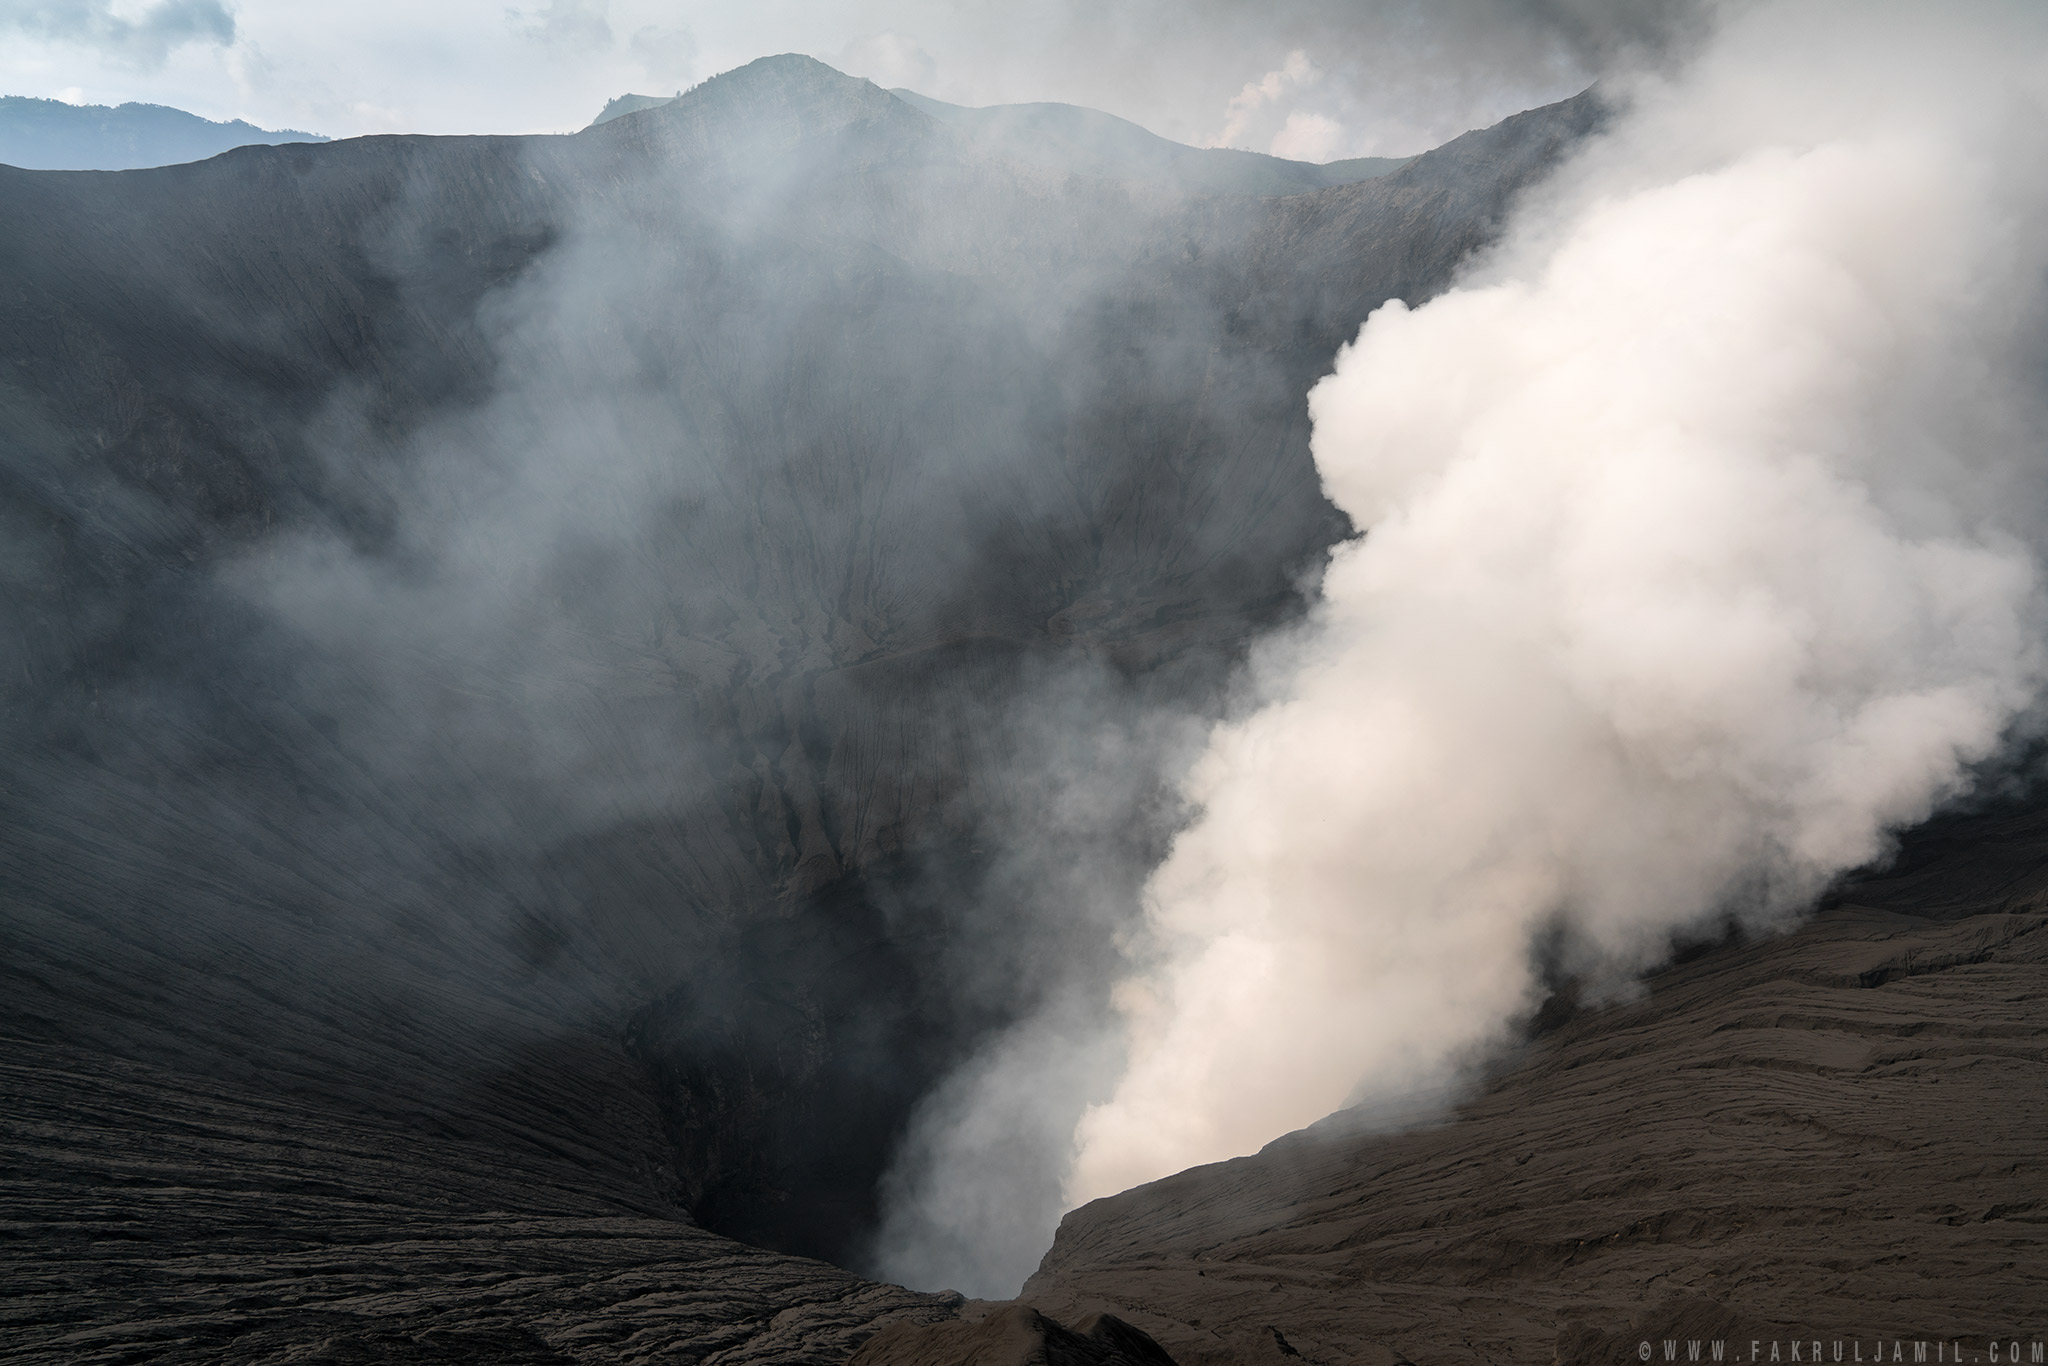
The crater of Mt. Bromo and its constantly belches white sulfurous smoke.
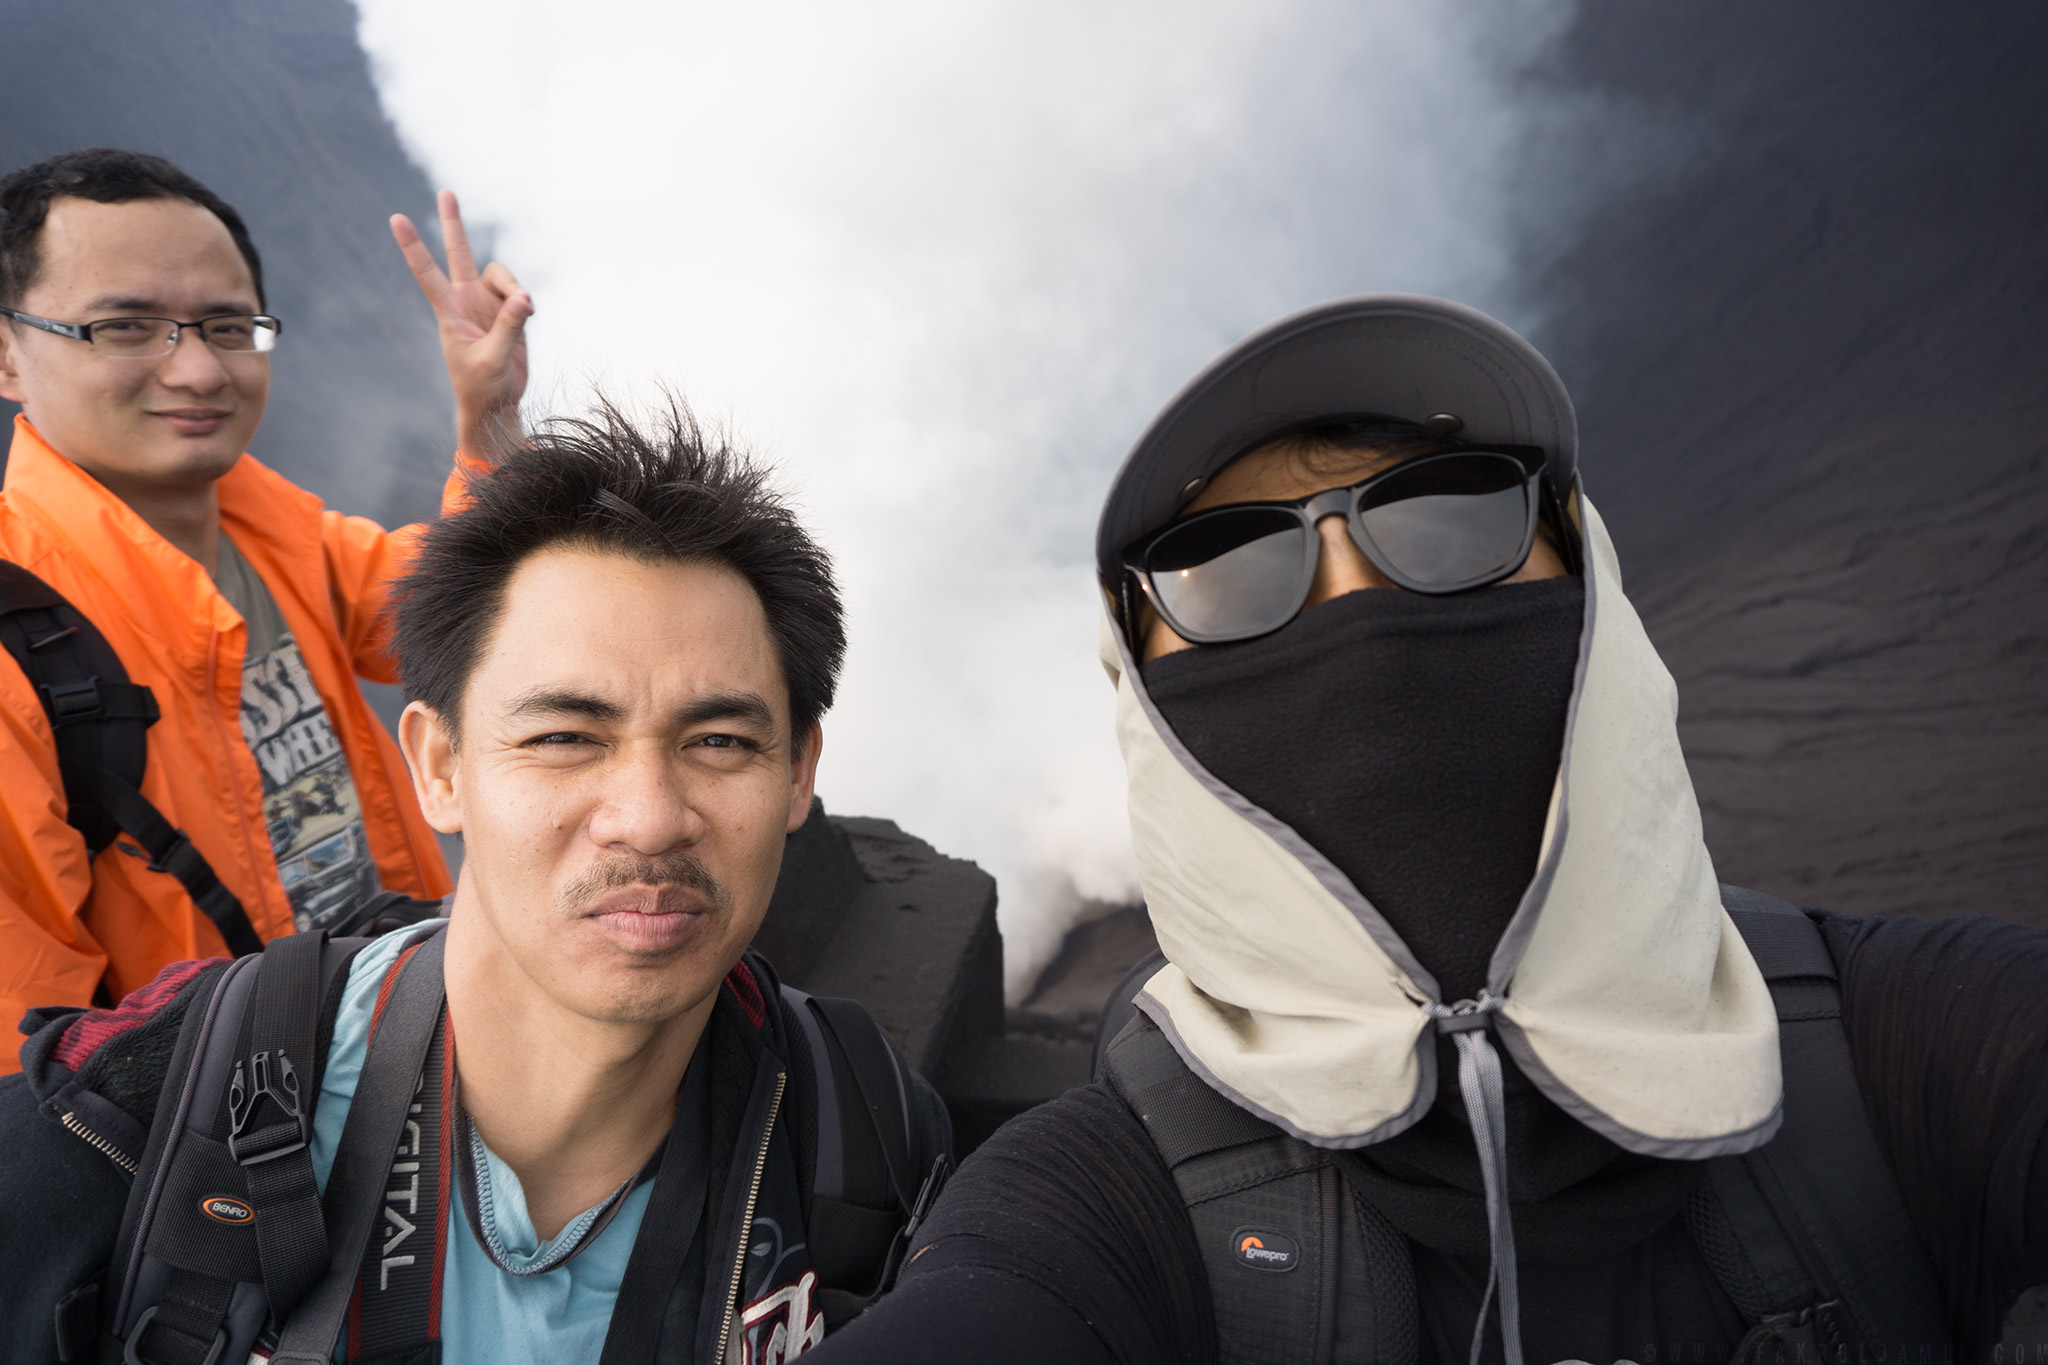
A quick selfie with Jemang and Azmi. Too bad Pak Zahar didn’t make it to the top because he could not stand the heavy sulfur smoke.
24/3 – Thursday morning : Our second day starts as early as 2.00am. Our next location is Penanjakan 1, which happens to be the most famous viewpoint in the national park. It’s located approximately about 1 hour drive but its not your ordinary drive. It was a really bumpy drive even on a 4×4 vehicle. Not recommended for those who suffers back-pain etc. We reached Penanjakan 1 around 3.00am and the parking area is already looks like a night market. The place is filled with lots of tourist!
So after got dropped by our driver, we then hike up to the viewpoint which located around 500 meters from the parking area. Pak Irsam showed us where to set our tripod and luckily the front seat is not yet taken. We then setup all our gears and waited patiently for the sunrise. It gets pretty cold sometimes but thanks to down jacket and a neck-warmer, I’m all covered.
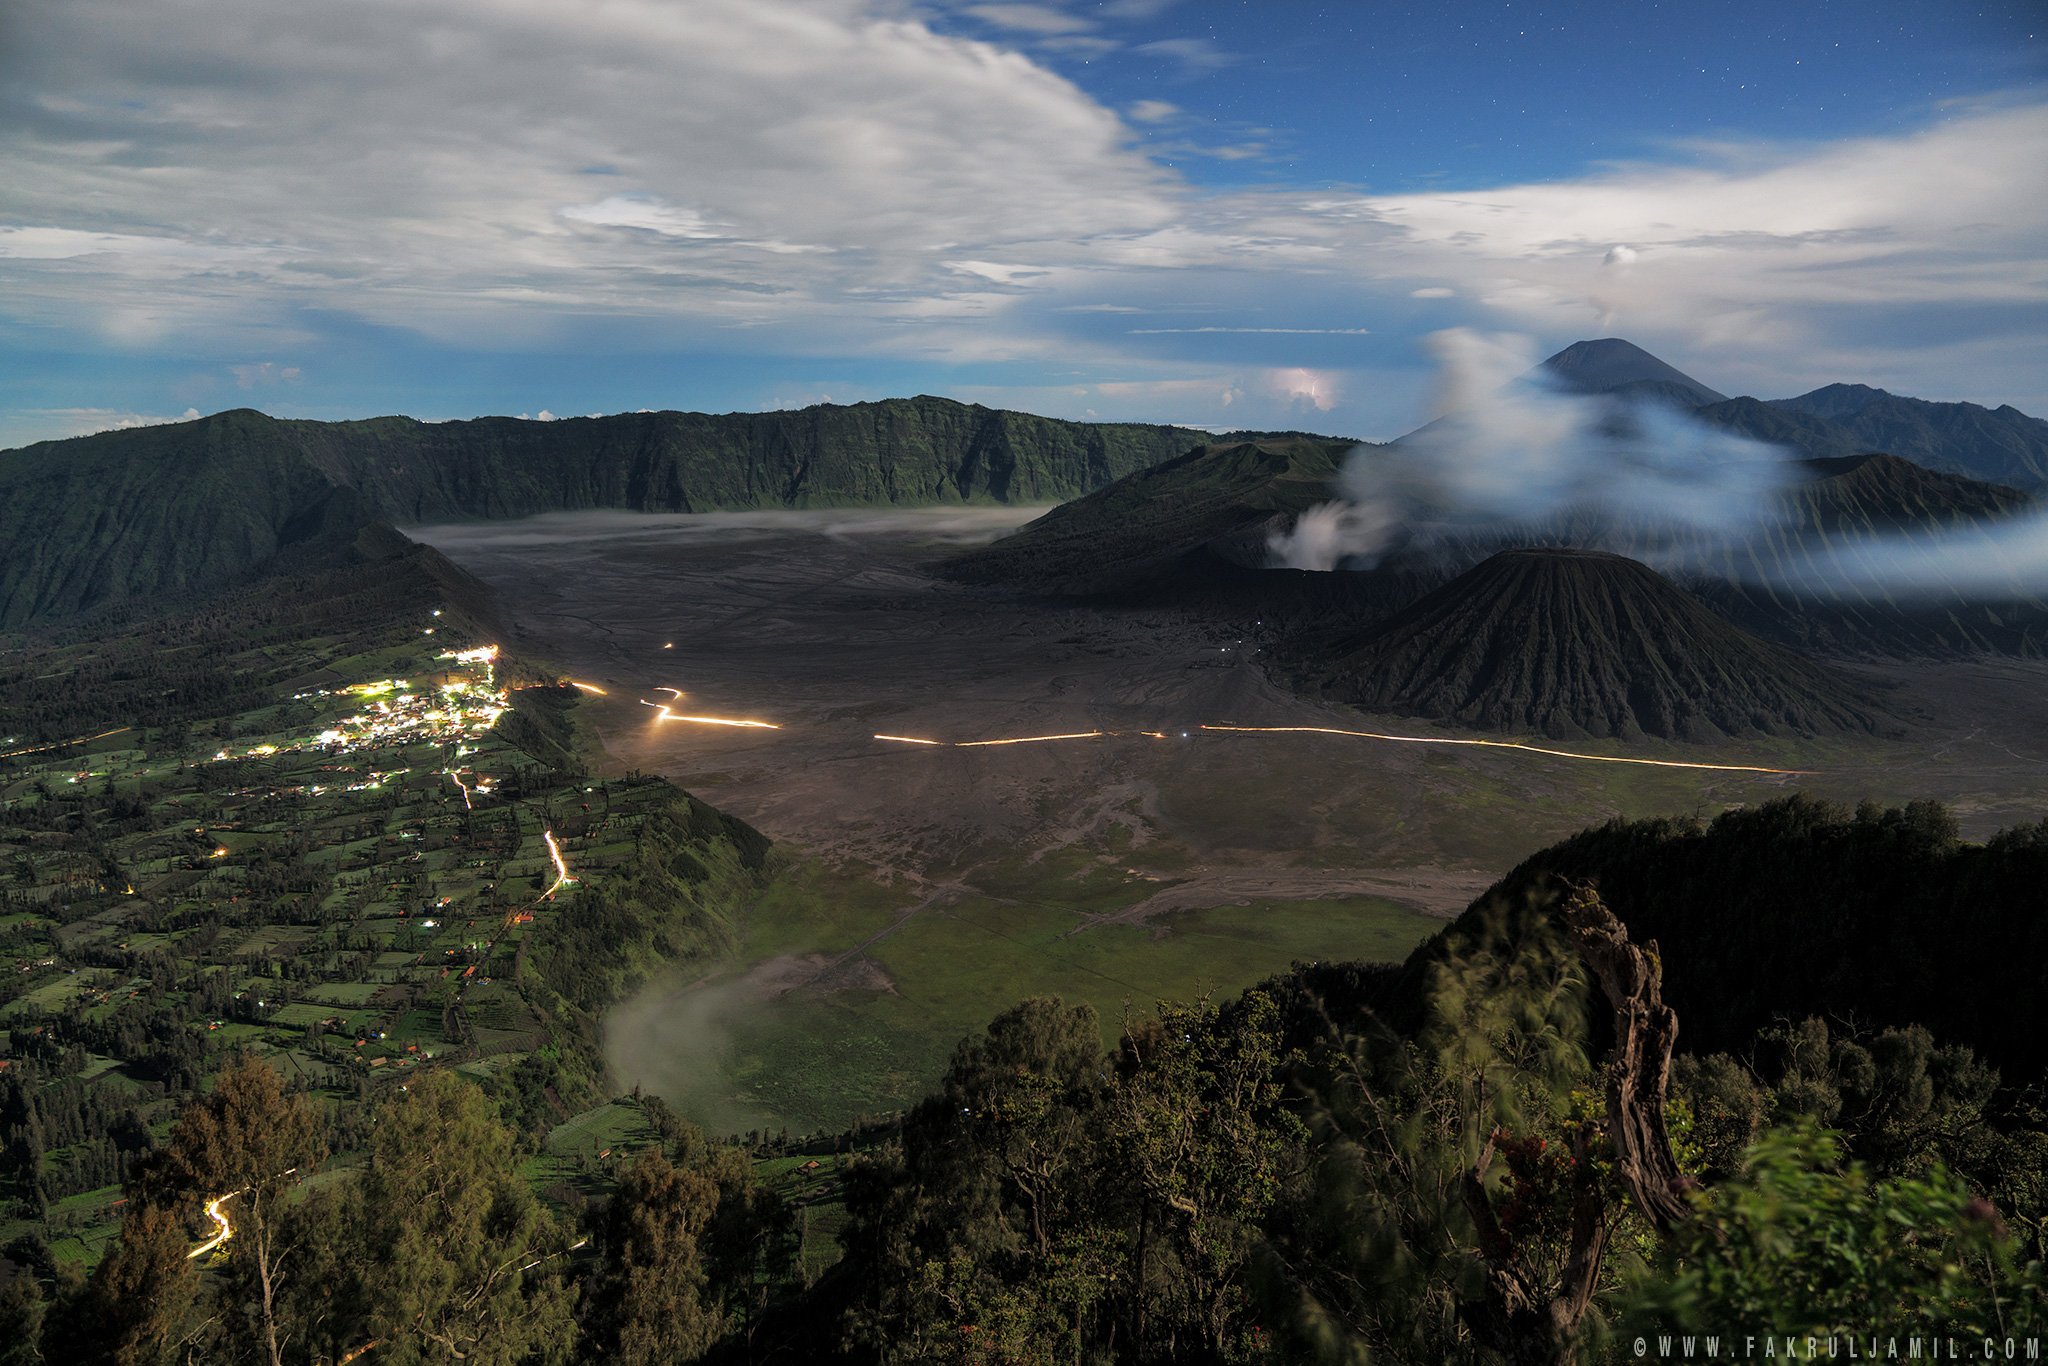
Here’s a photo taken around 3.30am. As you can see, the light trails down in the caldera is from all the 4×4 vehicle, transporting tourist from Ngadisari village to Penanjakan 1. Better be early to grab the front seat!
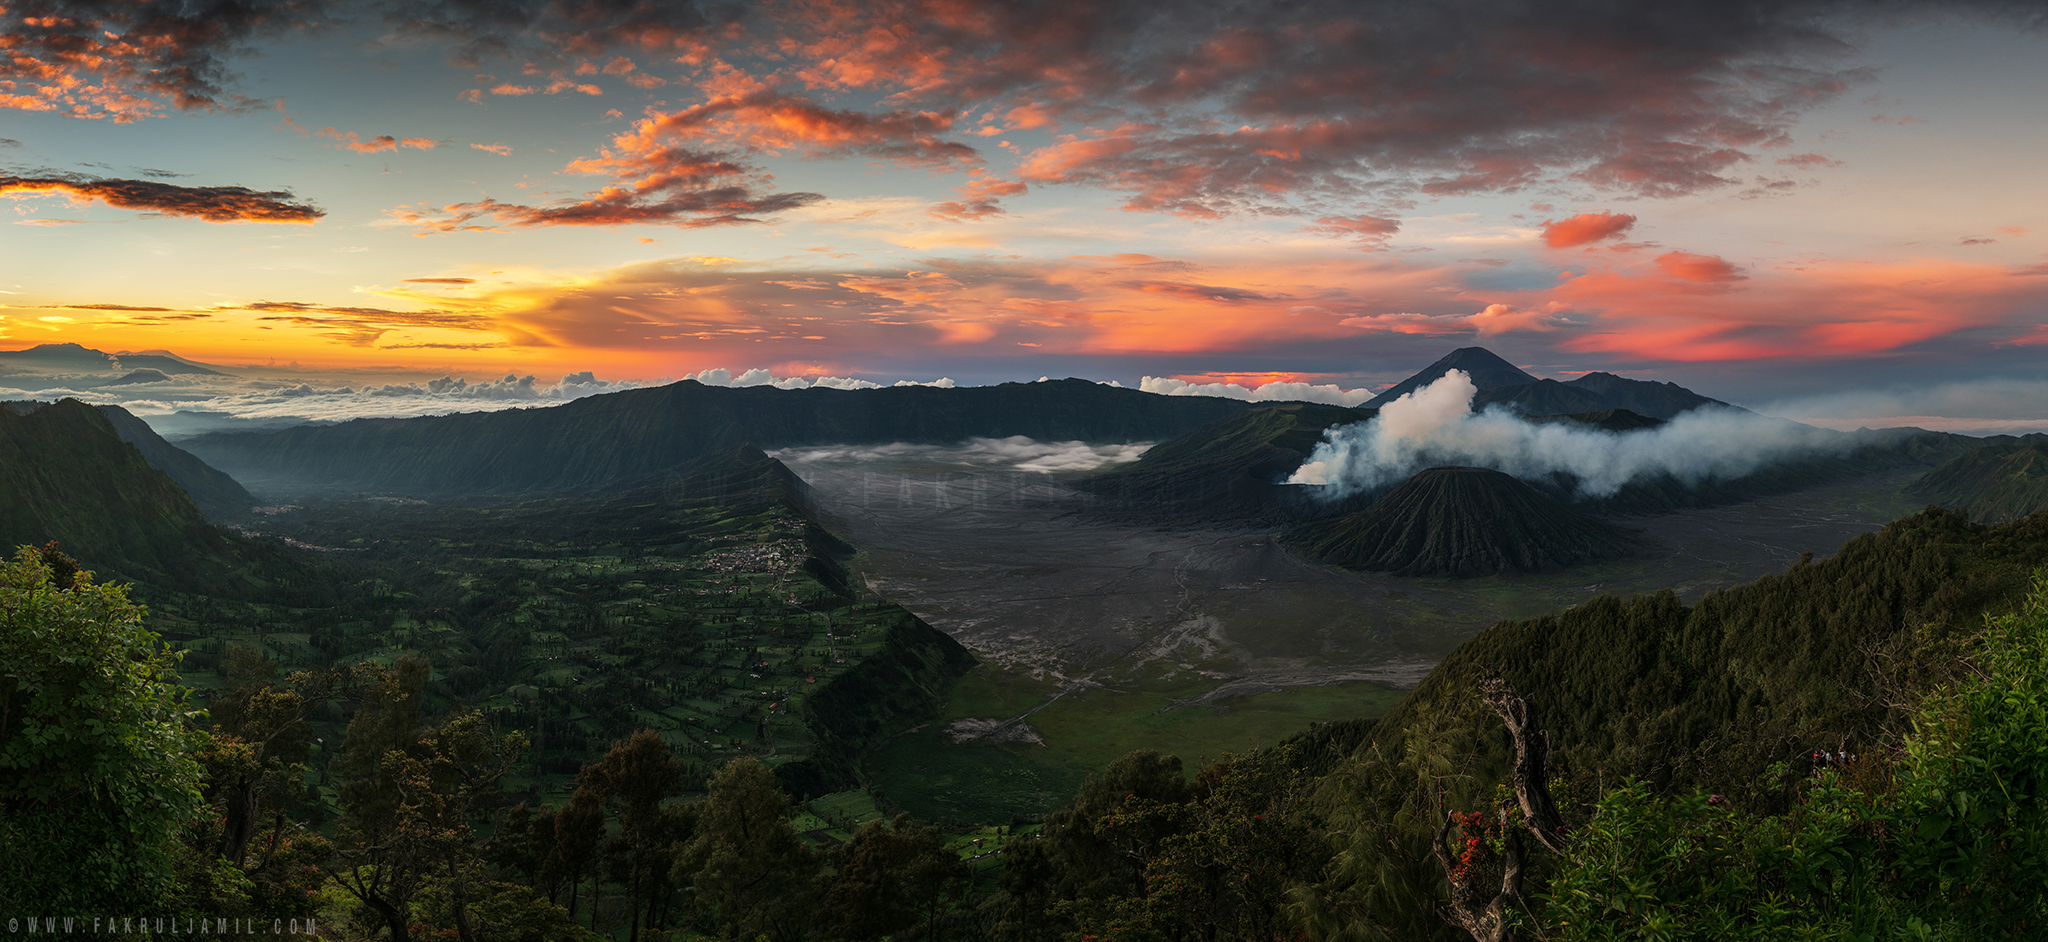
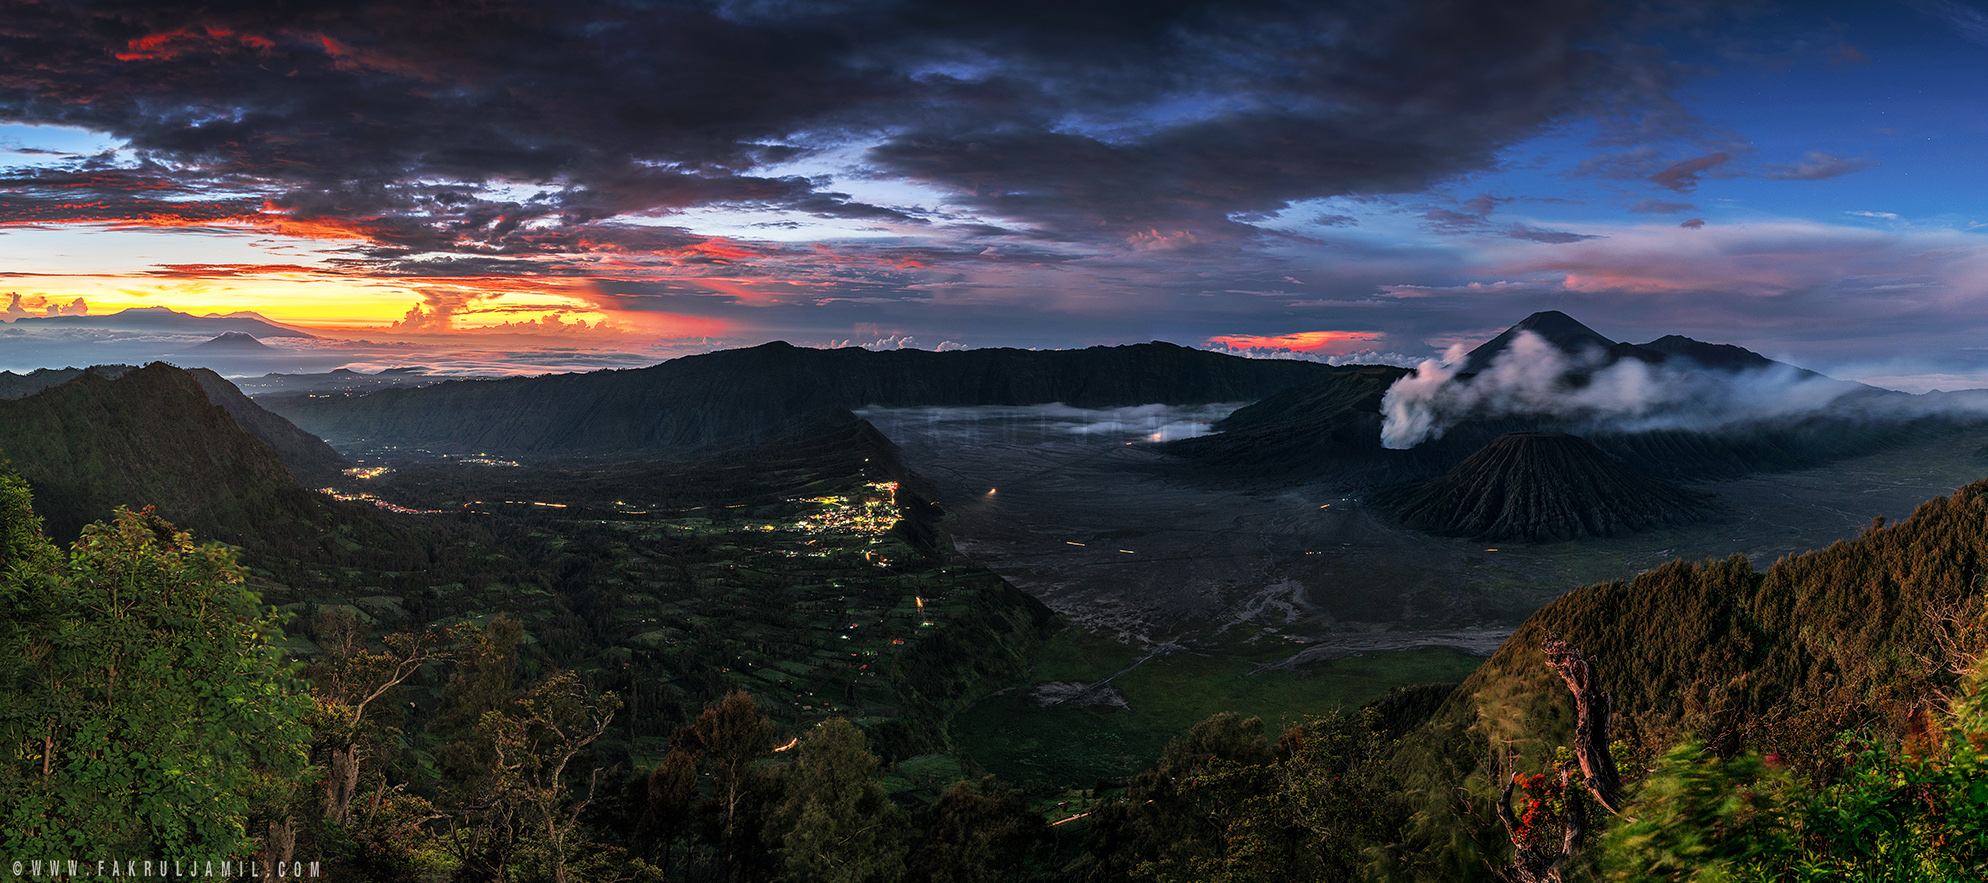
After few hours waiting and shivering in the cold weather, the sun is about to rise. Here’s a panorama of the blue hour taken with Sony A7RM2 + FE 24-70 f/2.8 GM lens. Click on the photo to view in large.
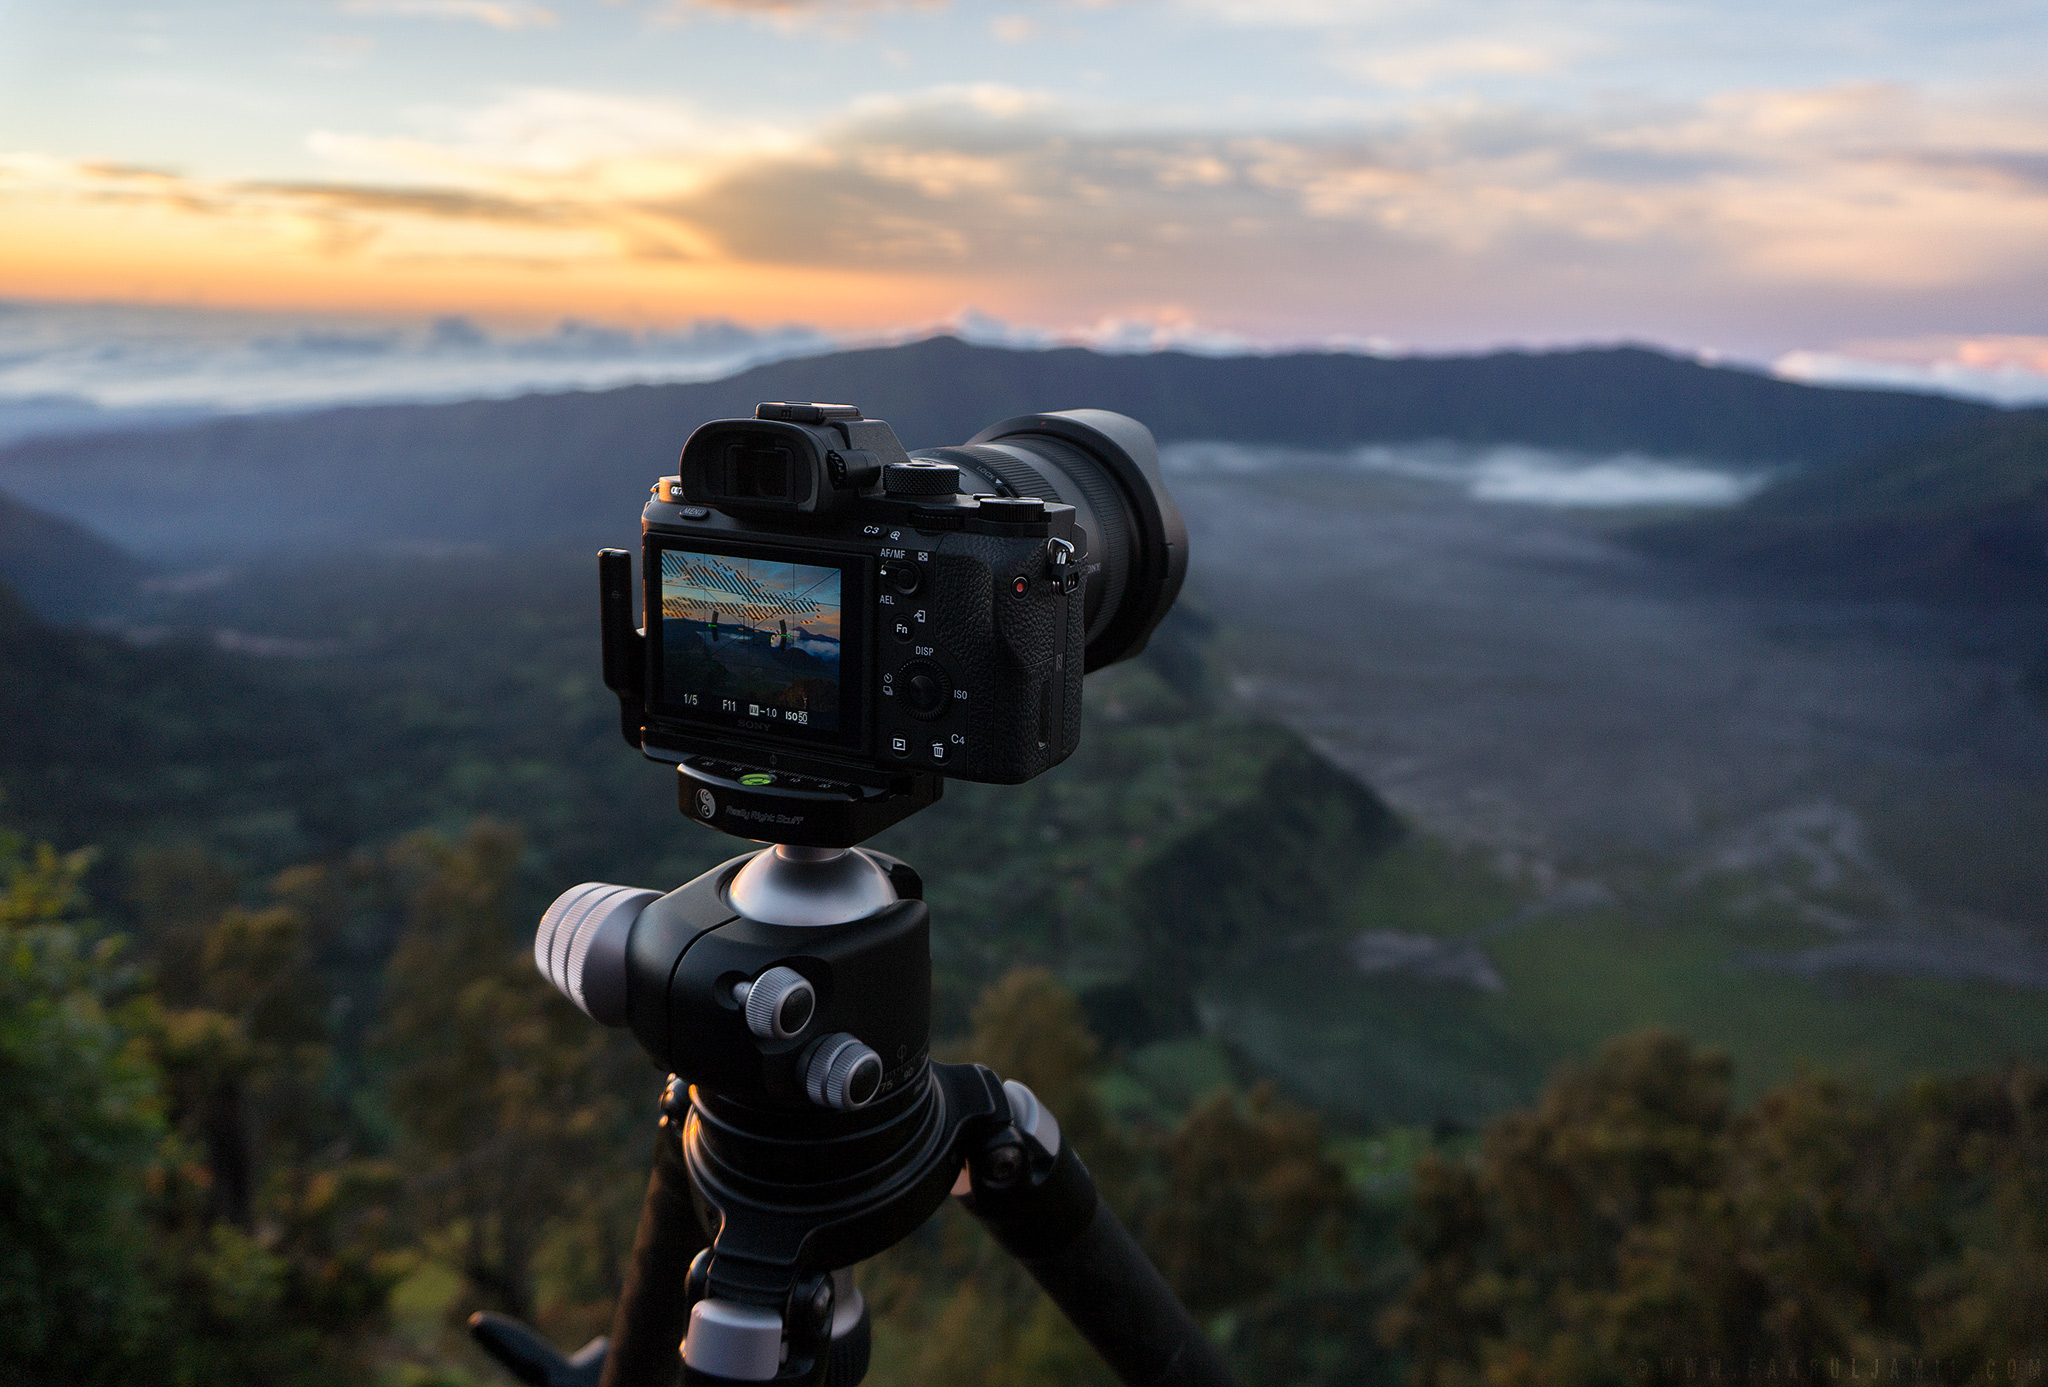
When I saw the blue hour, I thought to myself, this could be a pretty amazing sunrise and as the sun progressed higher, the mesmerizing colours starts to appear. We, landscape photographers express this moment as “the magic hour”. Check out behind the scenes photo below taken with Sony A5100.
As you can see, the sun rose slightly to left of Mt. Bromo. But the strong colours did reflects all the way to the volcano hence the final result below. I present to you….”When Earth Meets Sky” a panoramic image generated from 8 vertical shots taken with Sony A7RM2 + FE 24-70 f/2.8 GM lens. I just had to take panos because I wanted to capture everything for this shot. Final resolution for this pano is 12,600px wide!
My other camera, Sony A7SM2 was running on timelapse mode and managed to capture the beautiful sunrise display changing rapidly. We waited for quite sometimes and I when I was about to pack all my gears, I saw this view of “The Great Mountain” of Mahameru standing tall behind Mt. Bromo.
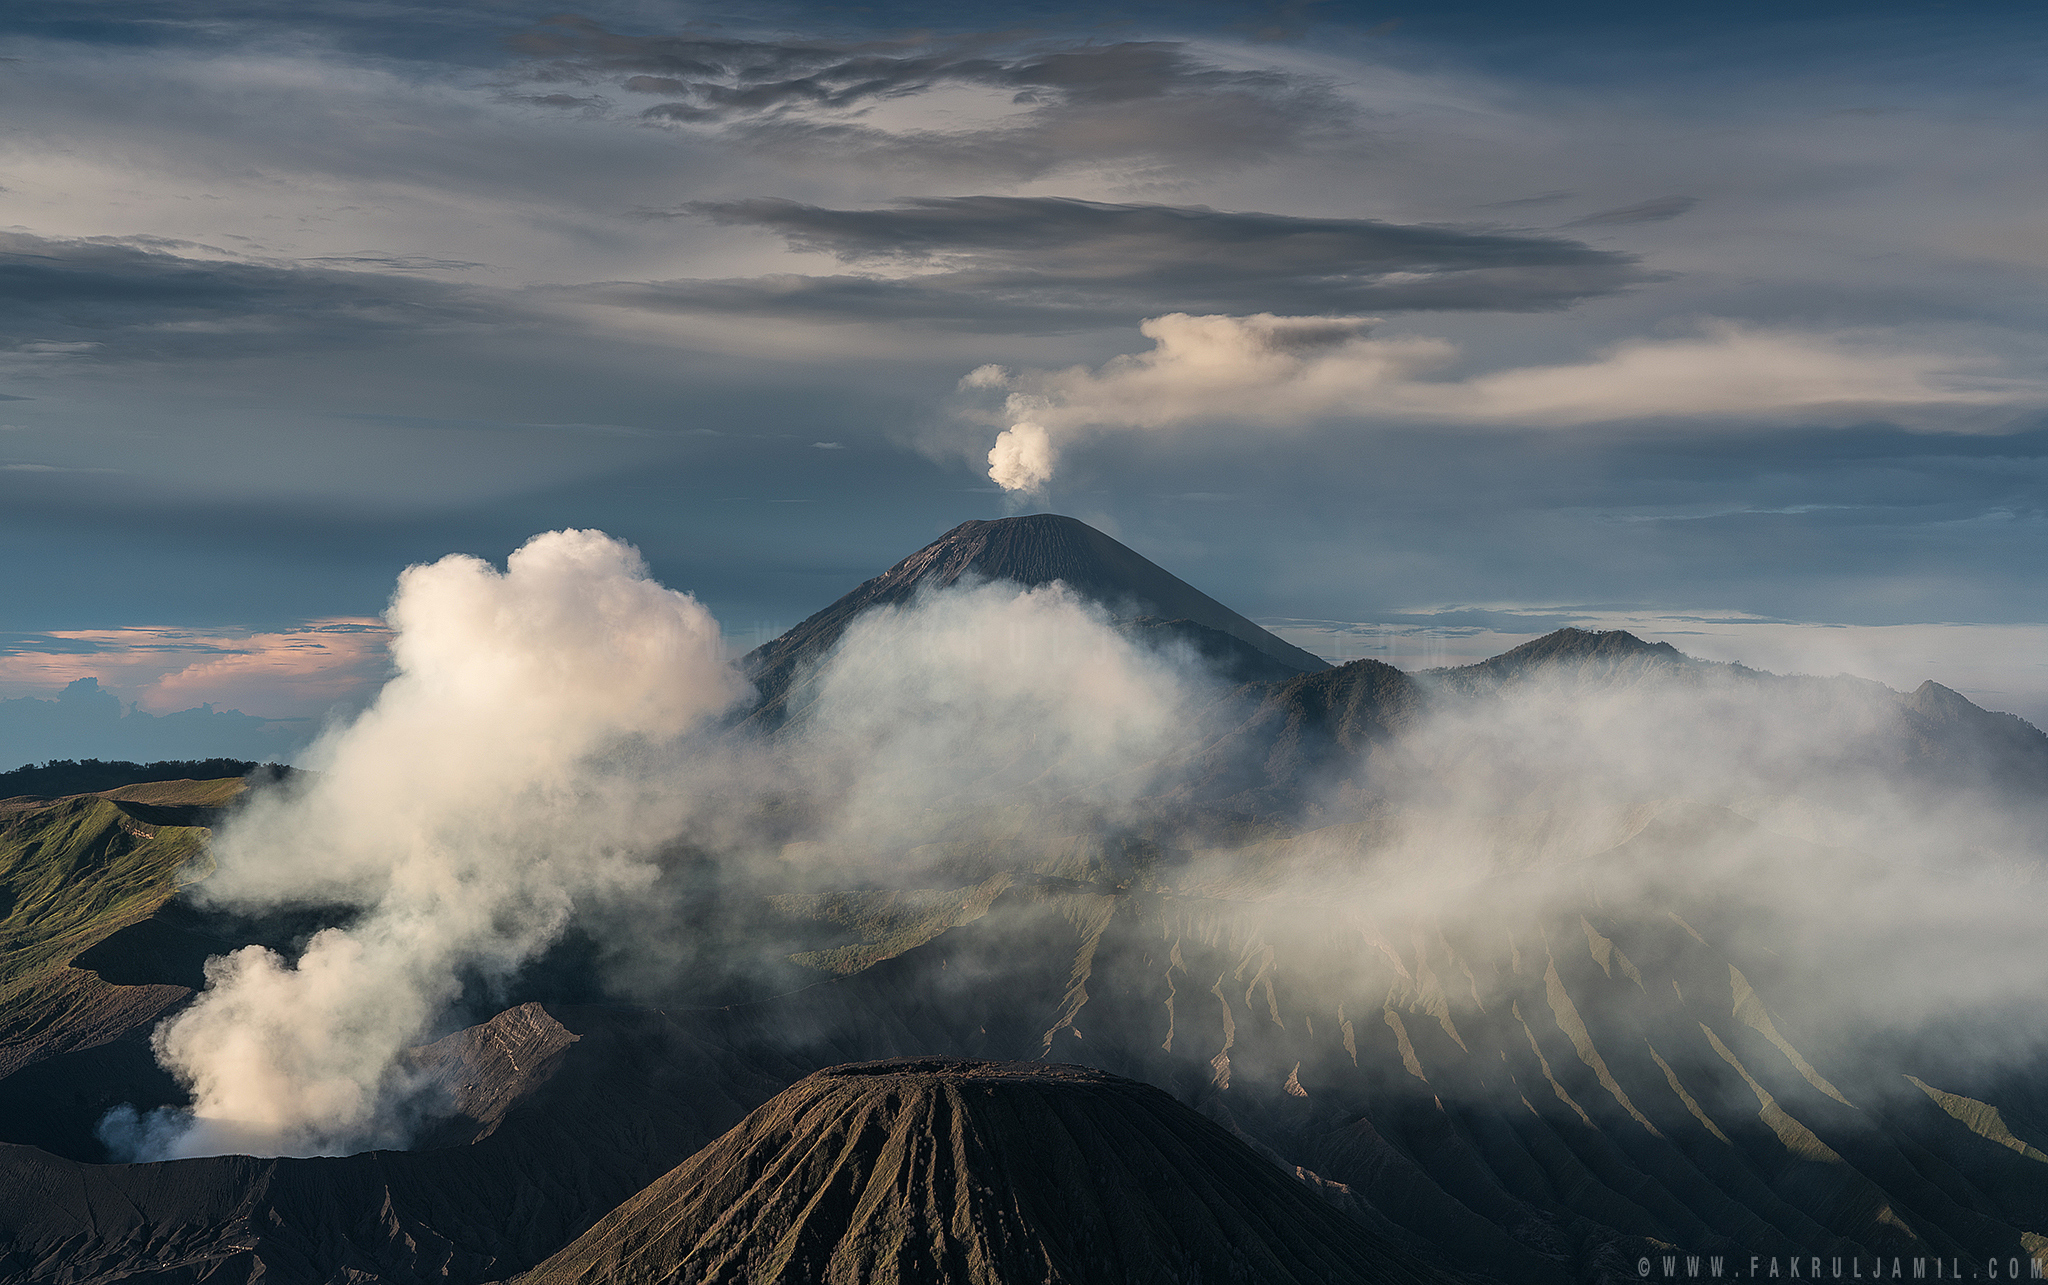
Our next destination is to the Savannah Field. The place is actually a field of grass surrounded by the hills and is also one of the attraction when visiting the national park. But we encounter some problem when we are on our way to the location. It rained the night before so the track road gets a bit wet and muddy. Our 4×4 driver gets a bit clever and thought he could get through the muddy road. But in the end, he got us all stucked!
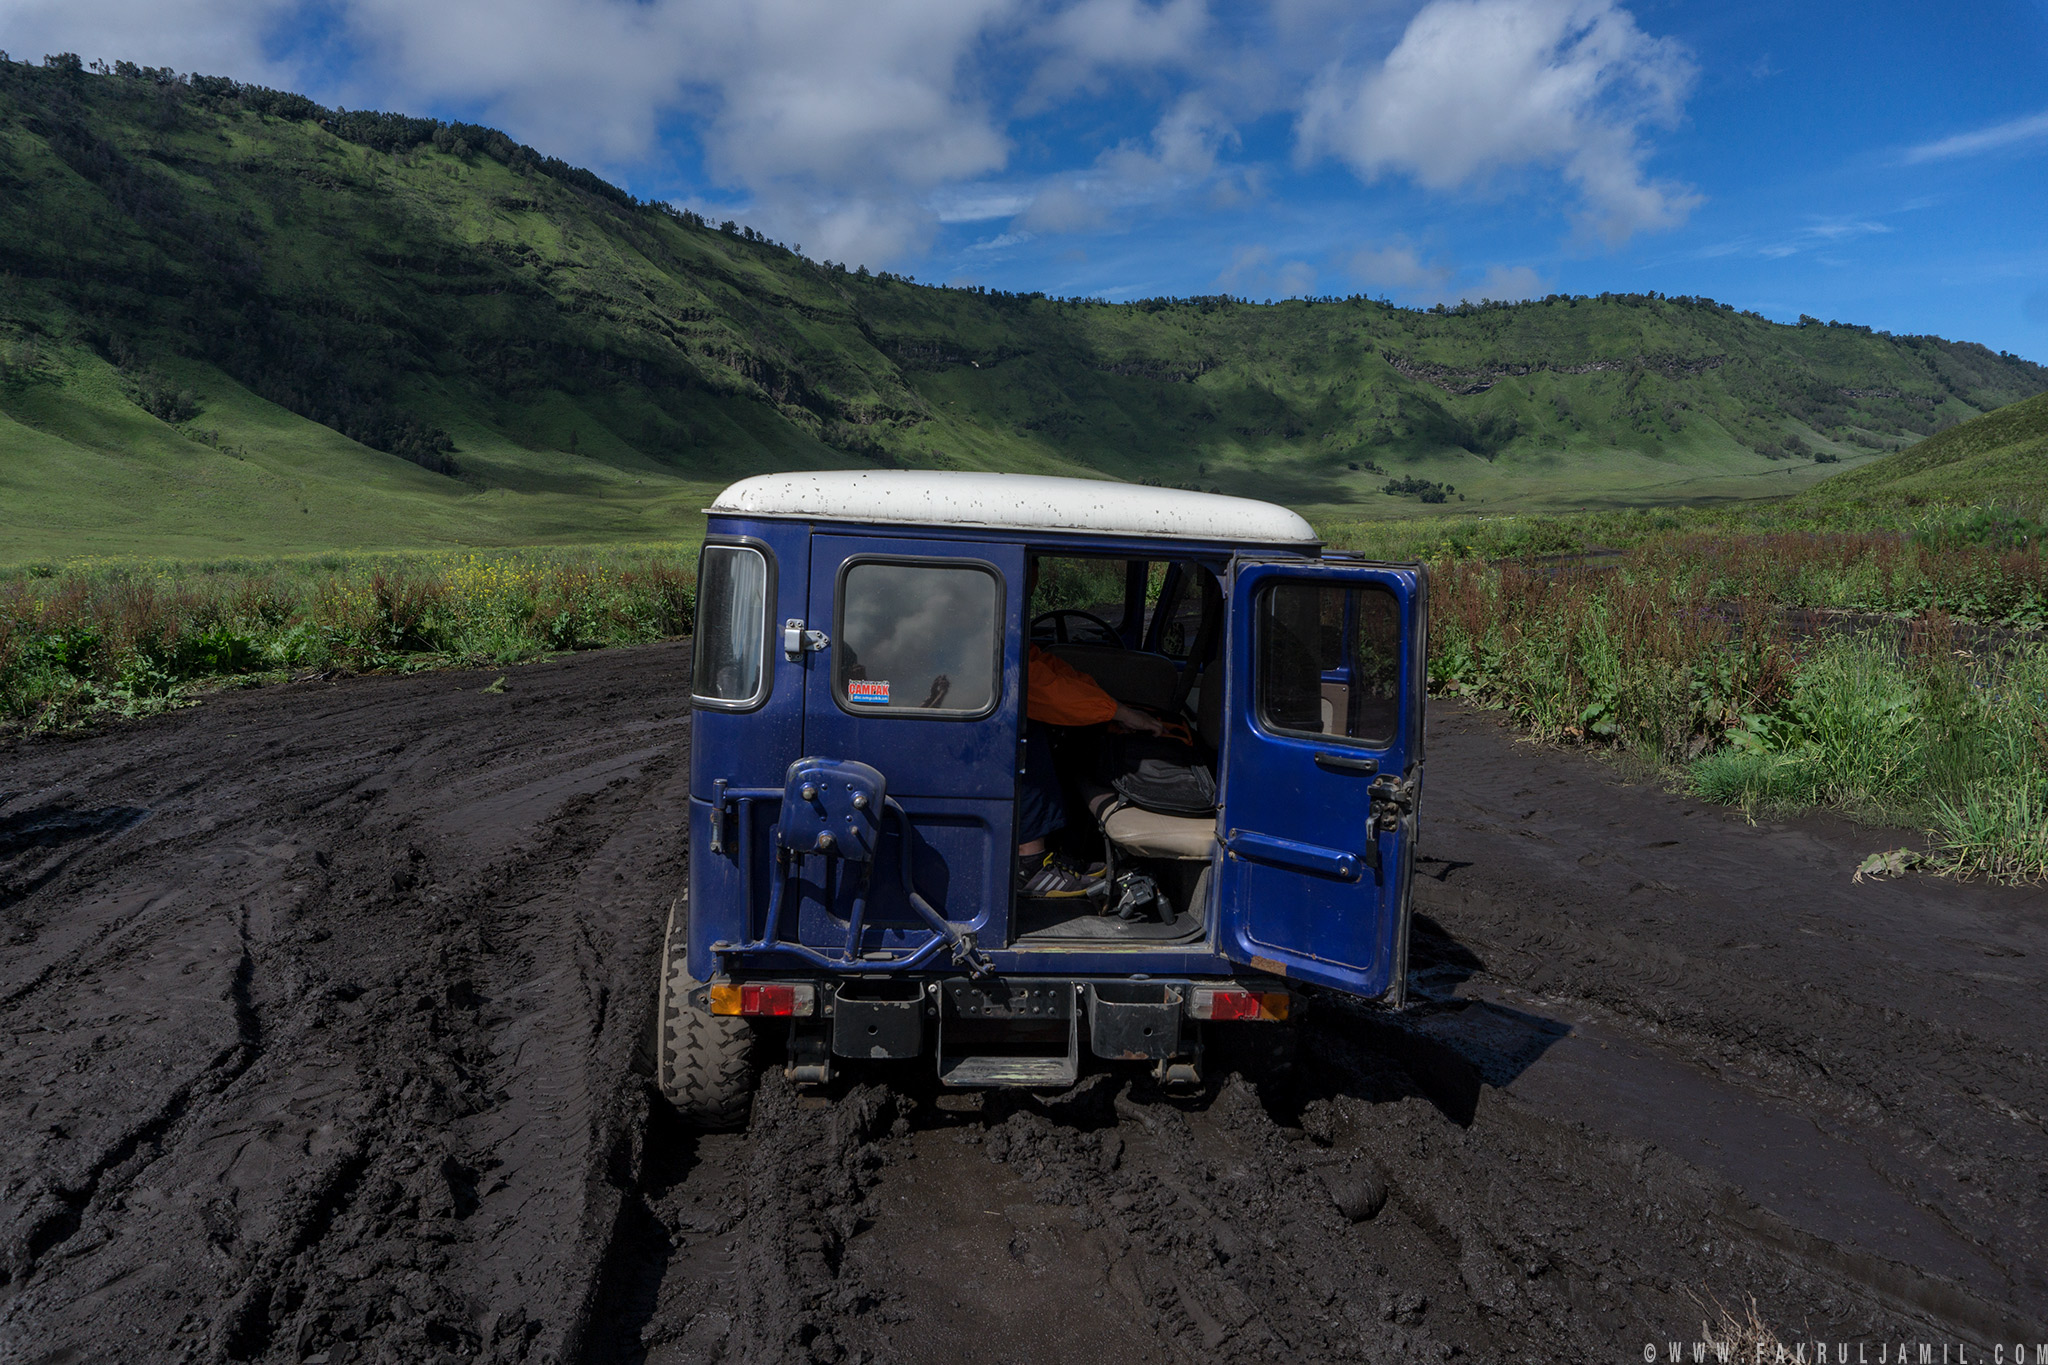
We had to abandoned our 4×4 and wait for another truck to pass by to get help. Turns out there were few other trucks that got stucked too.
After that, we continue our journey to Savannah Field. Its just a short drive to reach there. But we did not go all the way in as Pak Irsam took us to one of the best viewpoint (I guess) available in the park. It looks a little bit like the famous Dolomites in Italy. Except there is no huge mountains in the background. But I guess I can call this as Asia’s Dolomites…
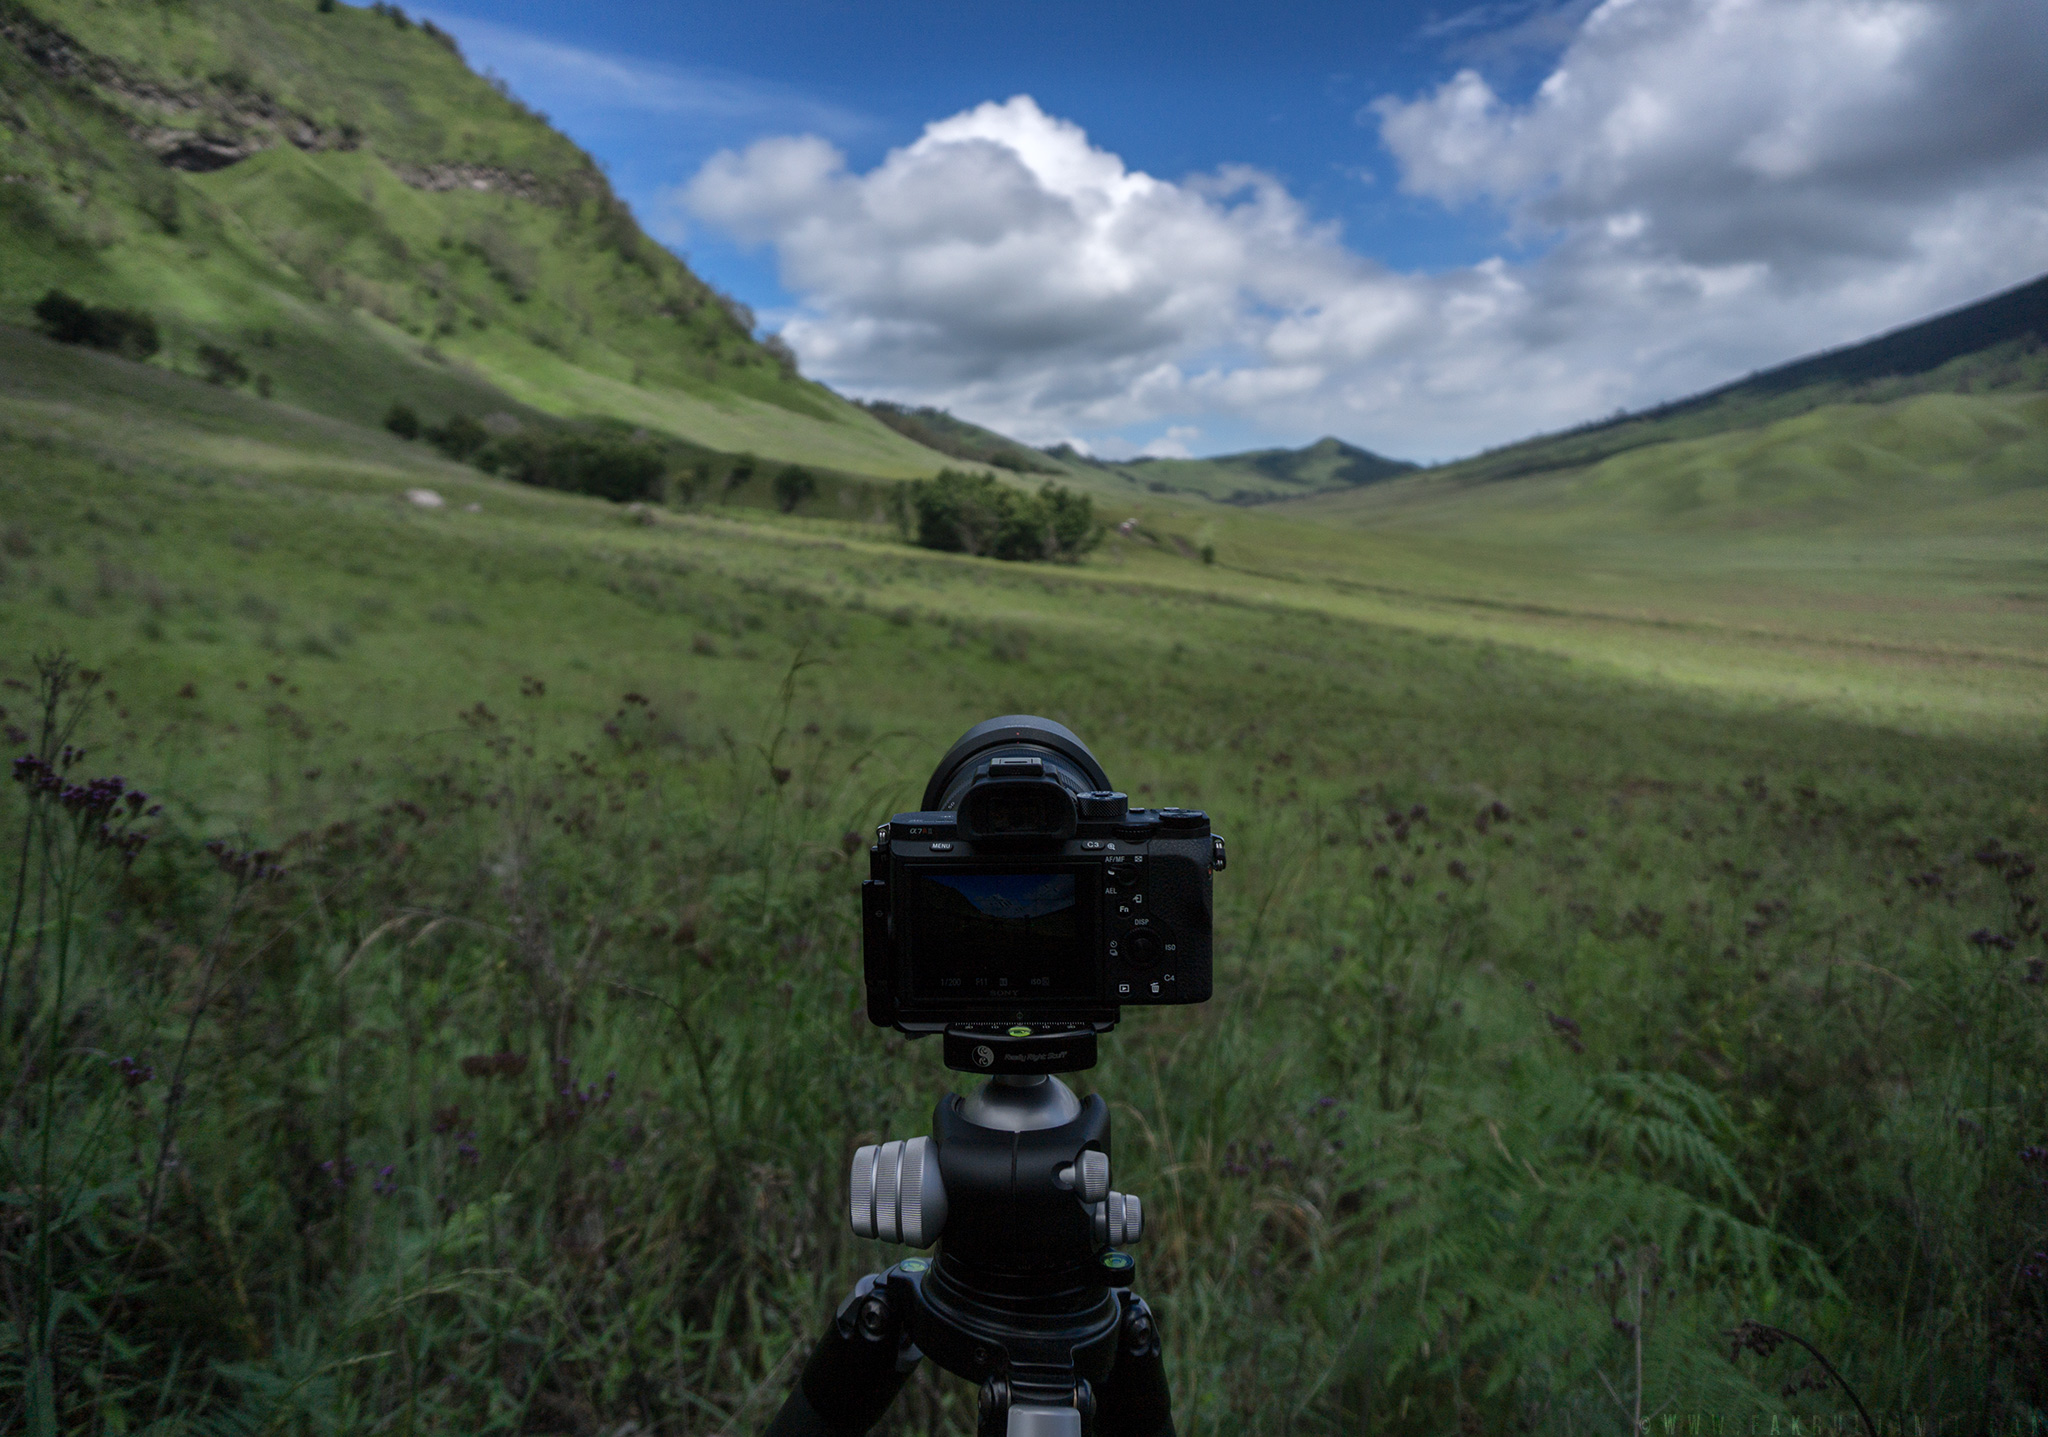
And of course, a compulsory group shot. Credit goes to our guide, Pak Irsam.

After spending a few hours in the field, we head back to our hotel, Cemara Indah for breakfast and rest. The best thing about our hotel is, the view itself is facing Mt. Bromo. We had our sunset shooting just from the hotel lookout point. Here’s my camera running on timelapse mode.

Jemang and Pak Zahar admiring our hotel view. Azmi is out of the frame as he was standing slightly to the left of this photo. I guess he gets the best composition, or same.
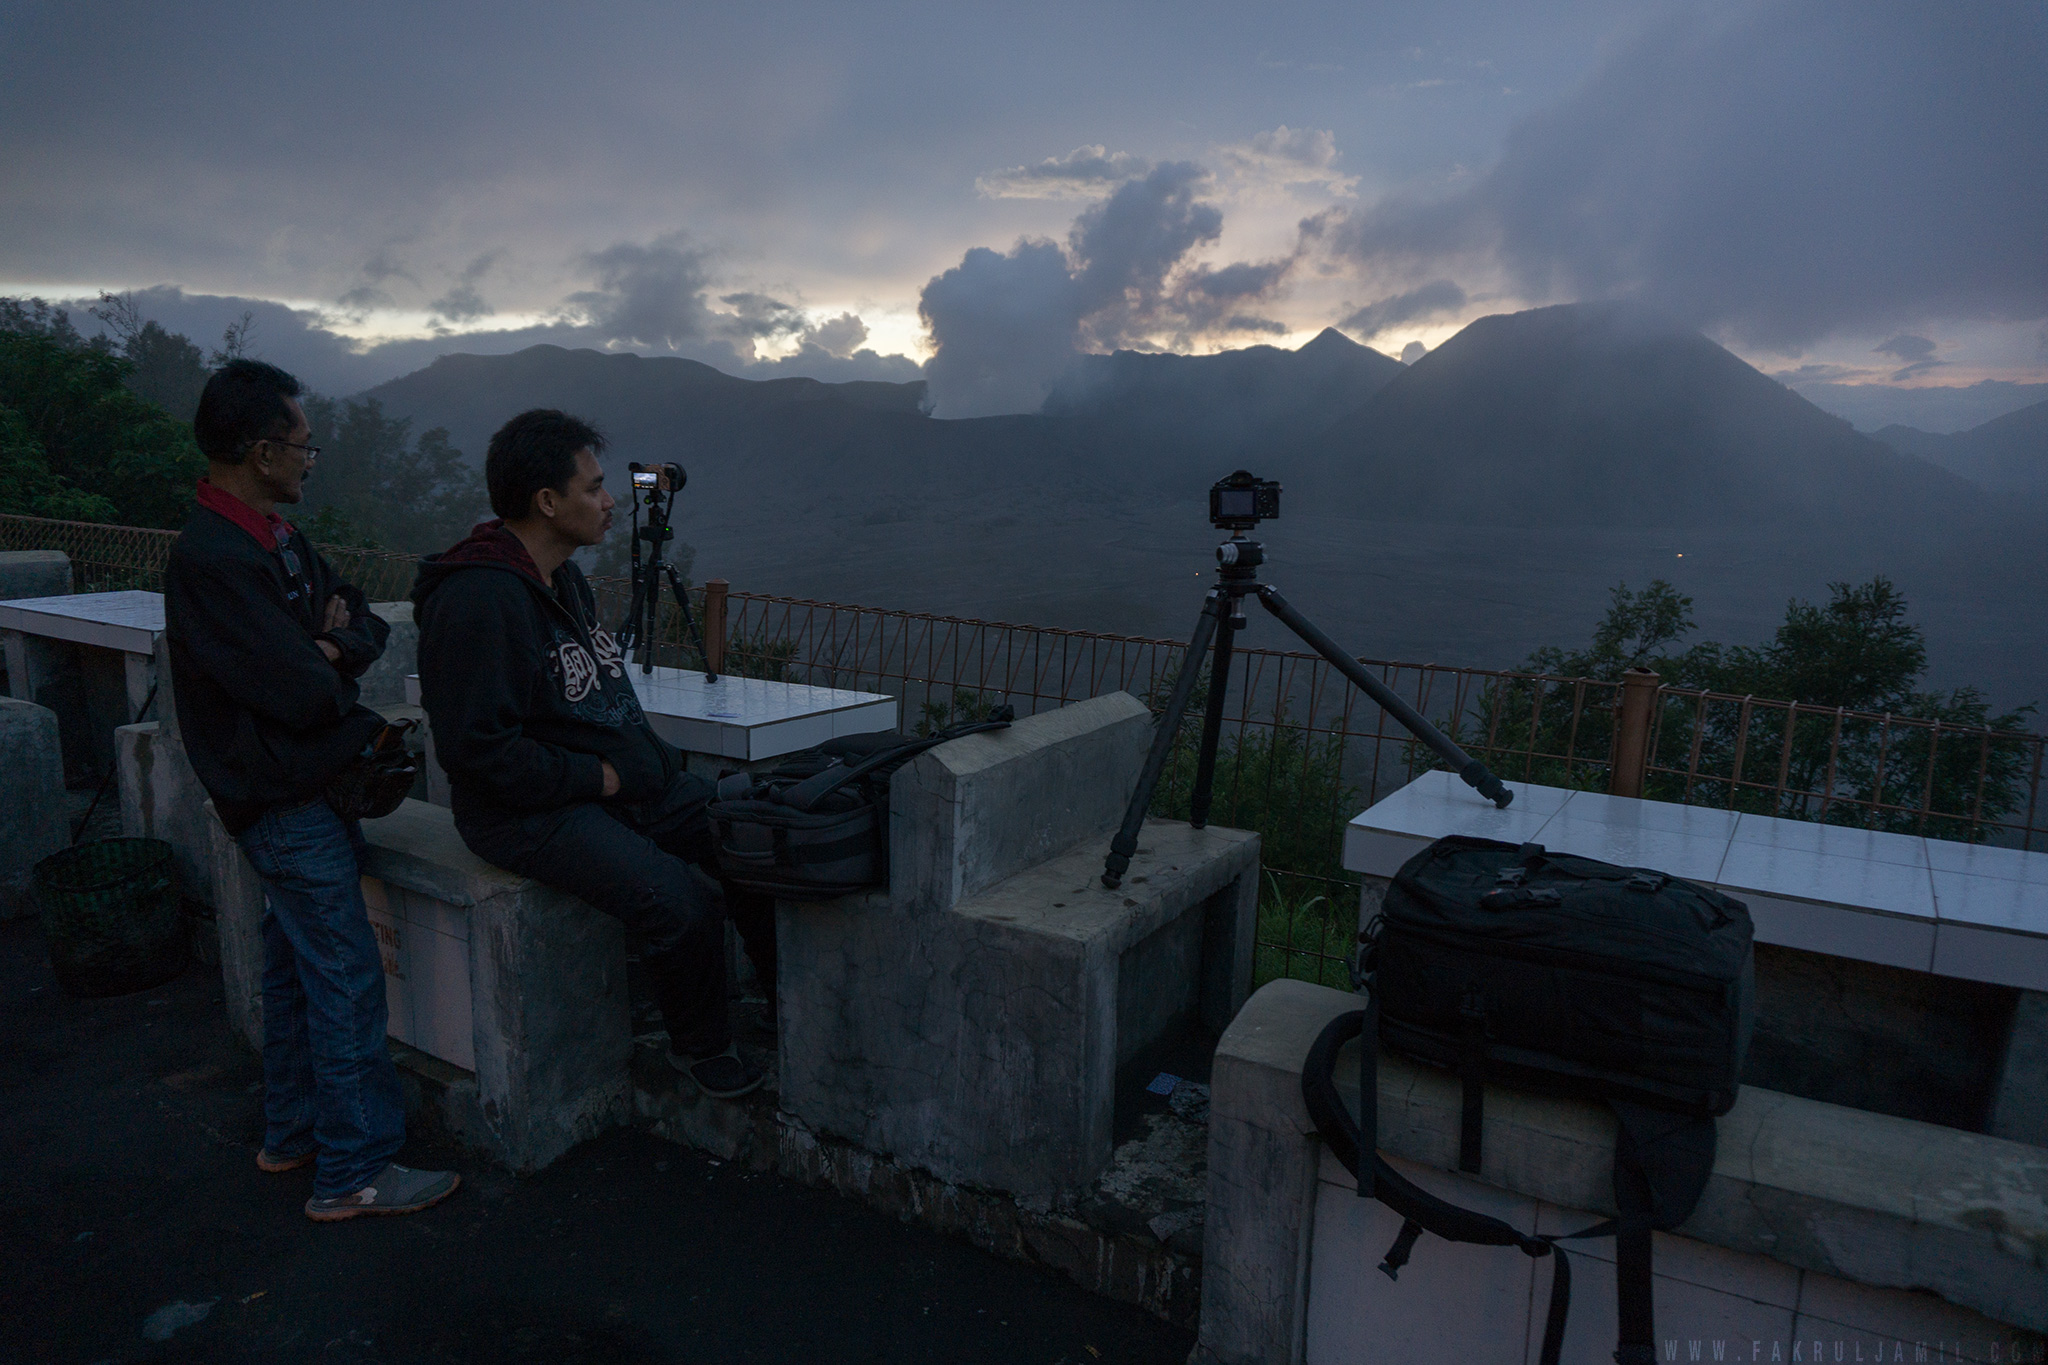
This session wrapped our short visit to Mt. Bromo. The next day before checking out, we went out in the morning for quick shoot in Ngadisari Village. But, nothing much to share so I just skipped that.
Thank Sony Malaysia for the opportunity to shoot with the new FE 24-70 f/2.8 G-Master lens on this trip. The new lens has successfully kept my ultra wide angle in the bag most of the time.
I hope everyone enjoy this post and hopefully it will inspire you to get out and shoot. Feel free to share and spread the love for landscape photography!
Until my next post, assalamualaikum wr wbt.
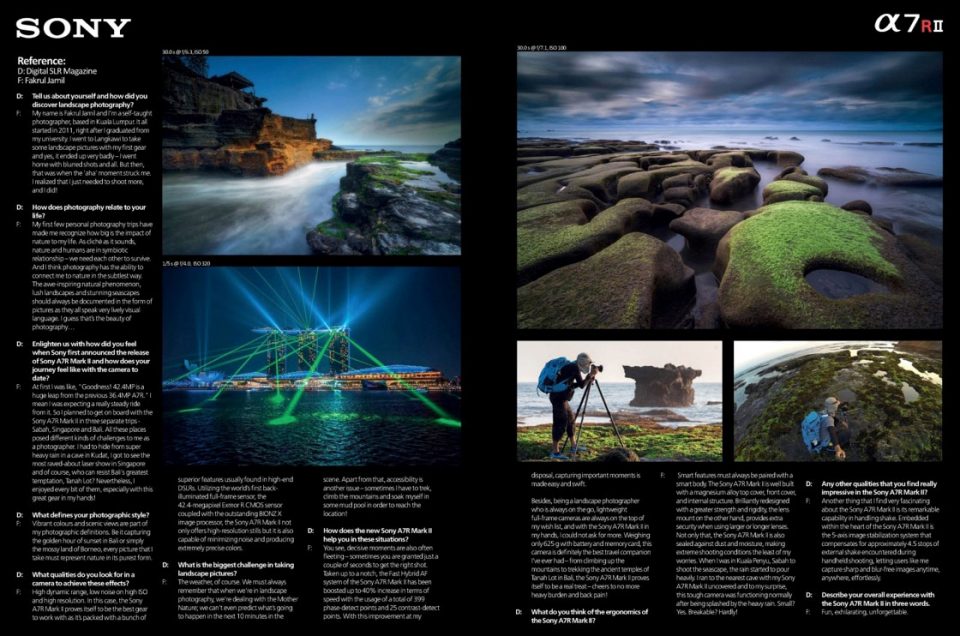
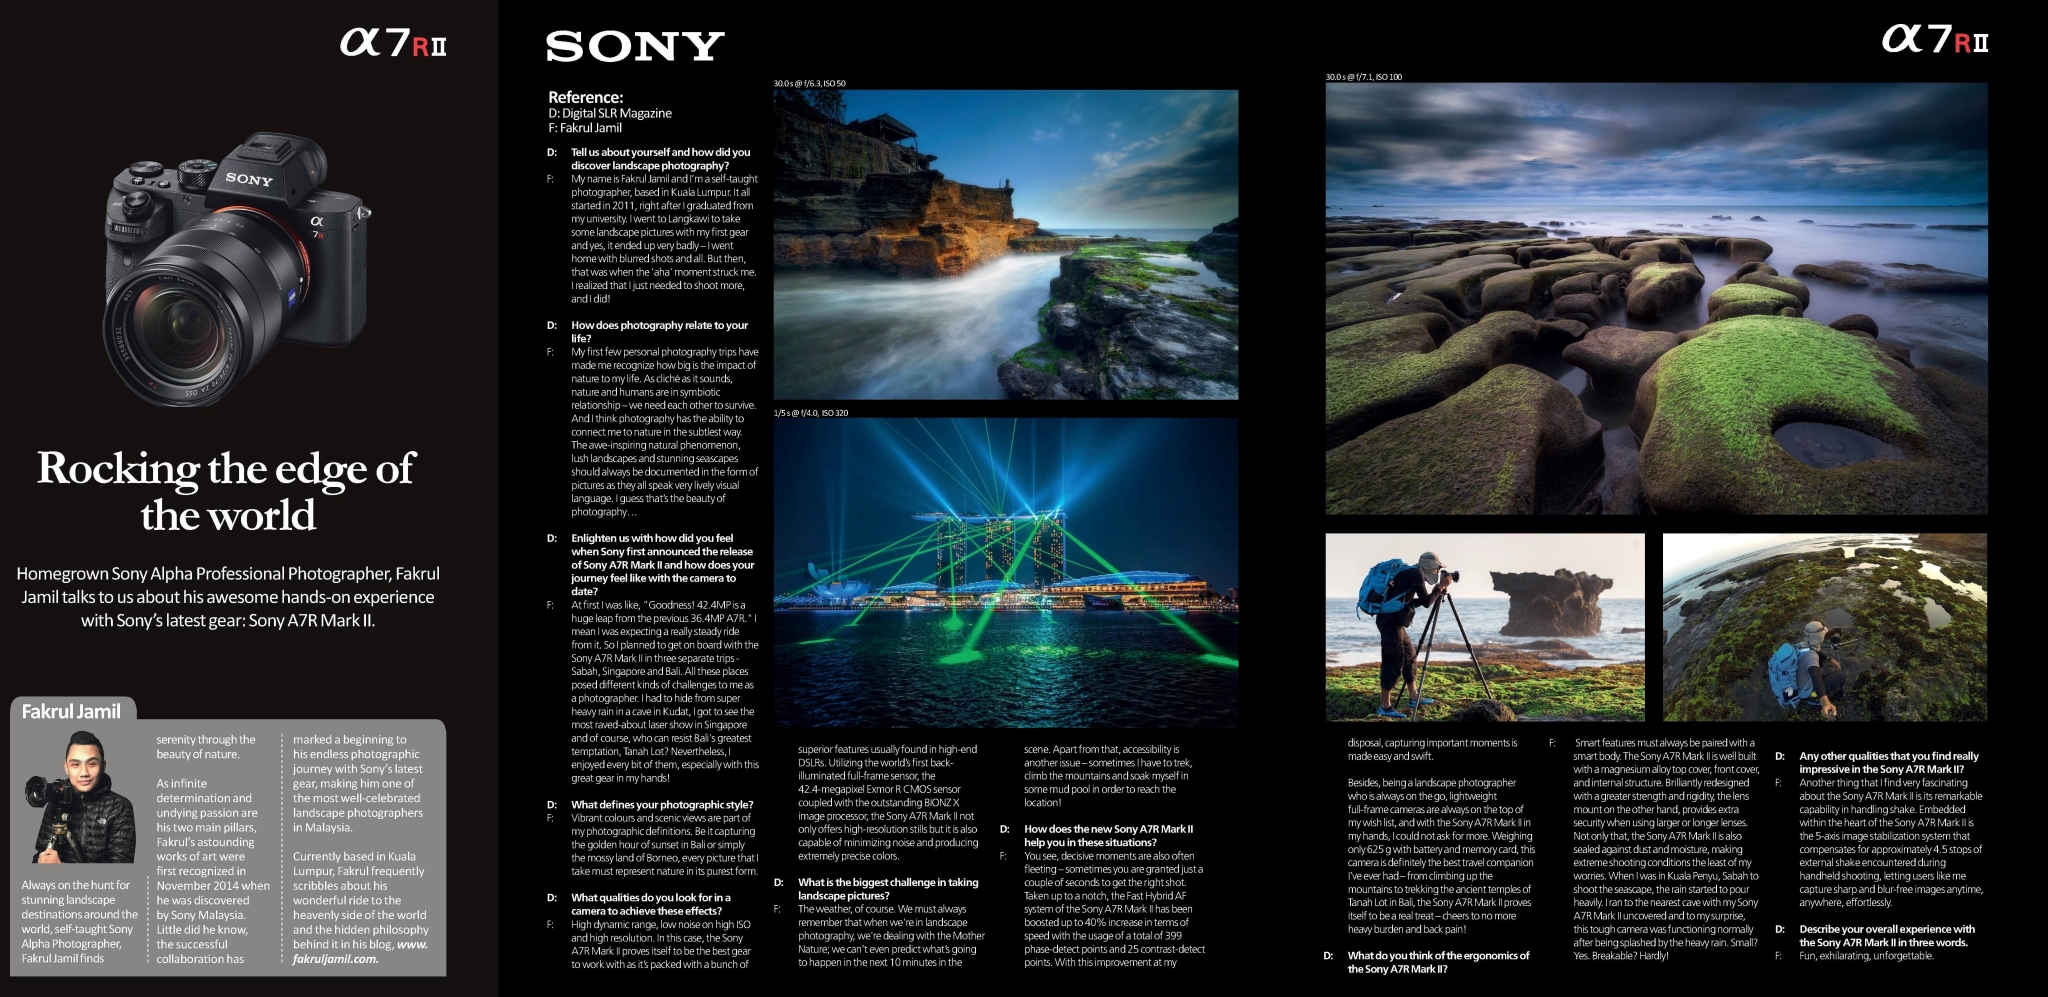
Hi everyone! Recently I’ve been interviewed by Aperture and DSLR Magazine Malaysia regarding my experience shooting with the new Sony A7RII. The interview has now published in both magazine – December 2015 issue. Here’s a snapshot of it!
Hi everyone, I’m participating in Explore The Elements Photo Blogging Contest! Come and join me for the chance to win £5,000 travel fund and many more exciting prizes!
Explore The Elements Photo Blogging Contest
Welcome to the Thomas Cook Explore the Elements photo blogging competition. It’s all about capturing and expressing the four elements through travel photography.
We’re looking for bloggers to publish photographs they’ve taken which best represent one of the four elements. All the categories are open to your interpretation, so you can be free to take a picture of anything you feel showcases your chosen element.
Once the competition has finished our panel of leading travel experts will come together to select the best photos. Each judge will preside over one category picking a winner from each before they collectively choose an overall winner.
The four individual category winners will receive a MacBook Air, a Fujifilm X-T1 camera, or an iPhone 6 with Bose noise cancelling headphones, depending on their personal choice. The overall winner will be awarded an amazing £5,000 travel fund. Keep up with the conversation using the official hashtag #ExploreTheElements – http://www.thomascook.com/blog/holiday-competitions-deals/explore-the-elements/
Earth
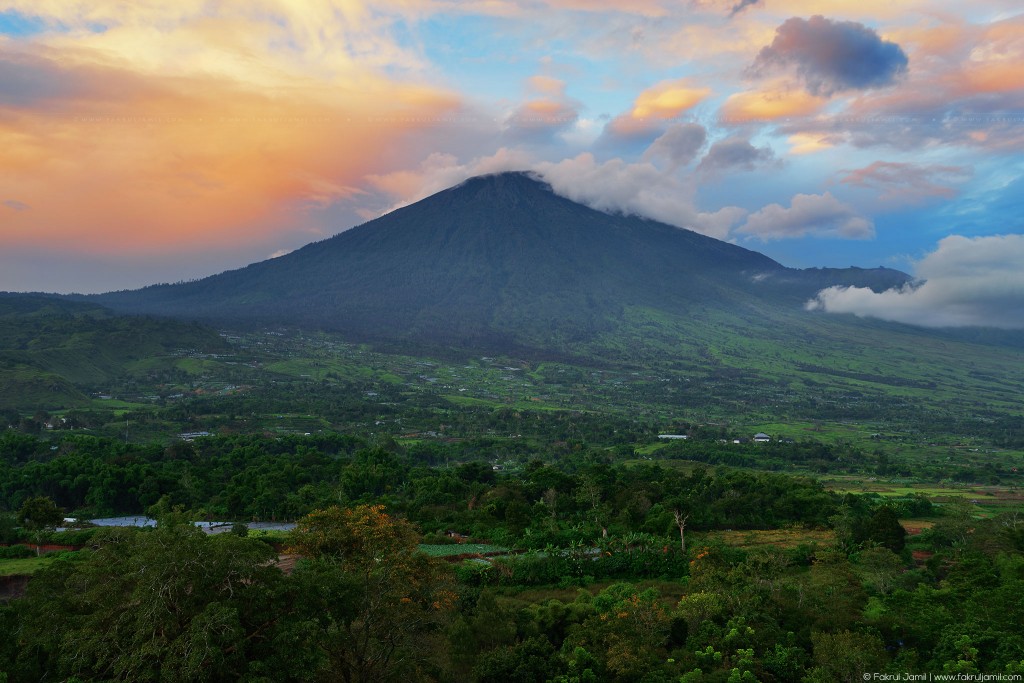
Beautiful Sunrise over majestic Mt. Rinjani || Lombok, Indonesia
Water
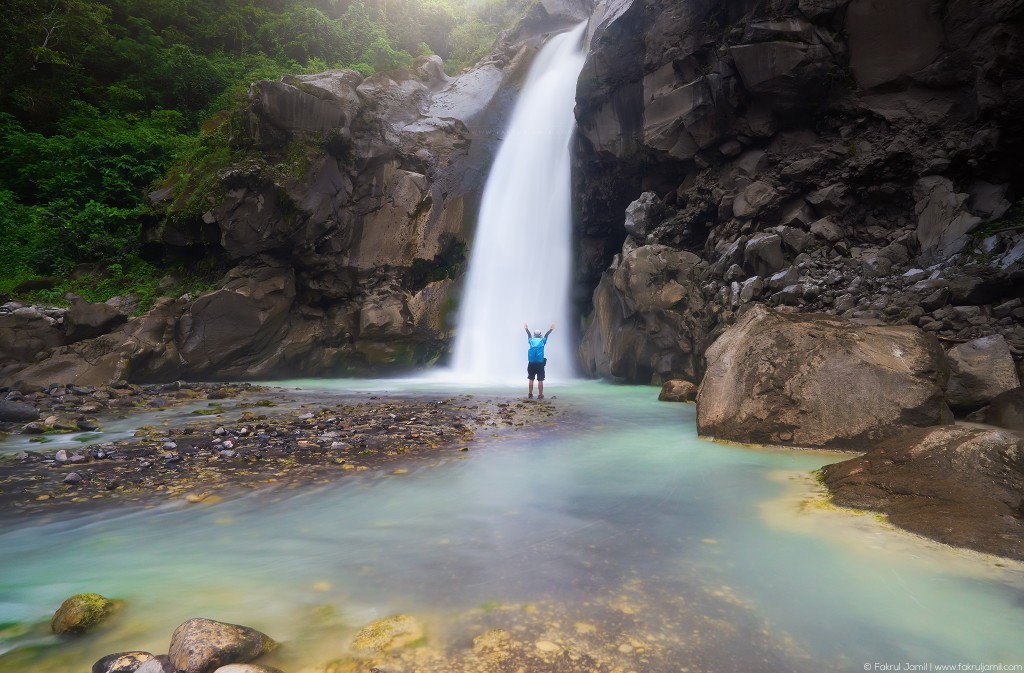
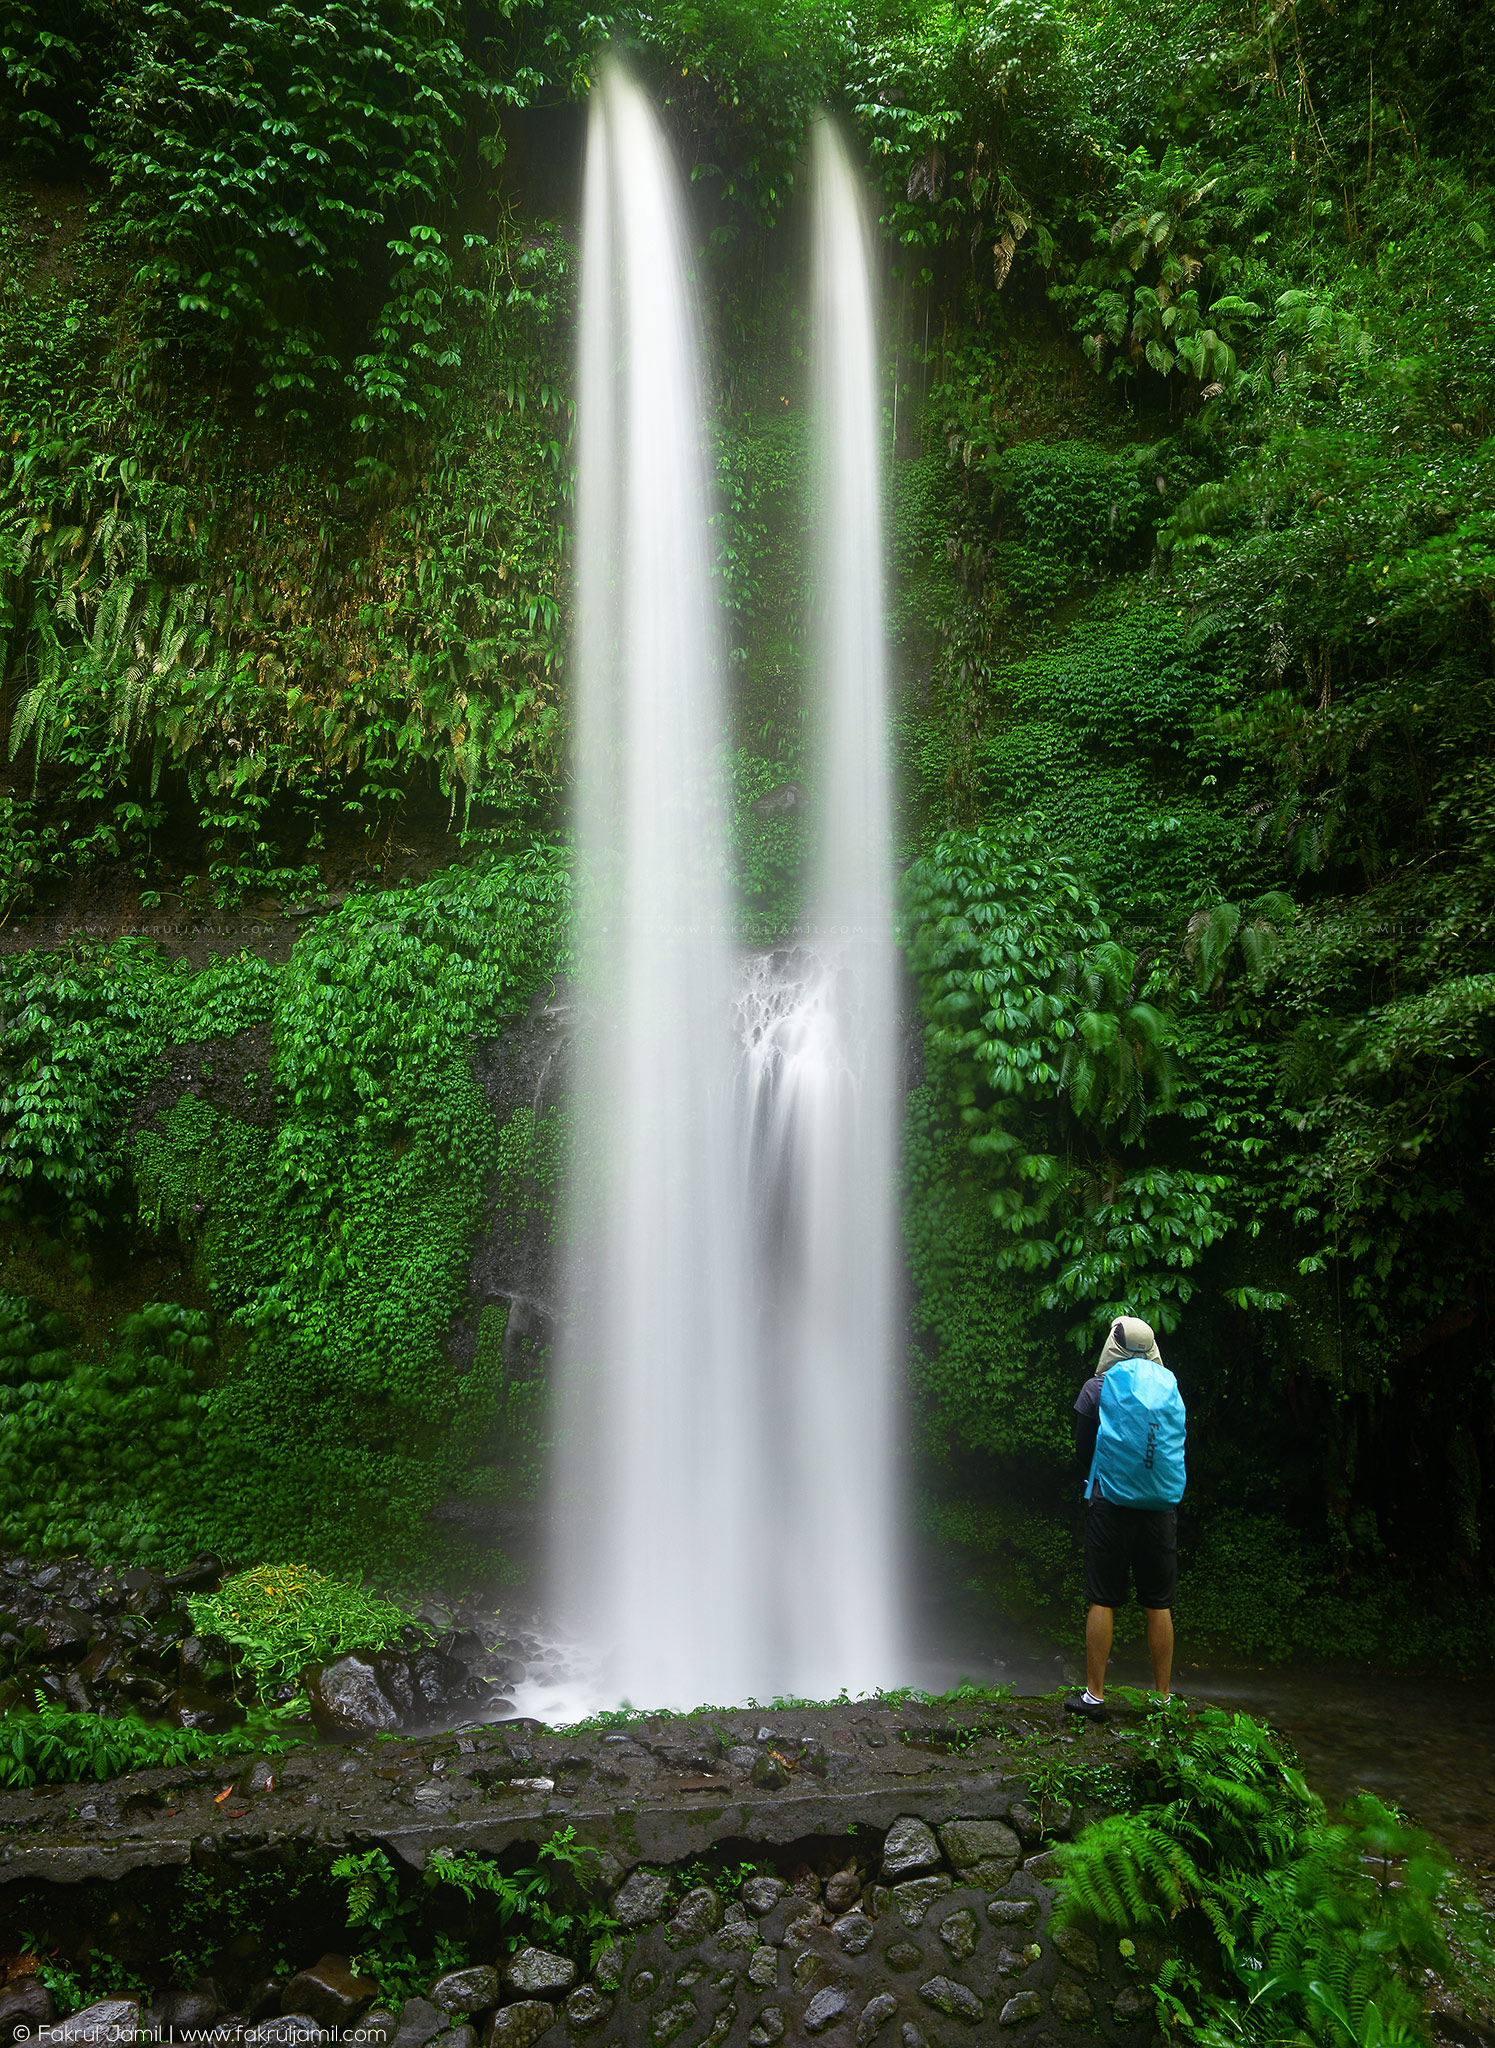
Self-Portrait at Mangku Sakti Waterfall || Lombok, Indonesia
Fire
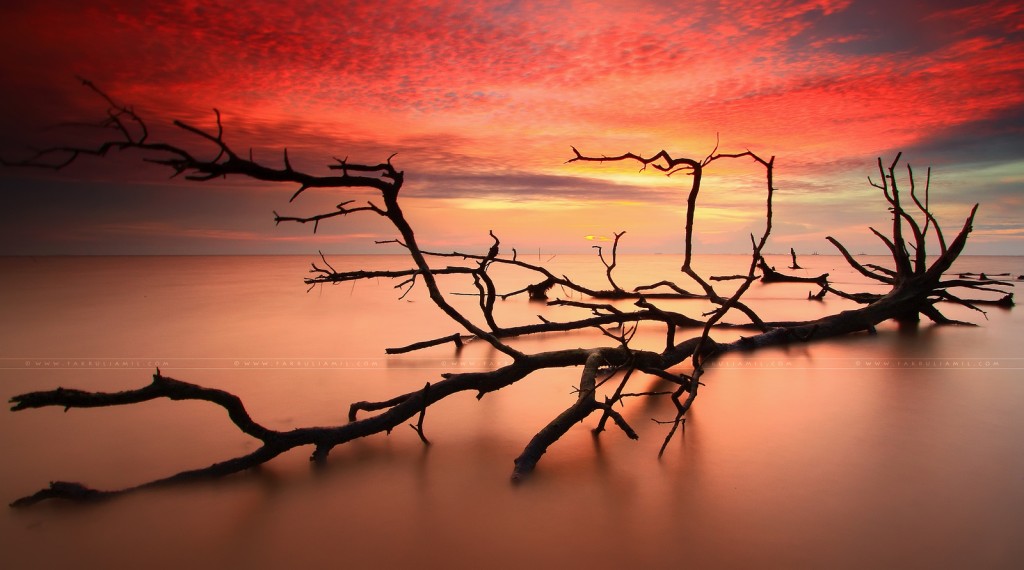
Fiery Sunset over Dead Trees || Pantai Kelanang, Malaysia
Air
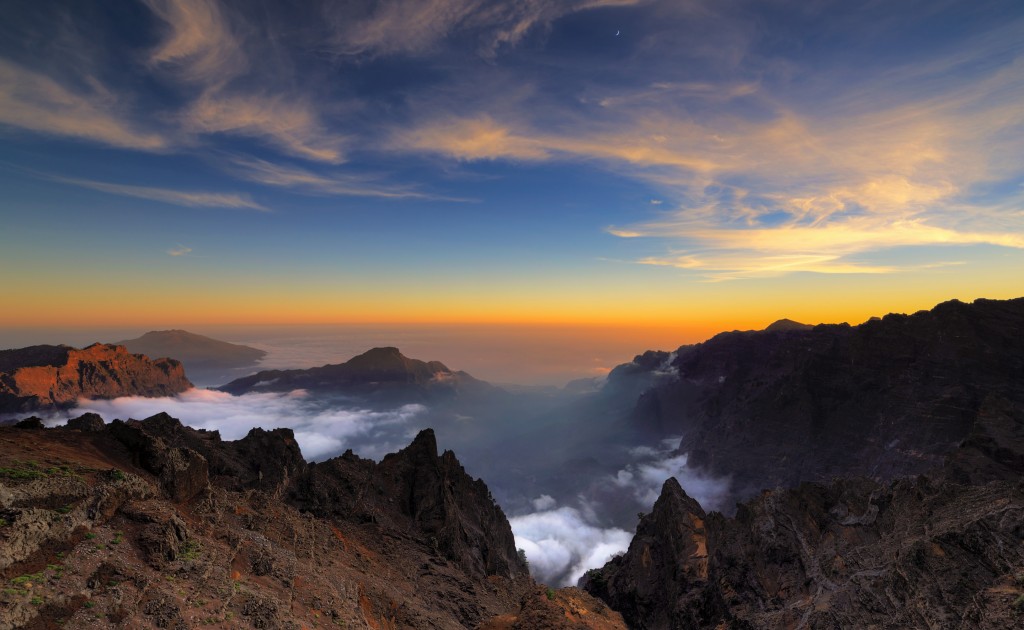
Crescent Moon and Sunset over Caldera De Taburiente || Canary Islands of La Palma, Spain
————————————————————————————————————————
My Travel Blogger/Photographer Nominations are:
- Kamrul Mansor – Photographer/Timelapser at kamrularifin.com
- Terence Lee – Photographer at terenceleezy.com
- Francesco Gola – Photographer at francescogola.net
- Beboy Photographies – Photographer/Blogger at beboyphoto.com
- Helminadia Ranford – Photographer/Blogger at helminadia.com
Good luck guys!
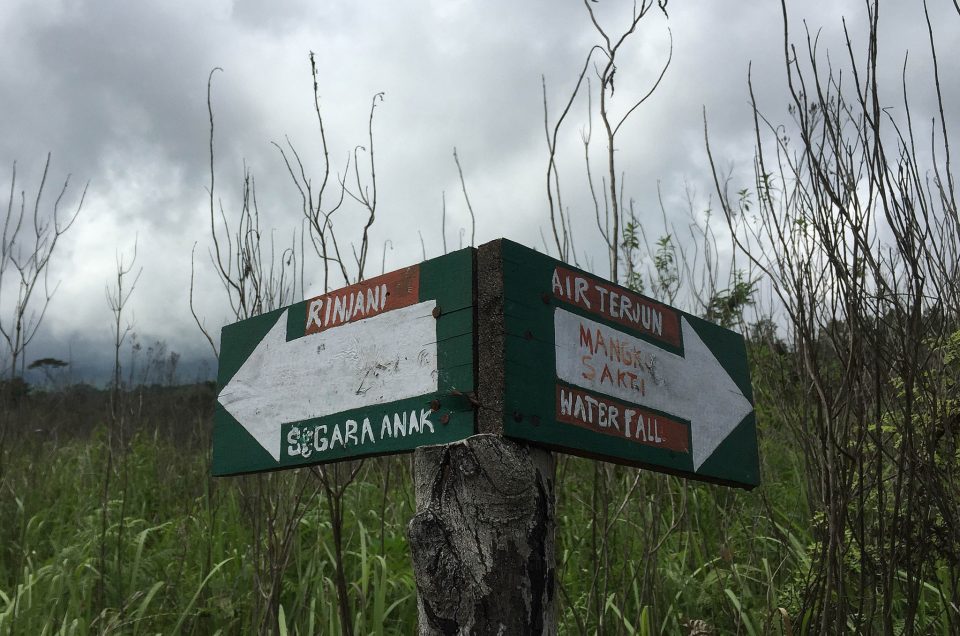
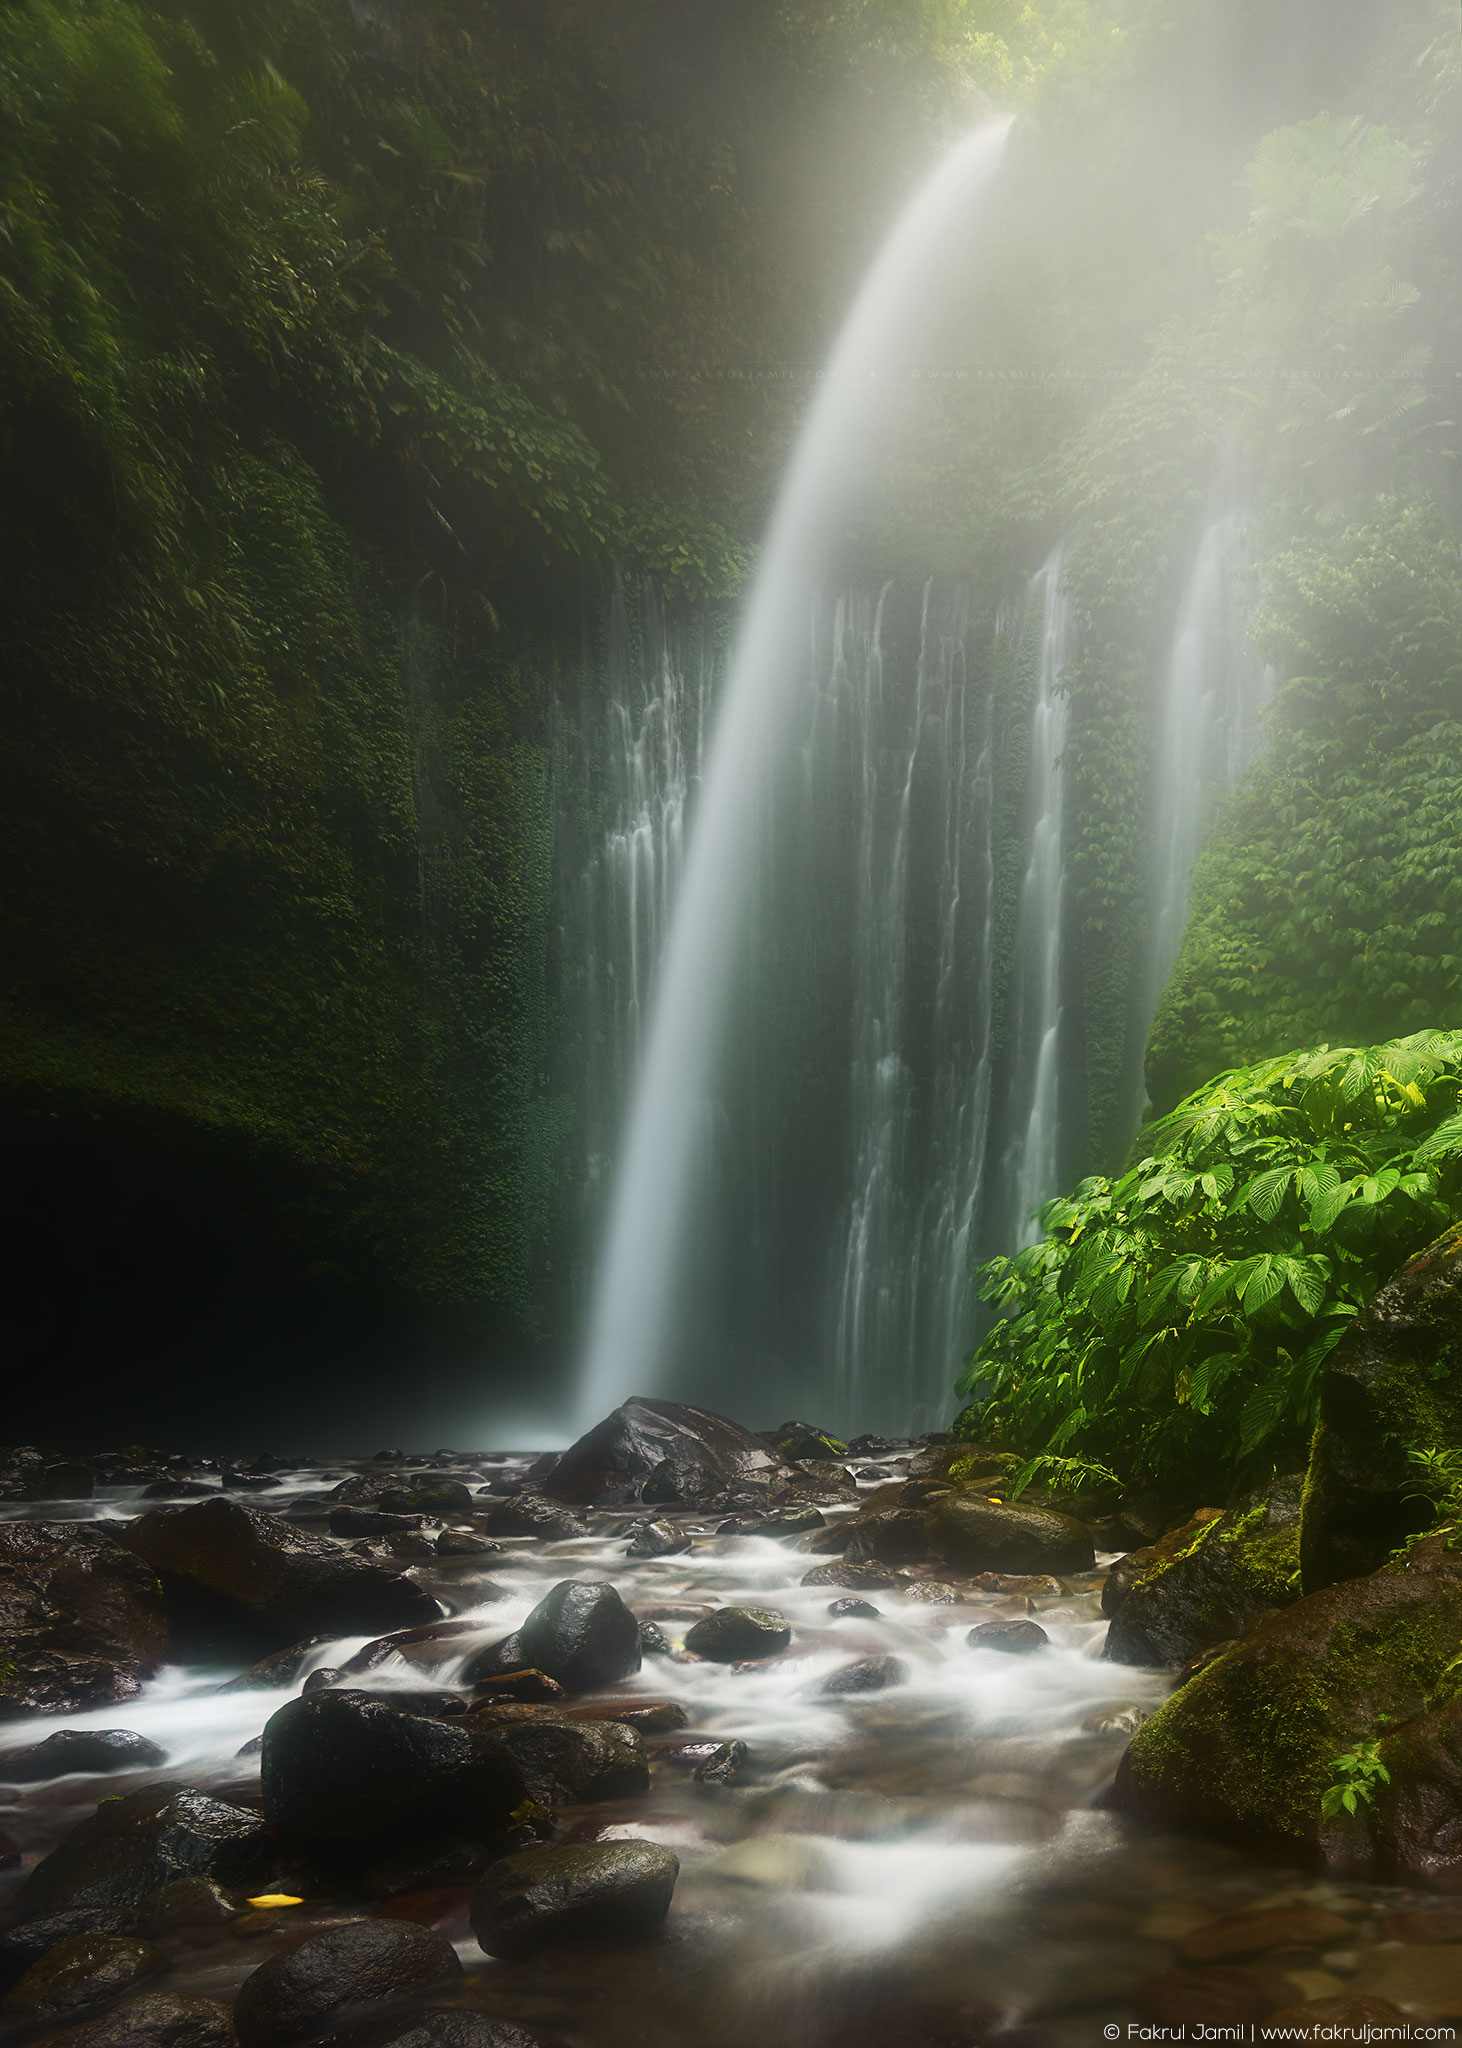
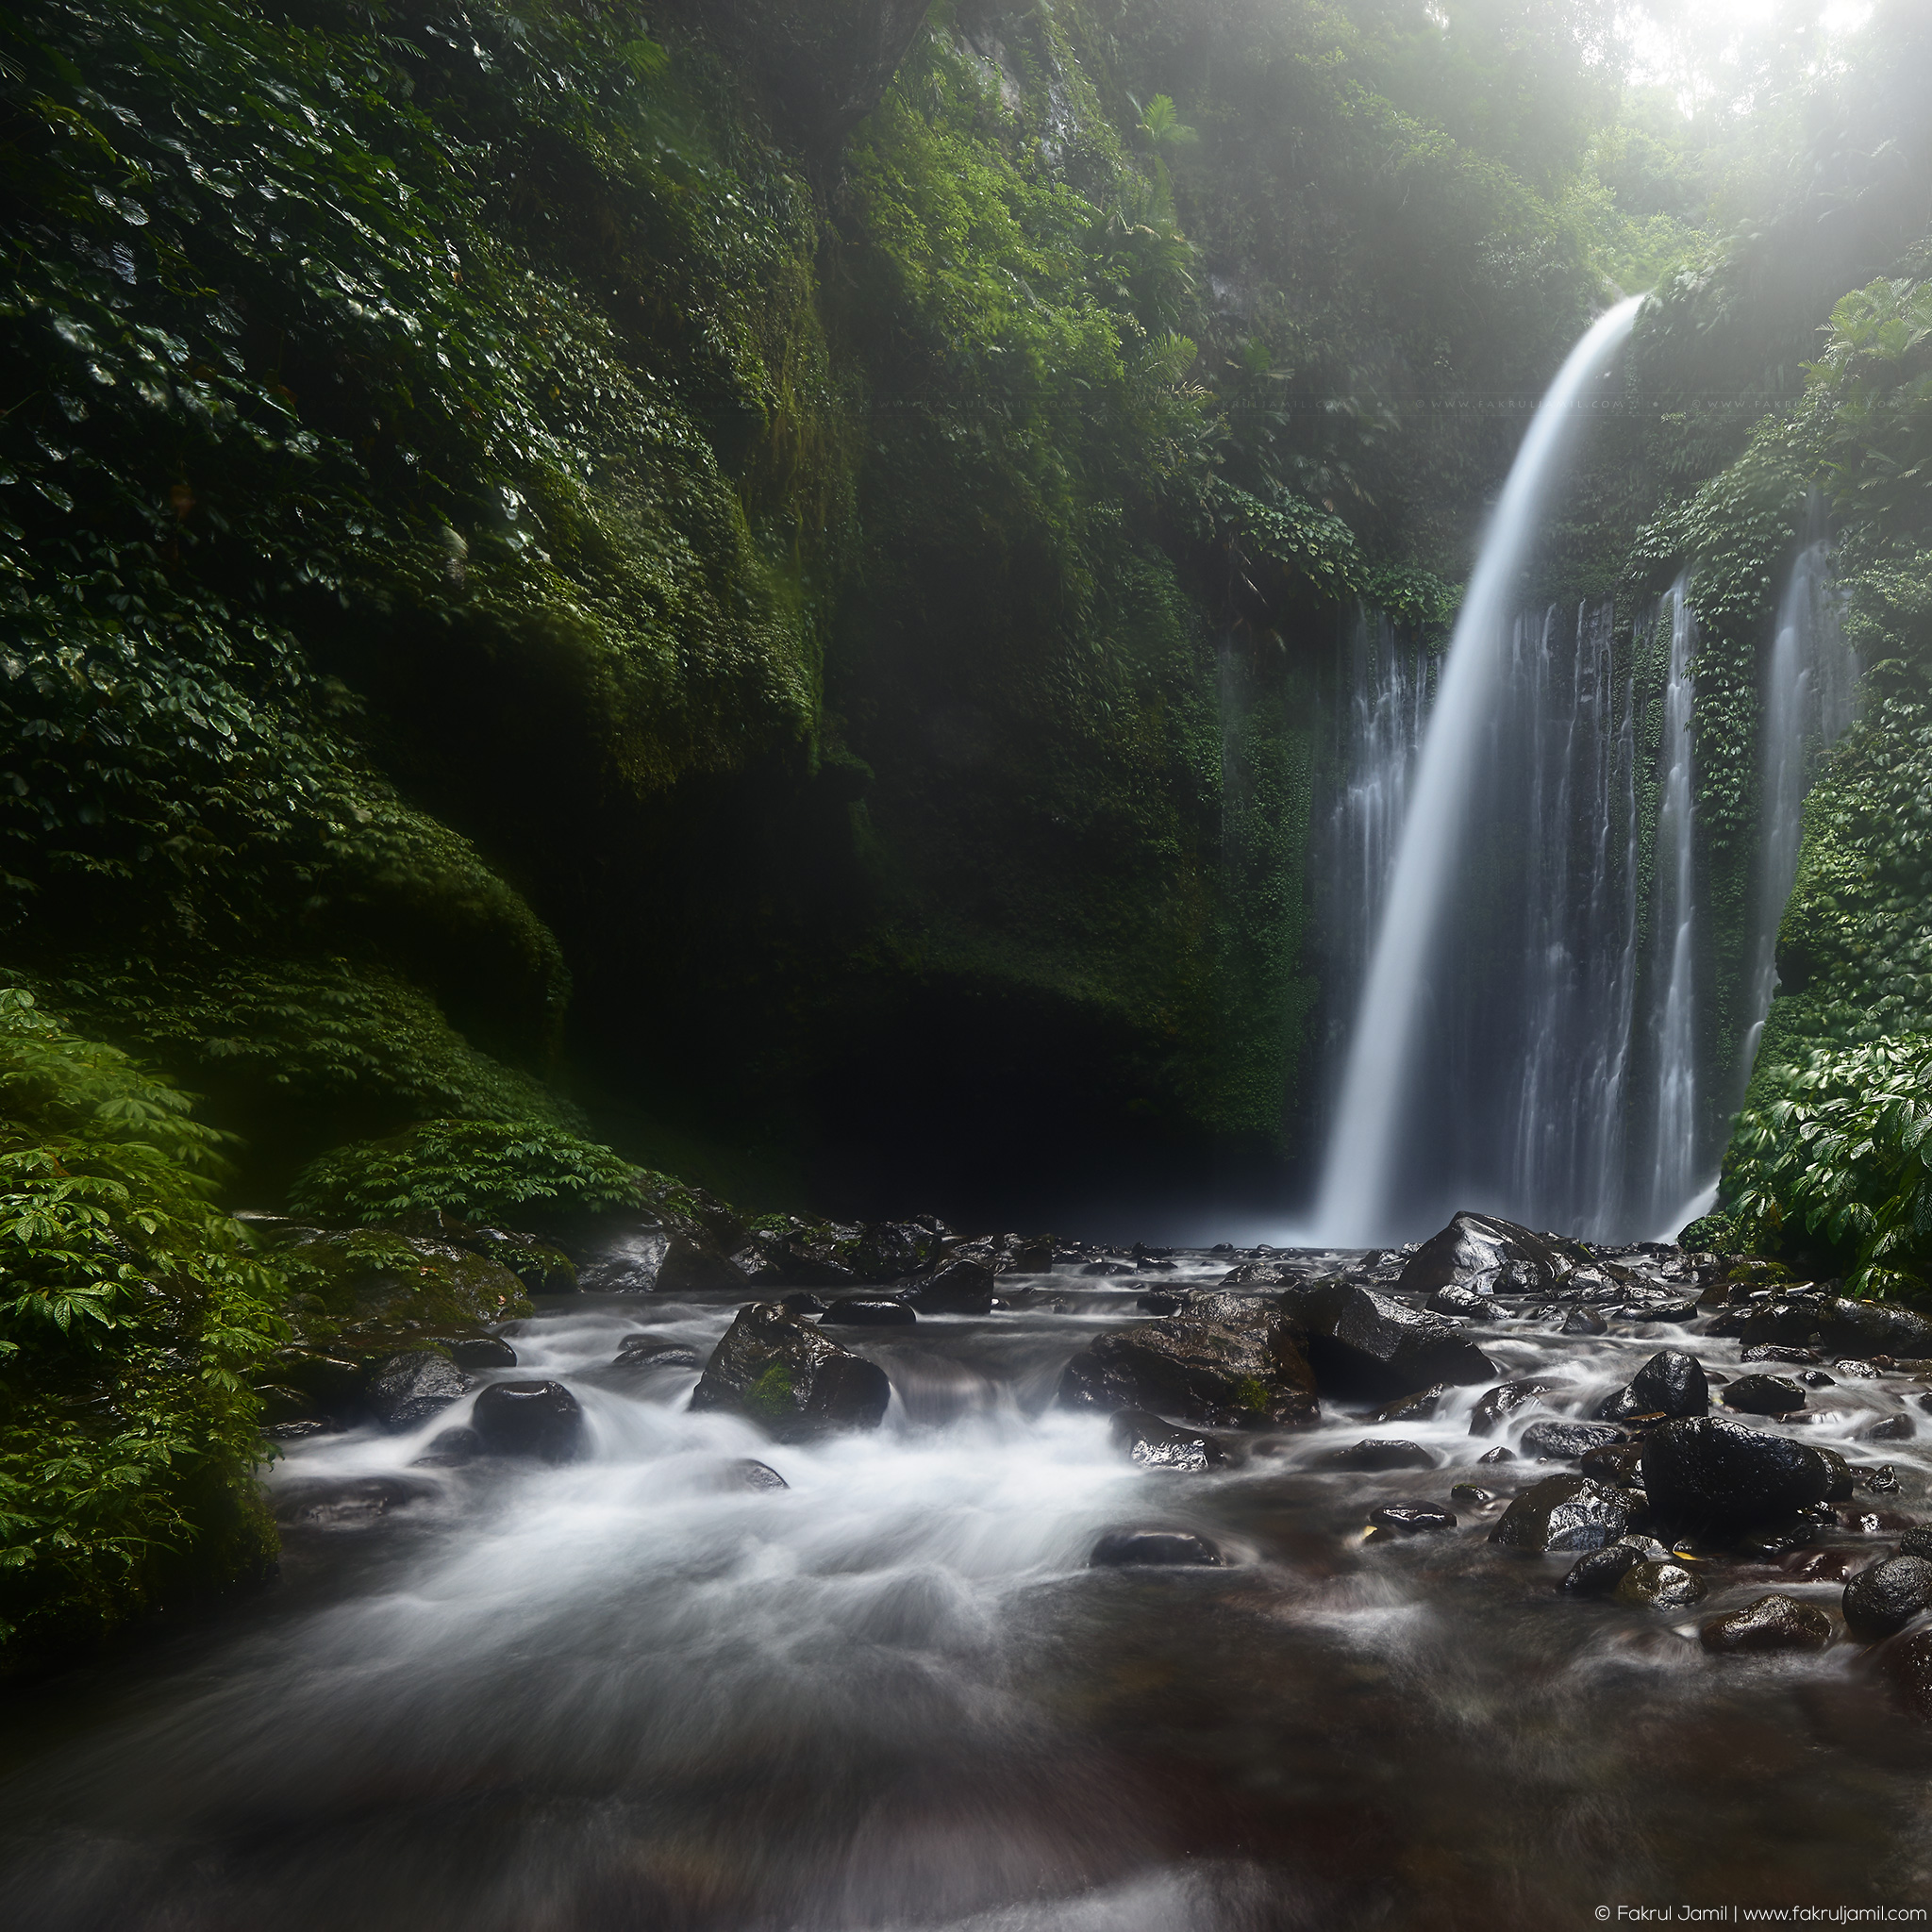
Hi everyone! So on this post I would like to share on behind the scenes of my Mangku Sakti Waterfall shooting. This waterfall is located near Sembalun village in Lombok tengah.
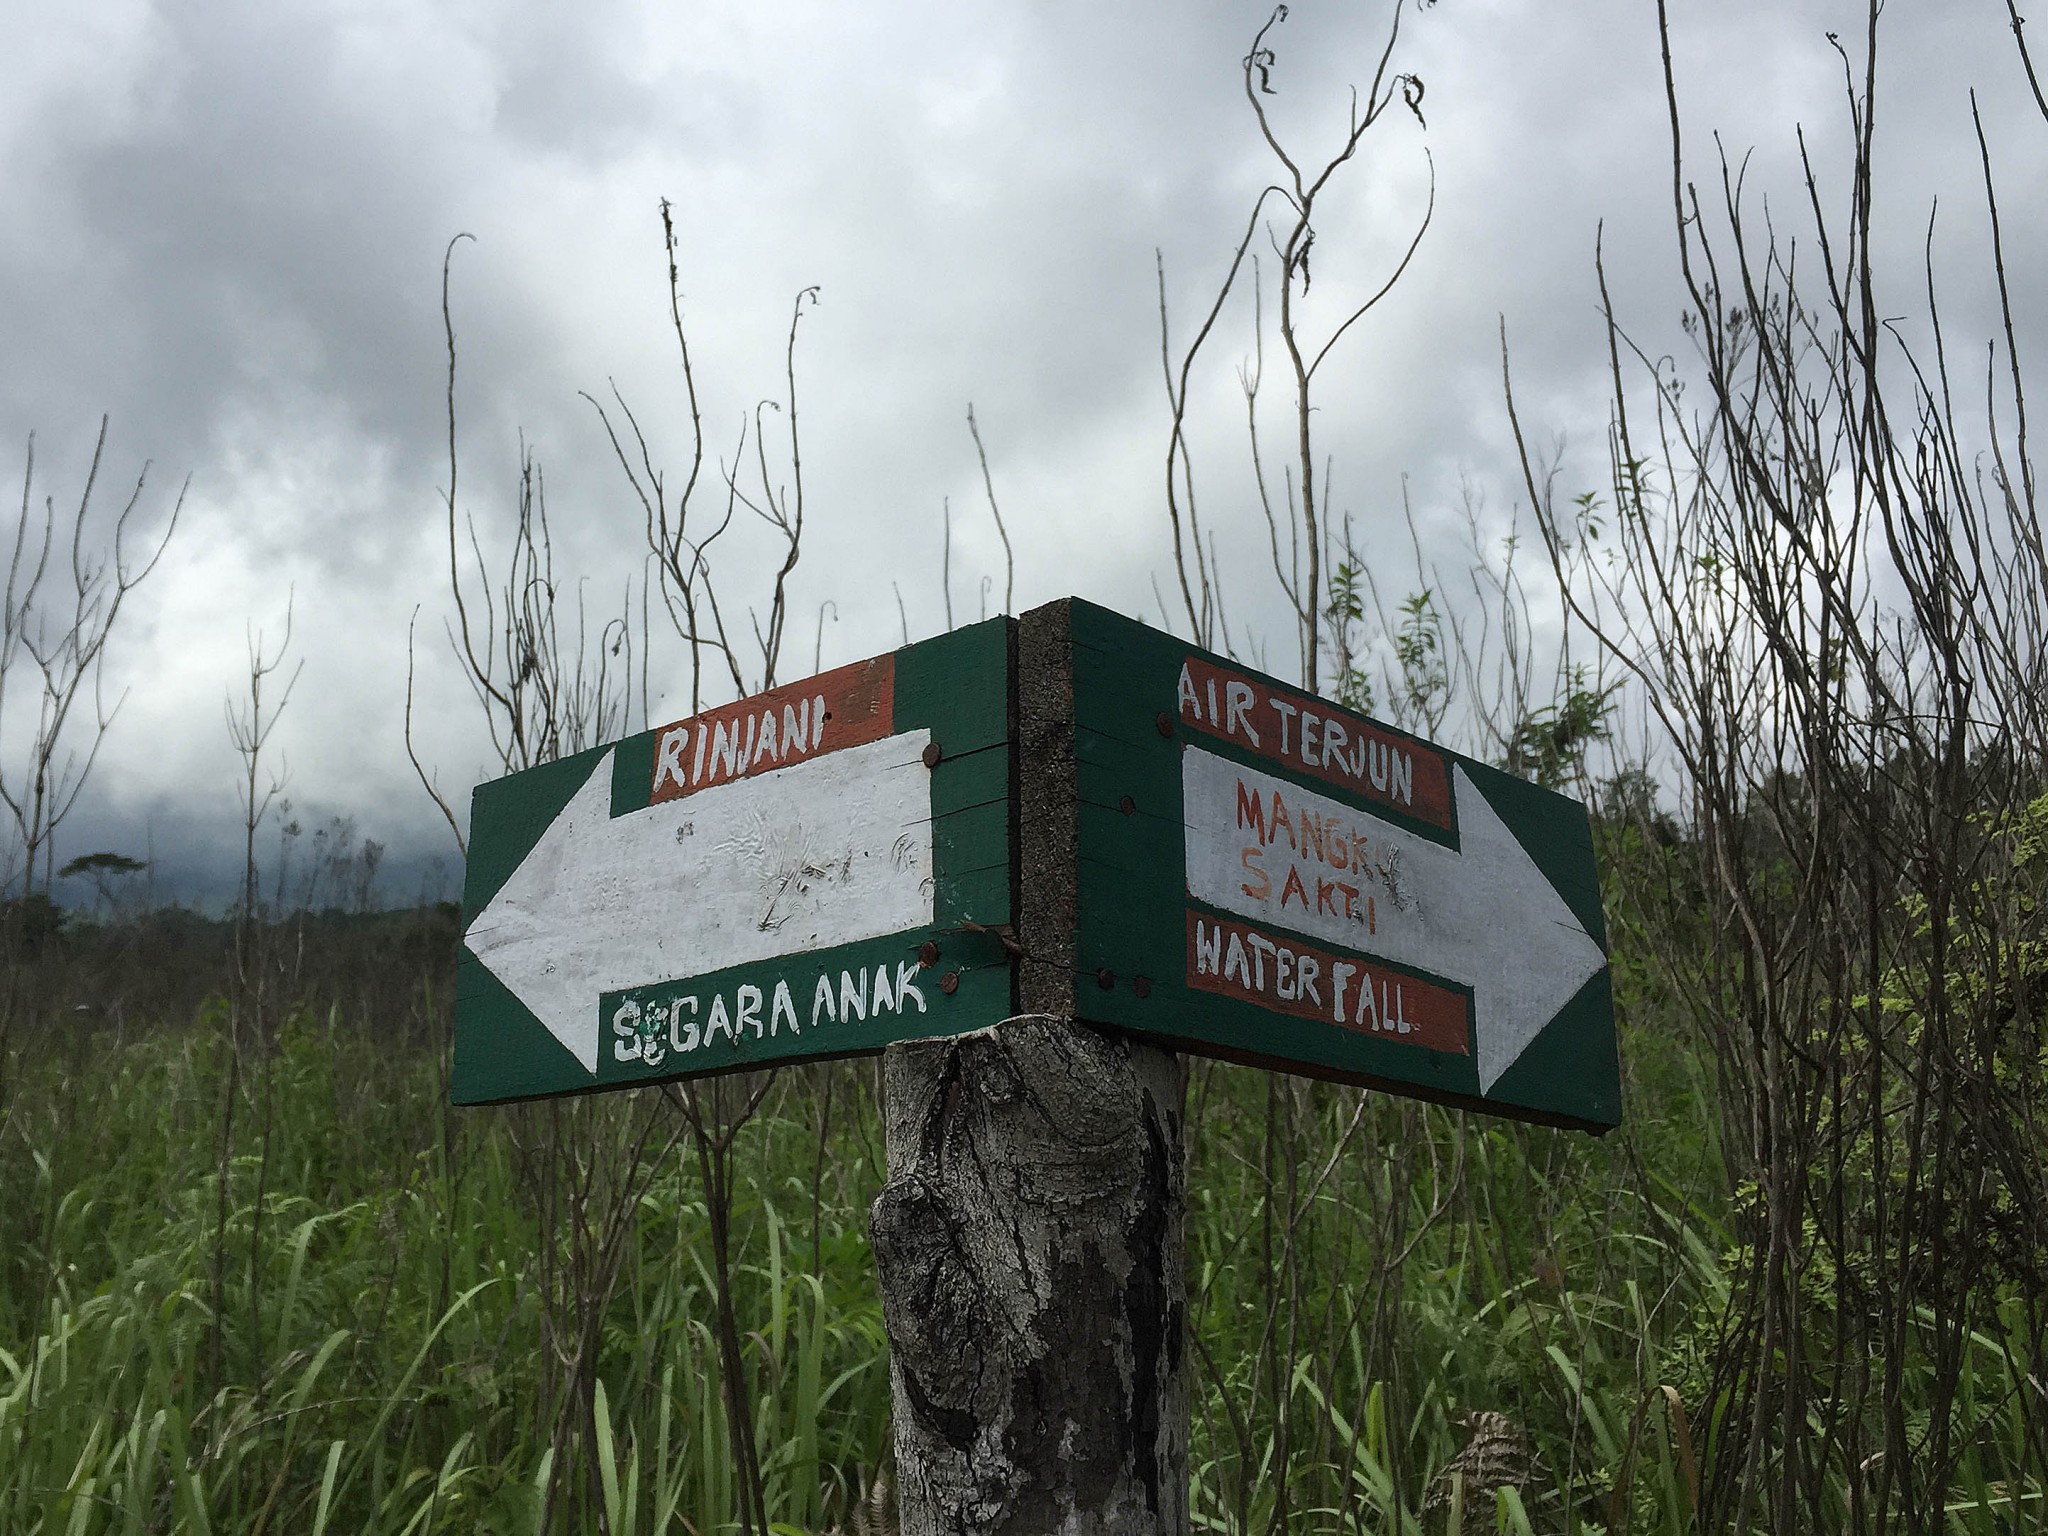
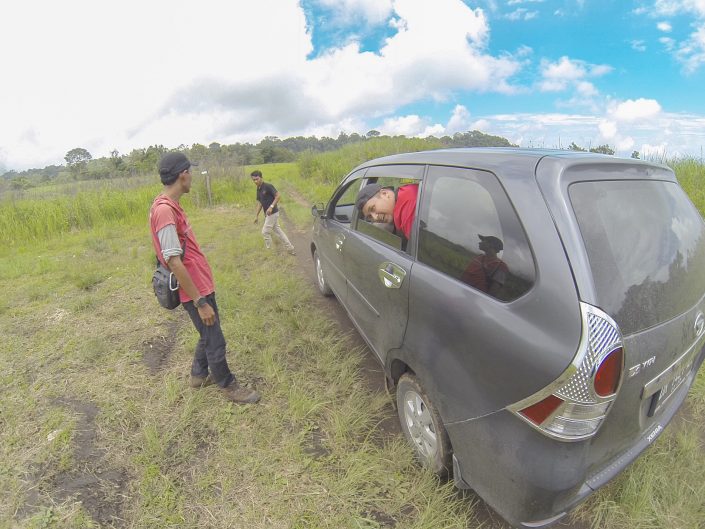
By far, this is the hardest place to reached during my Lombok trip. We had to go 3km off-road in a non-4wd vehicle and at about 2km we had a punctured tire, so we have to continue to walk the remaining 1km and believe me, it’s not an easy walk either!
After about 45 minutes of trekking up and down the hill, we reached the entrance to the waterfall. From there, it’s another 20 minutes of trekking to reached the waterfall! *Sigh*
Well, this is what we do, what we love to do as a landscape photographer. The harder it gets to reached to a location, the more excites we got! Although its pretty tiring! Lol.. :p
Here’s the final image….
Until my next post then..Assalamualaikum
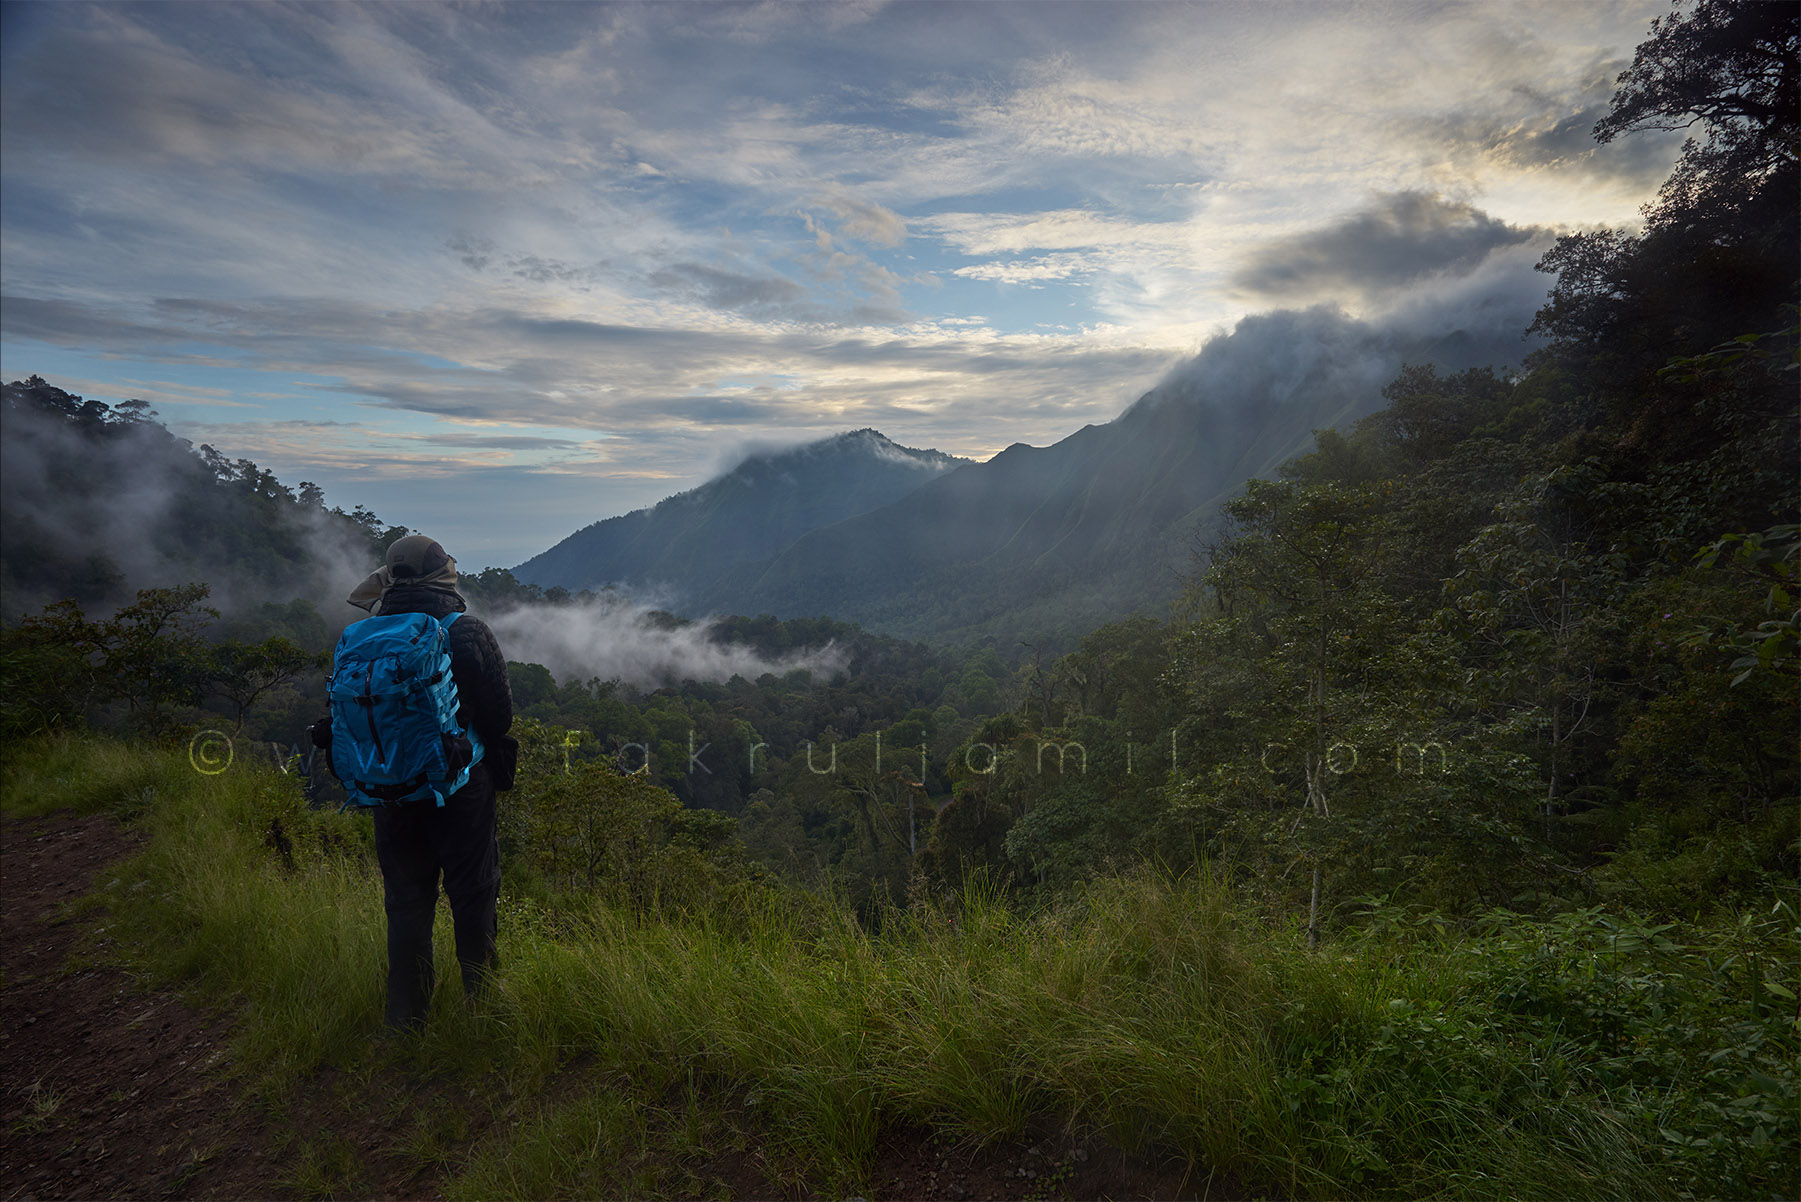
Hi everyone! On this post I’m going to share how important it is to clean up your photo to make it look more neat and professional.
As a landscape photographer, I often visit a place that have a beautiful views. But sometimes, the place is filled with dirty things like thrash, even your friends tripod leg. Lol!
So, there are few ways you can removed these unwanted things. First you can do so during the shoot itself, but then you will get your hands dirty. Obviously you do not wish to get infected with bacteria by touching dirty things out there. Second option is you can removed it in Photoshop like I did, using the ‘Content-Aware’ tool. It’s easy to use but you have to do it gently and with patience otherwise you will get a bad result.
Here is the result for my ‘cleaning stage’. It looks more clean and neat right?! Happy trying guys!
 Don’t forget to follow my Instagram for more behind the scenes of my landscape photography adventure!
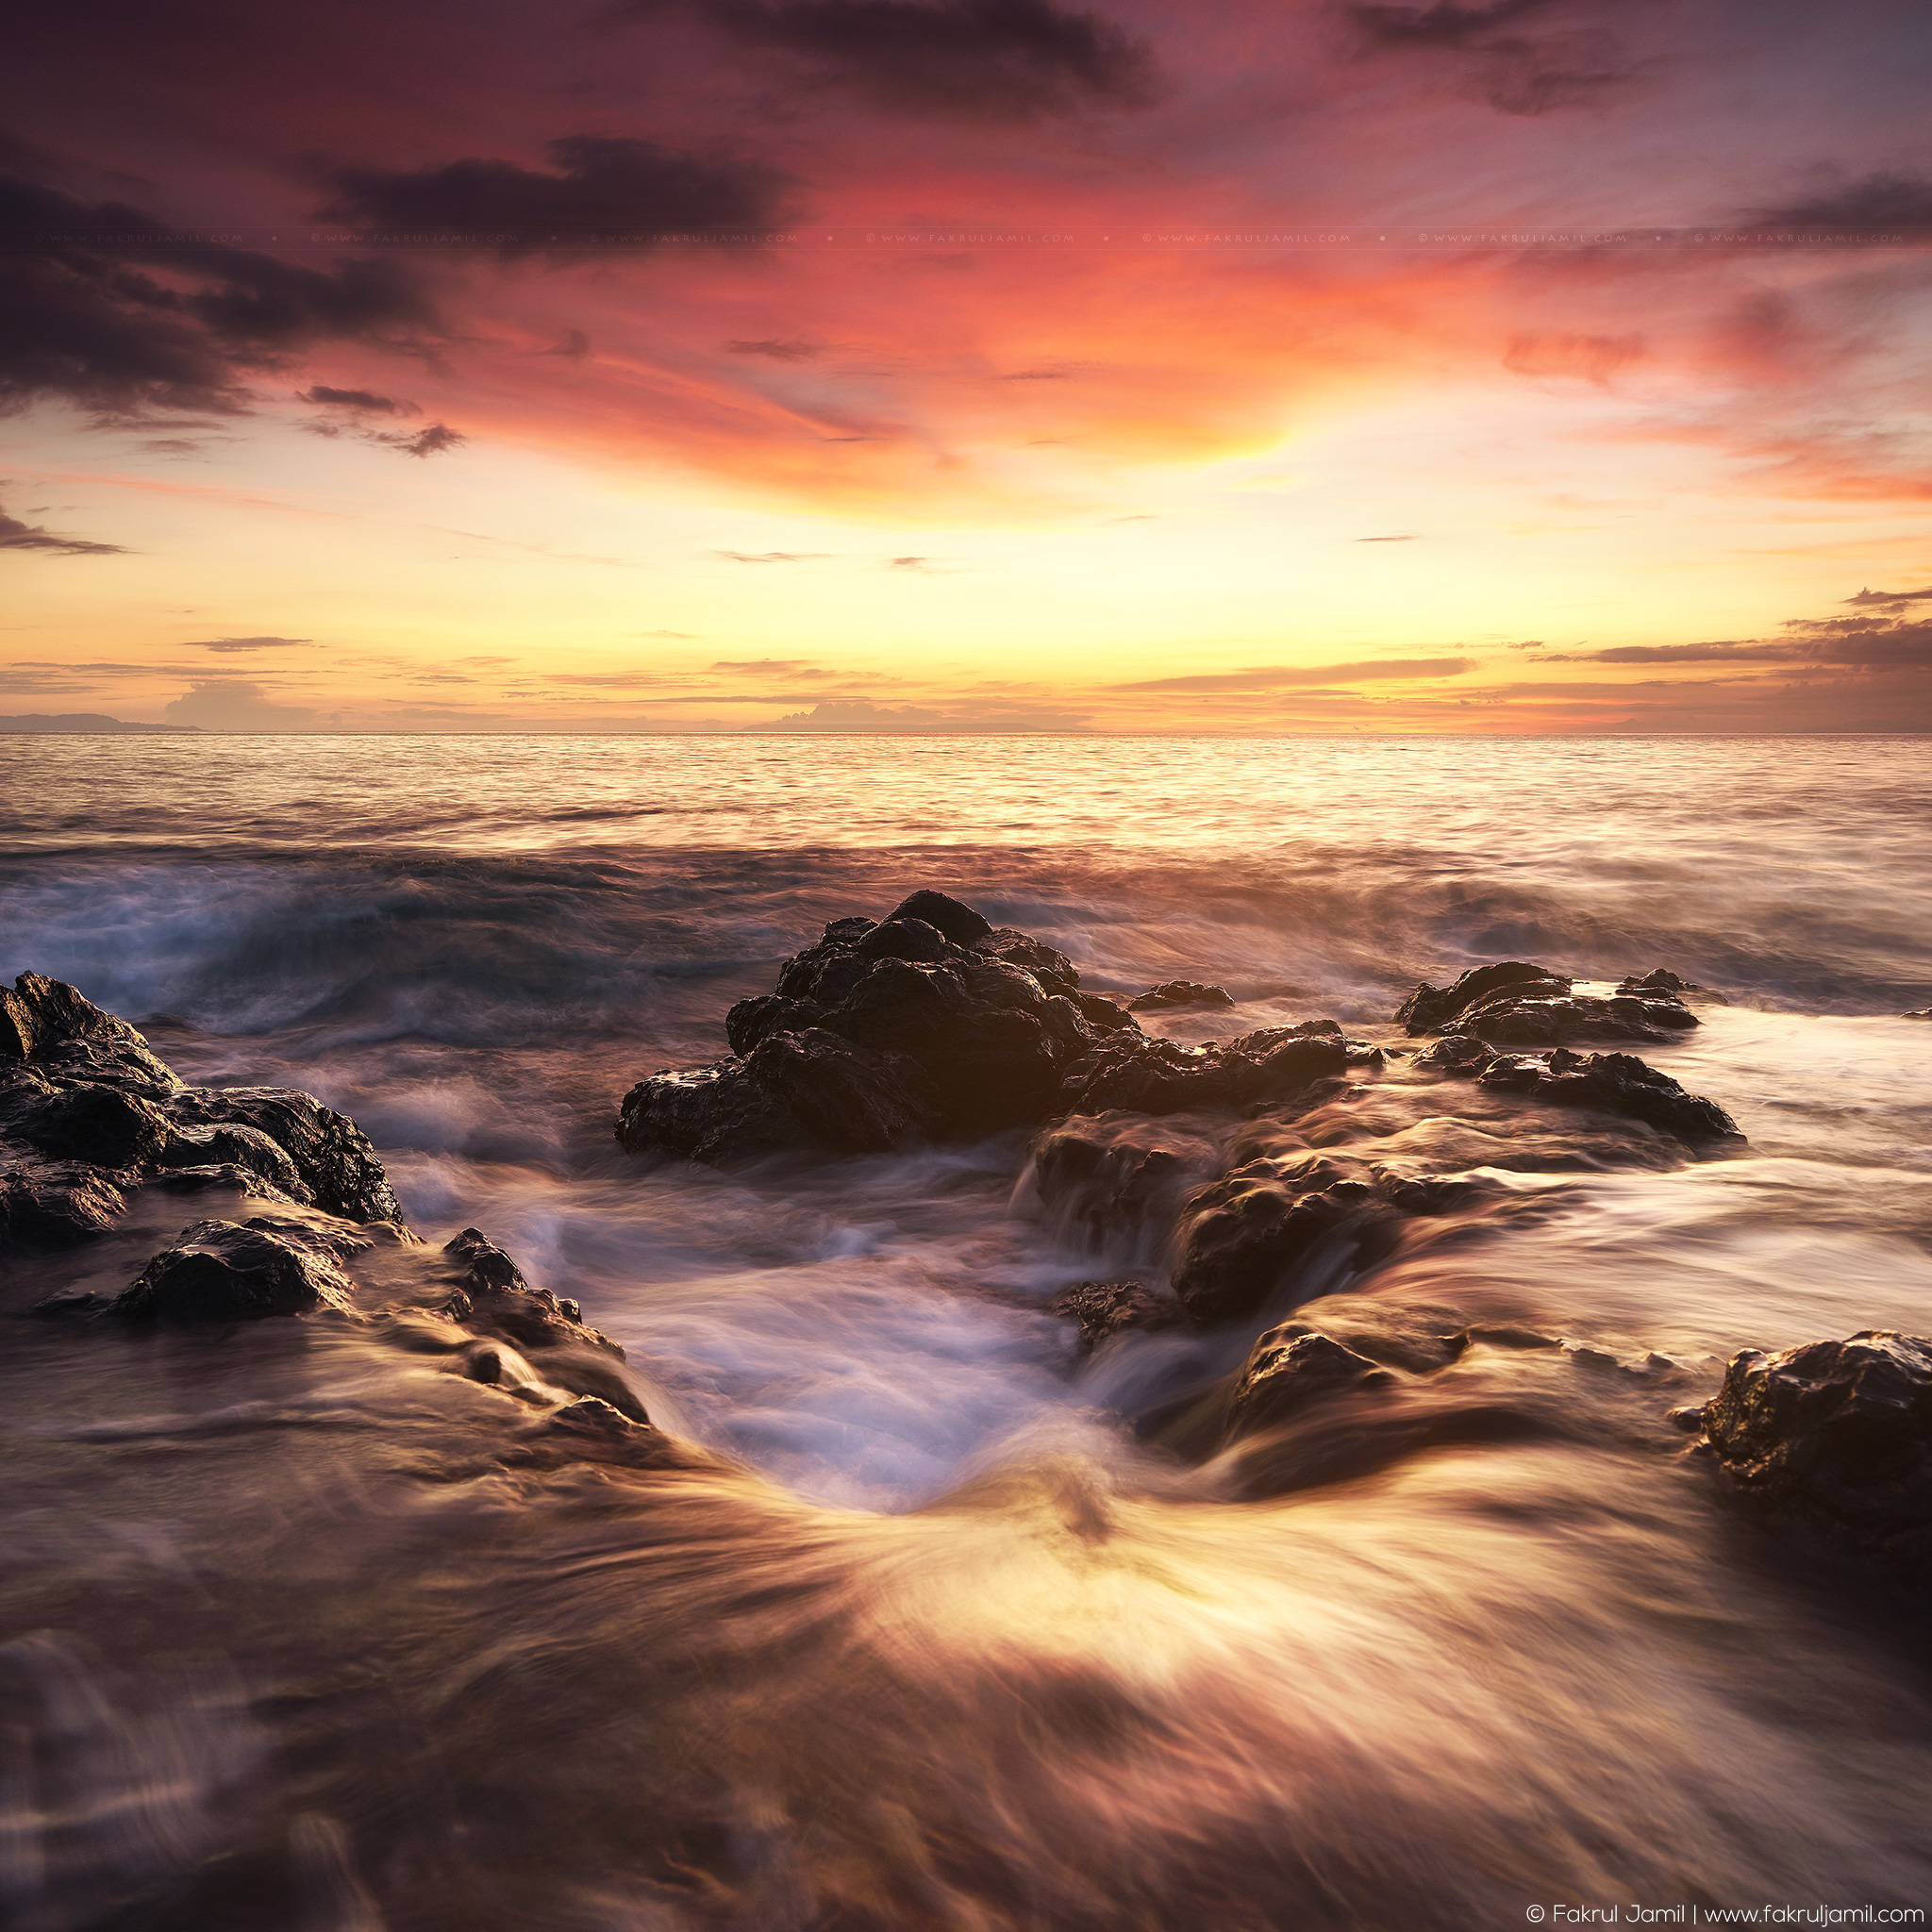
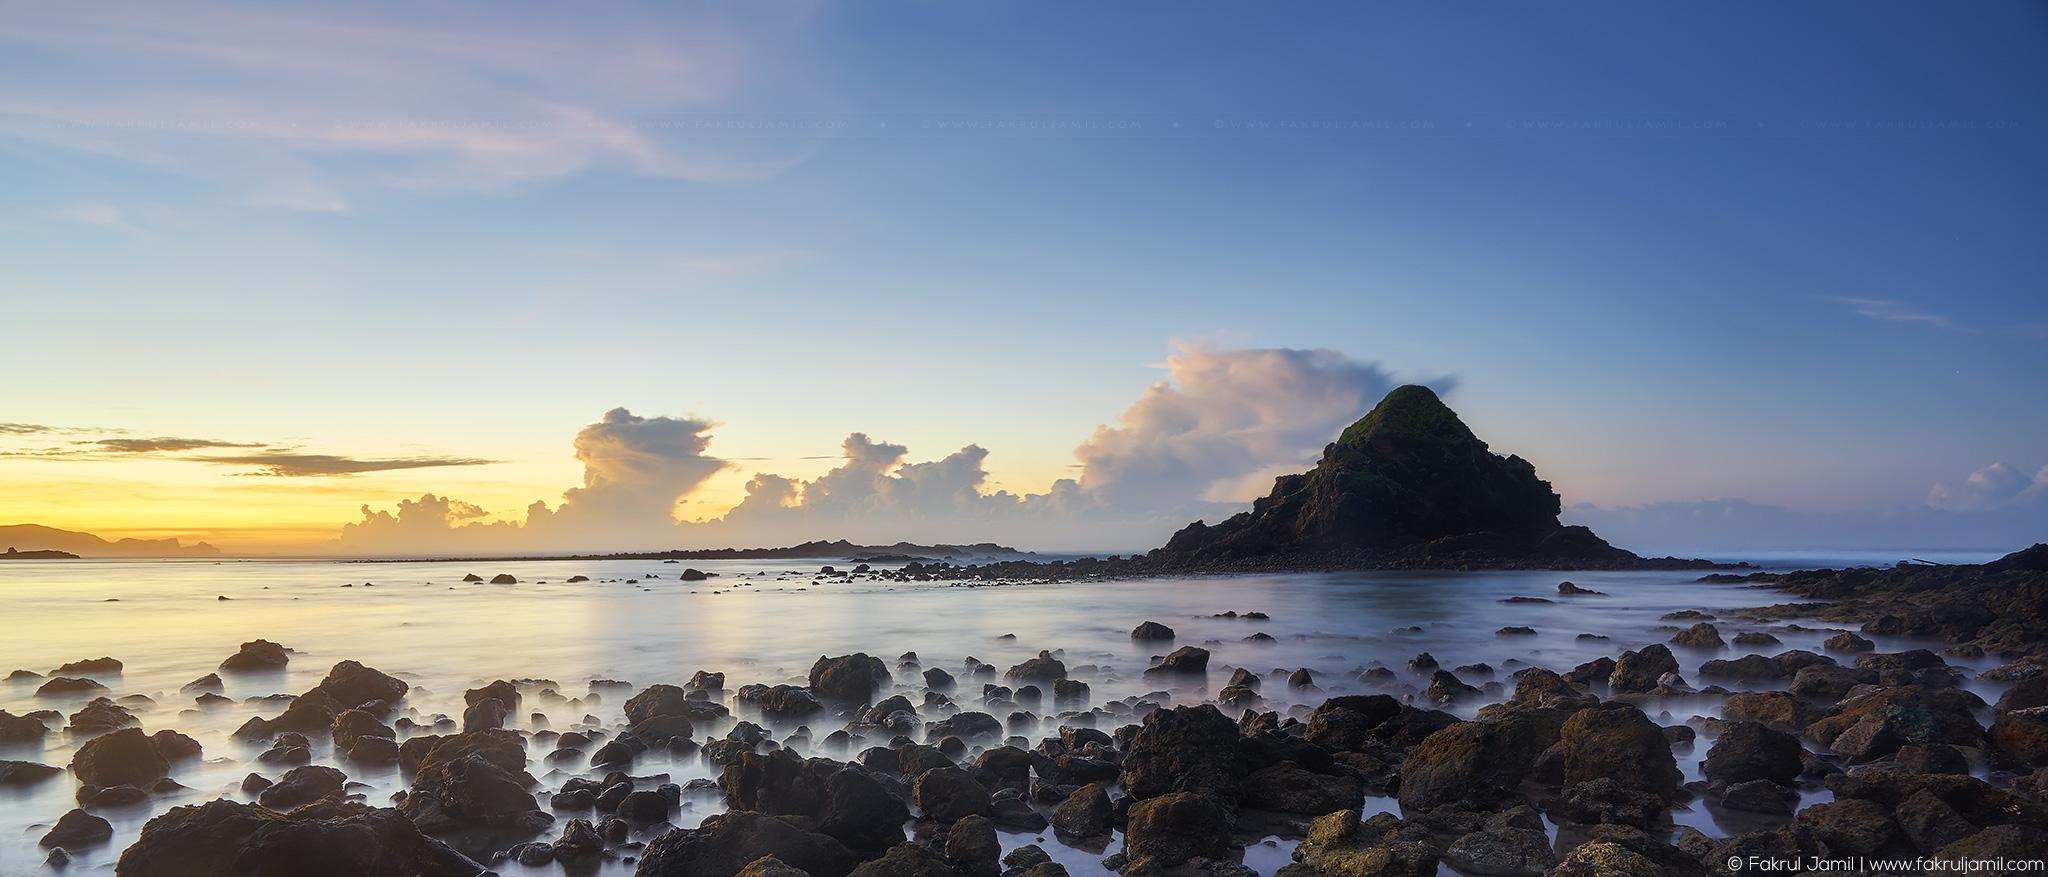
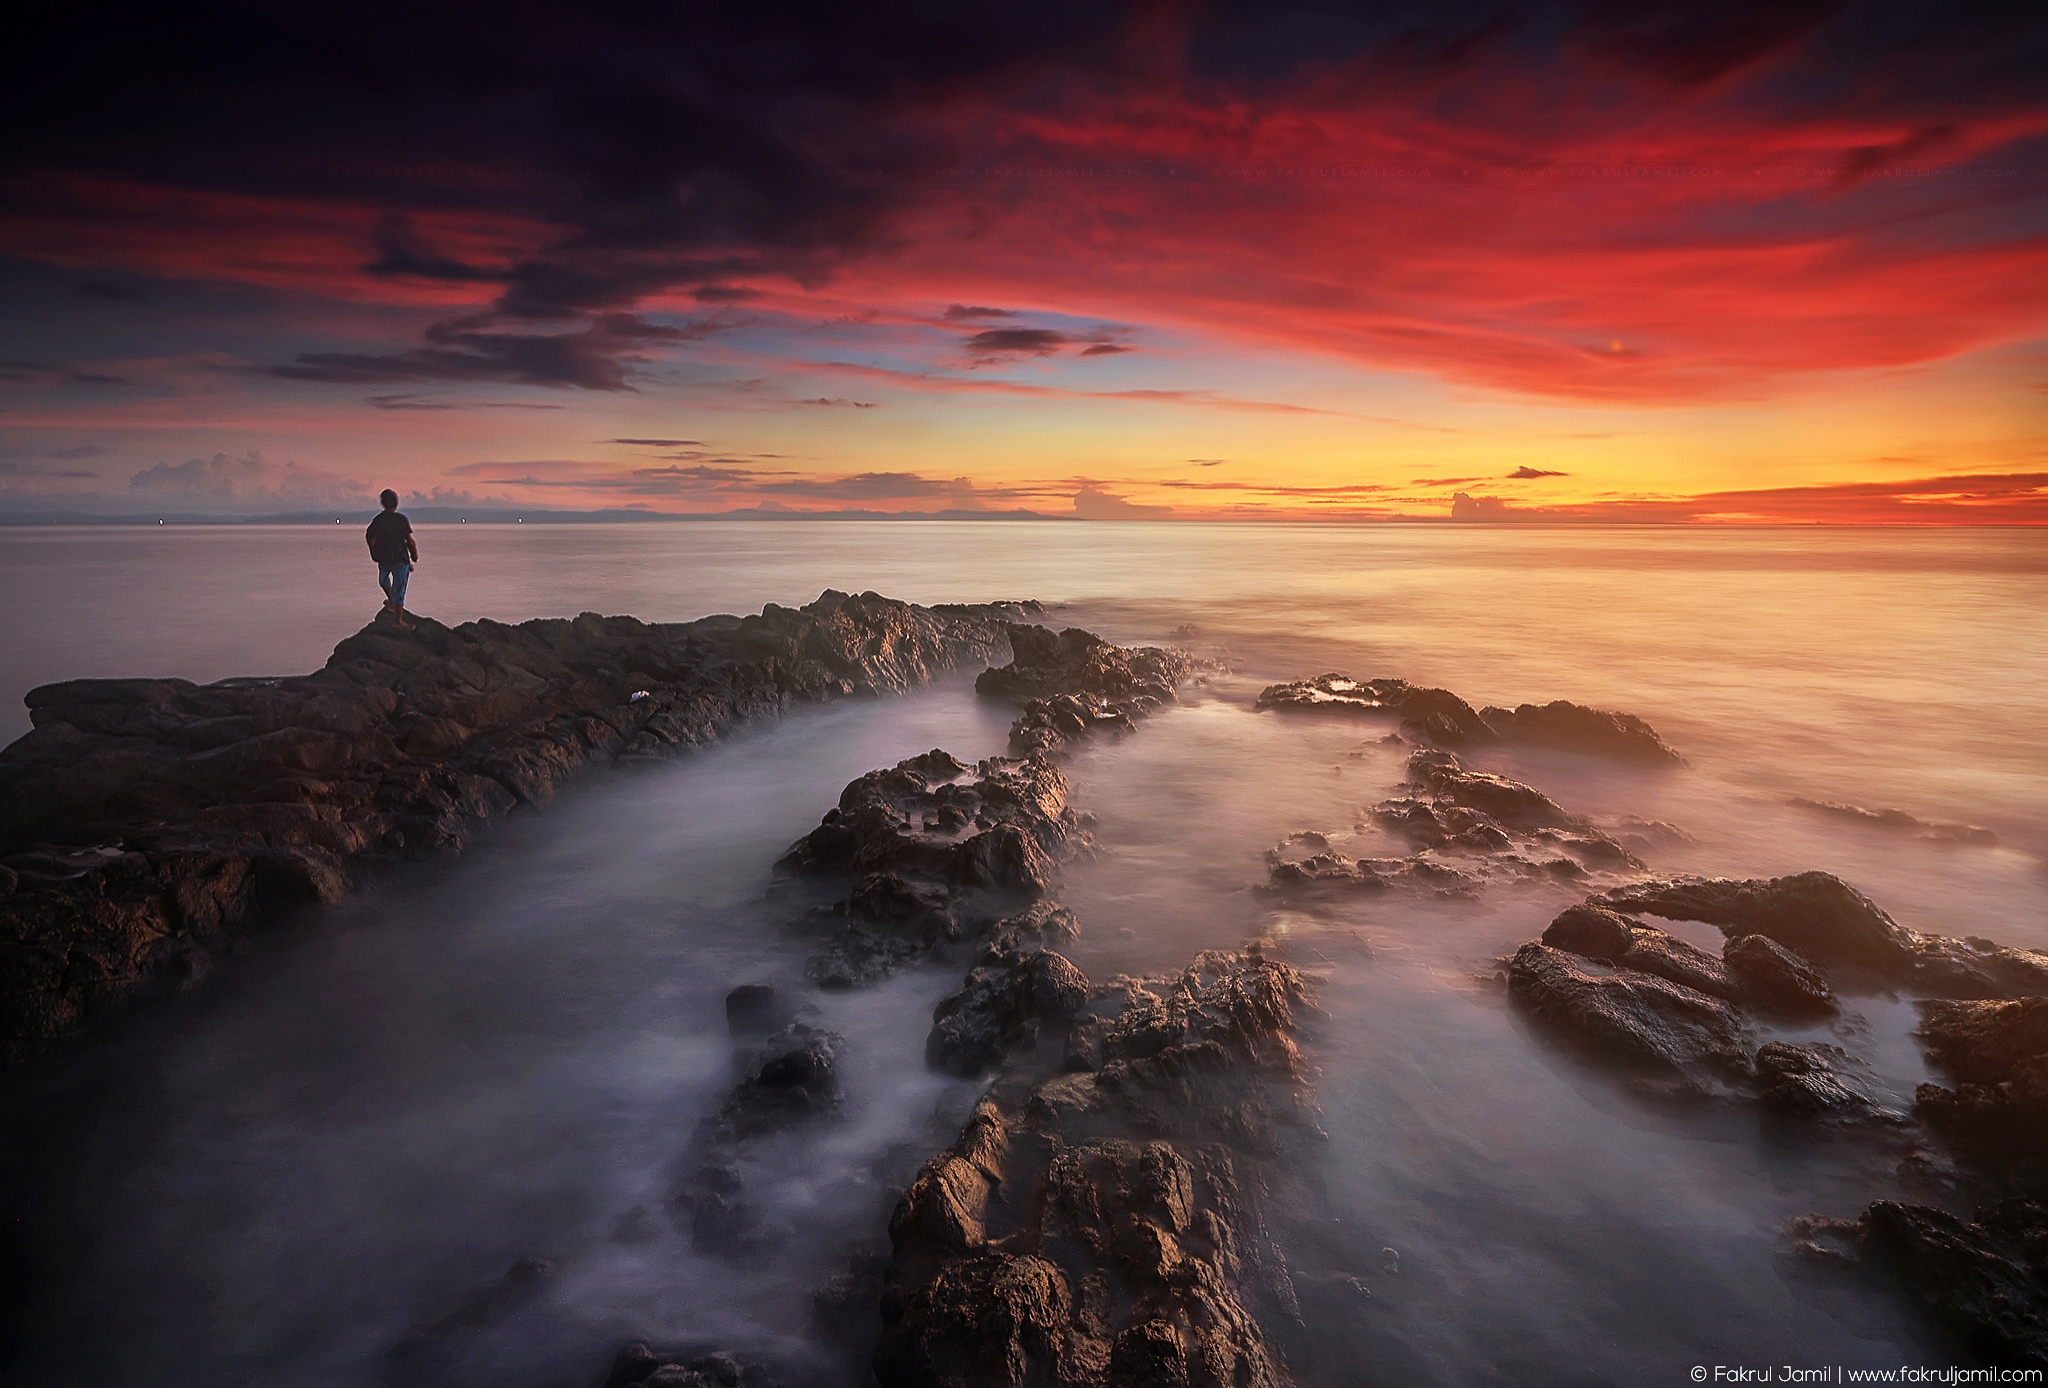
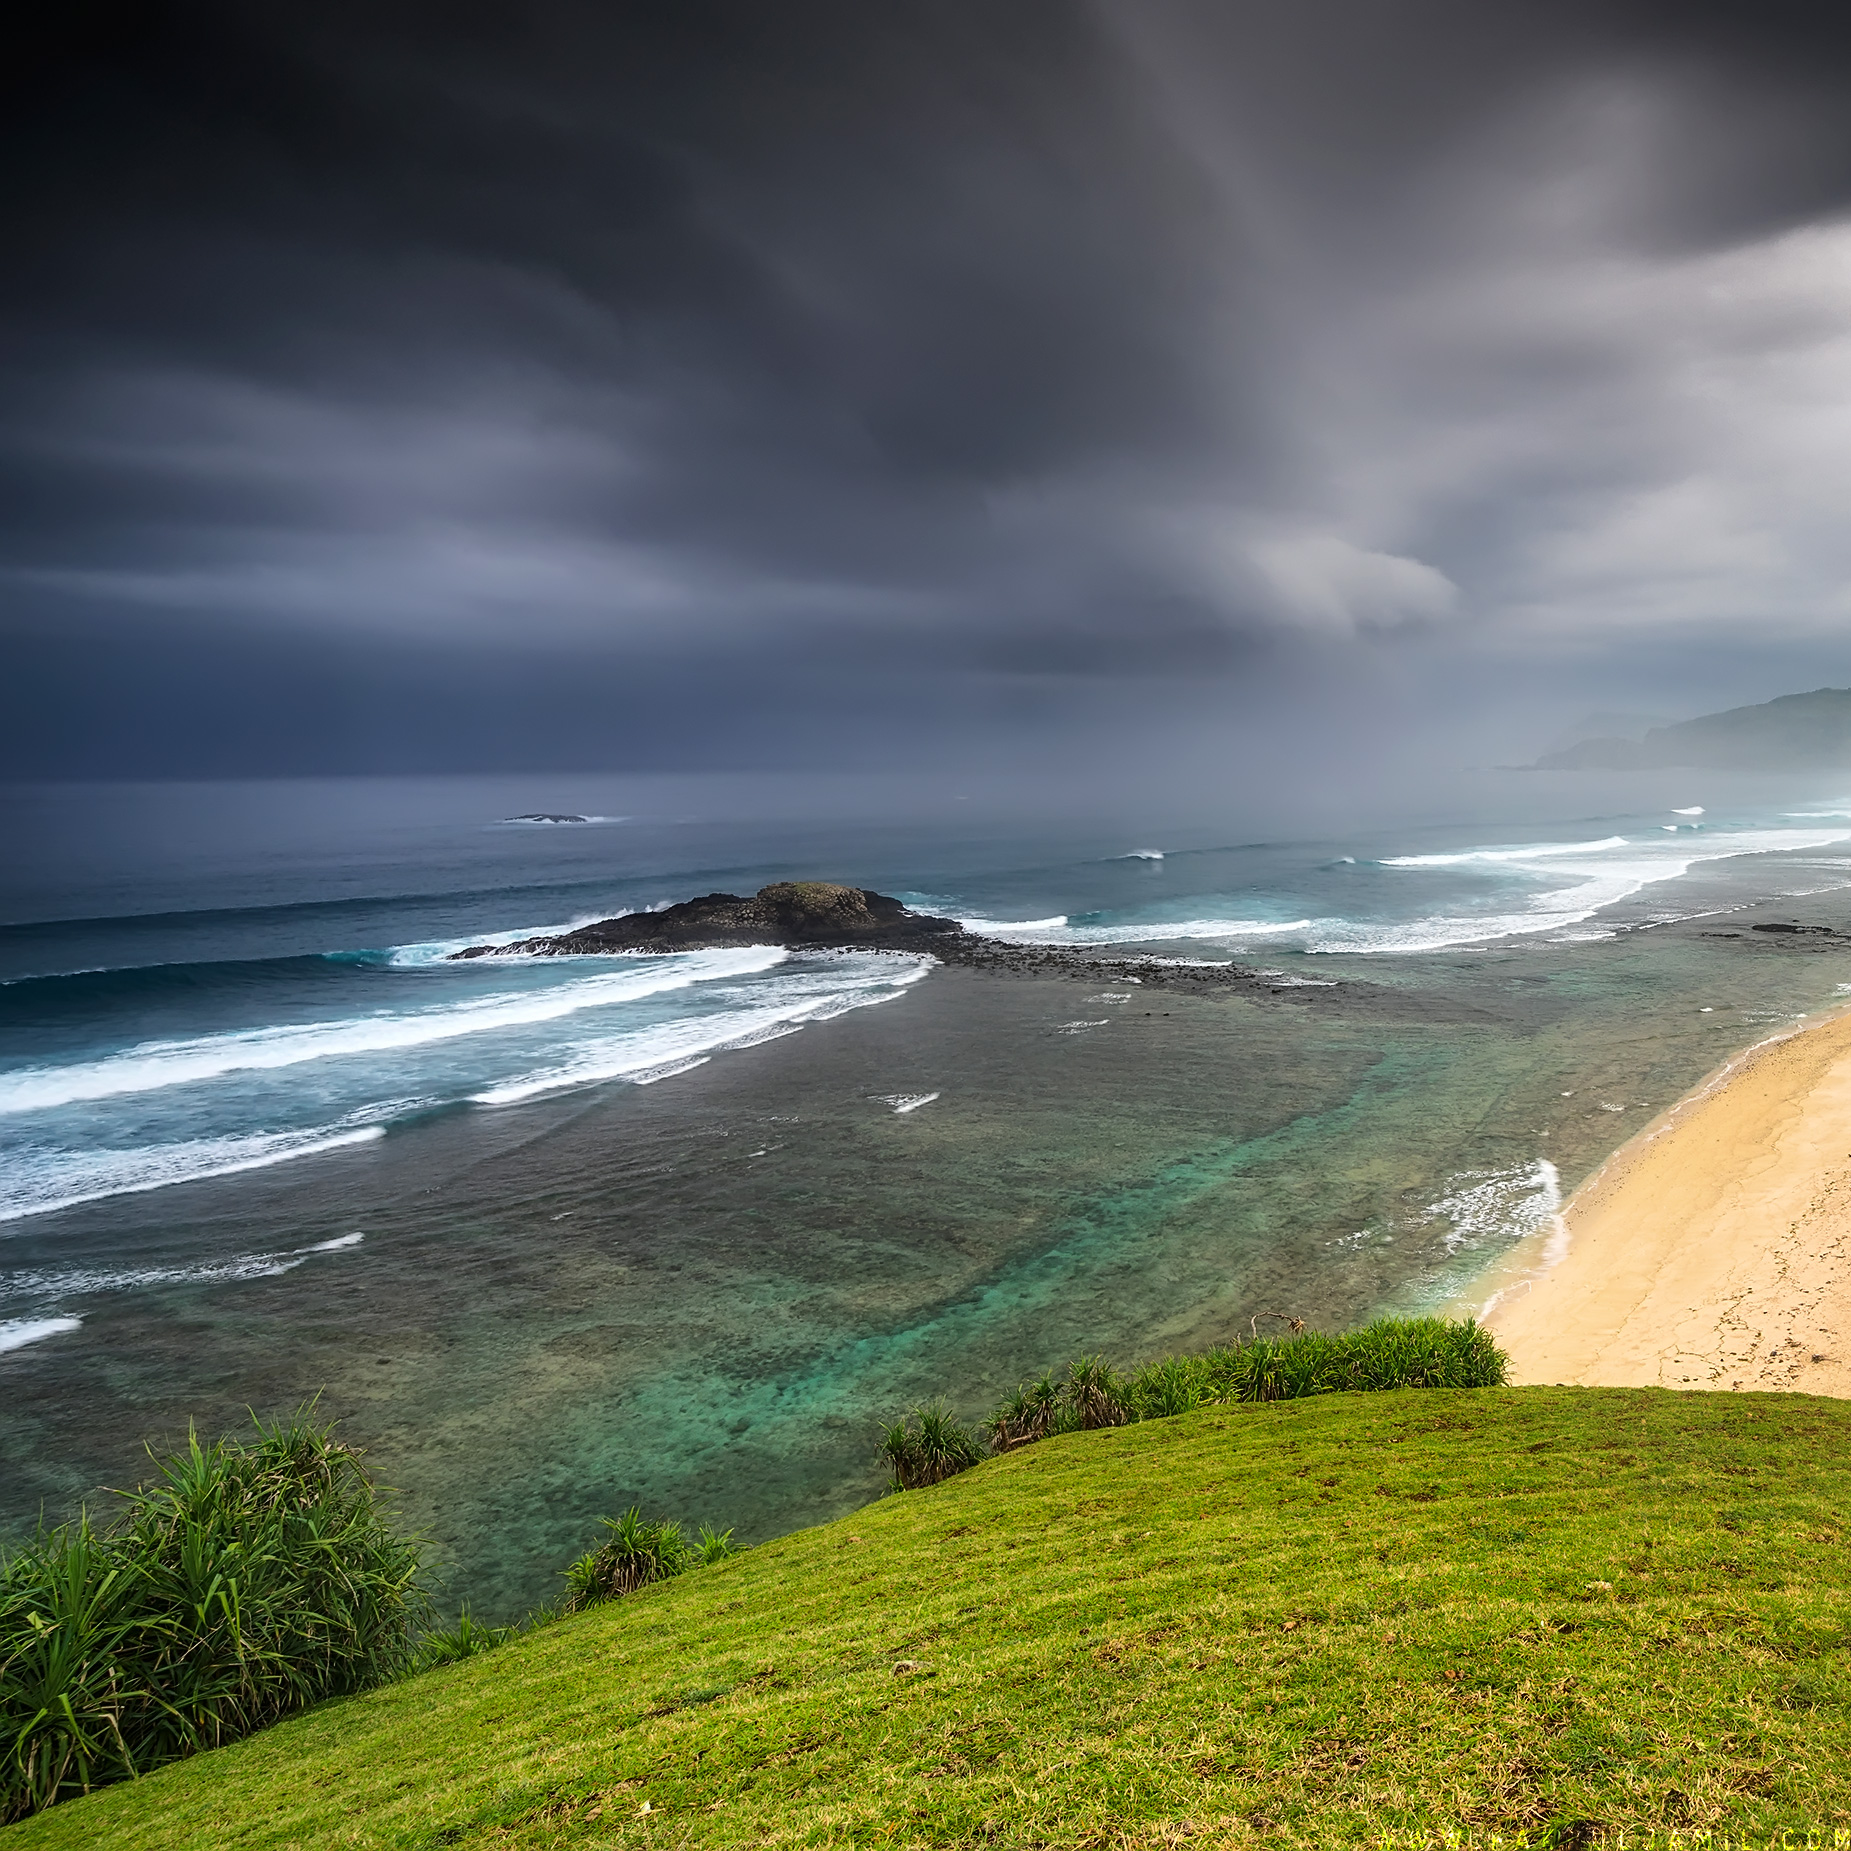
Hi everyone! Just to share a short video from my Lombok trip earlier this year. I think I might need a newer GoPro Hero4(updated, bought a newer hero4 black edition). My Hero3 Black Edition is literally dying with the condition!
Check out photos from this trip here:
Recent Posts
- LIVE INTERVIEW: Future Traveler & Landscape PhotoFebruary 11, 2023
- Sony FE 14mm F/1.8 GM for Landscape PhotographyJanuary 22, 2023
- Alpha For Landscape - Timelapse PhotographyJanuary 16, 2023
- LIVE INTERVIEW: Future Traveler & Landscape Photo
Instagram
Popular Posts
- Milky Way Hunting in Chuping, PerlisJuly 12, 2016
- Landscape Photography Adventure to NZOctober 18, 2014
- Kelanang's Story - Cast AwayFebruary 8, 2012
- Milky Way Hunting in Chuping, Perlis

